
[Photographs: Vicky Wasik]
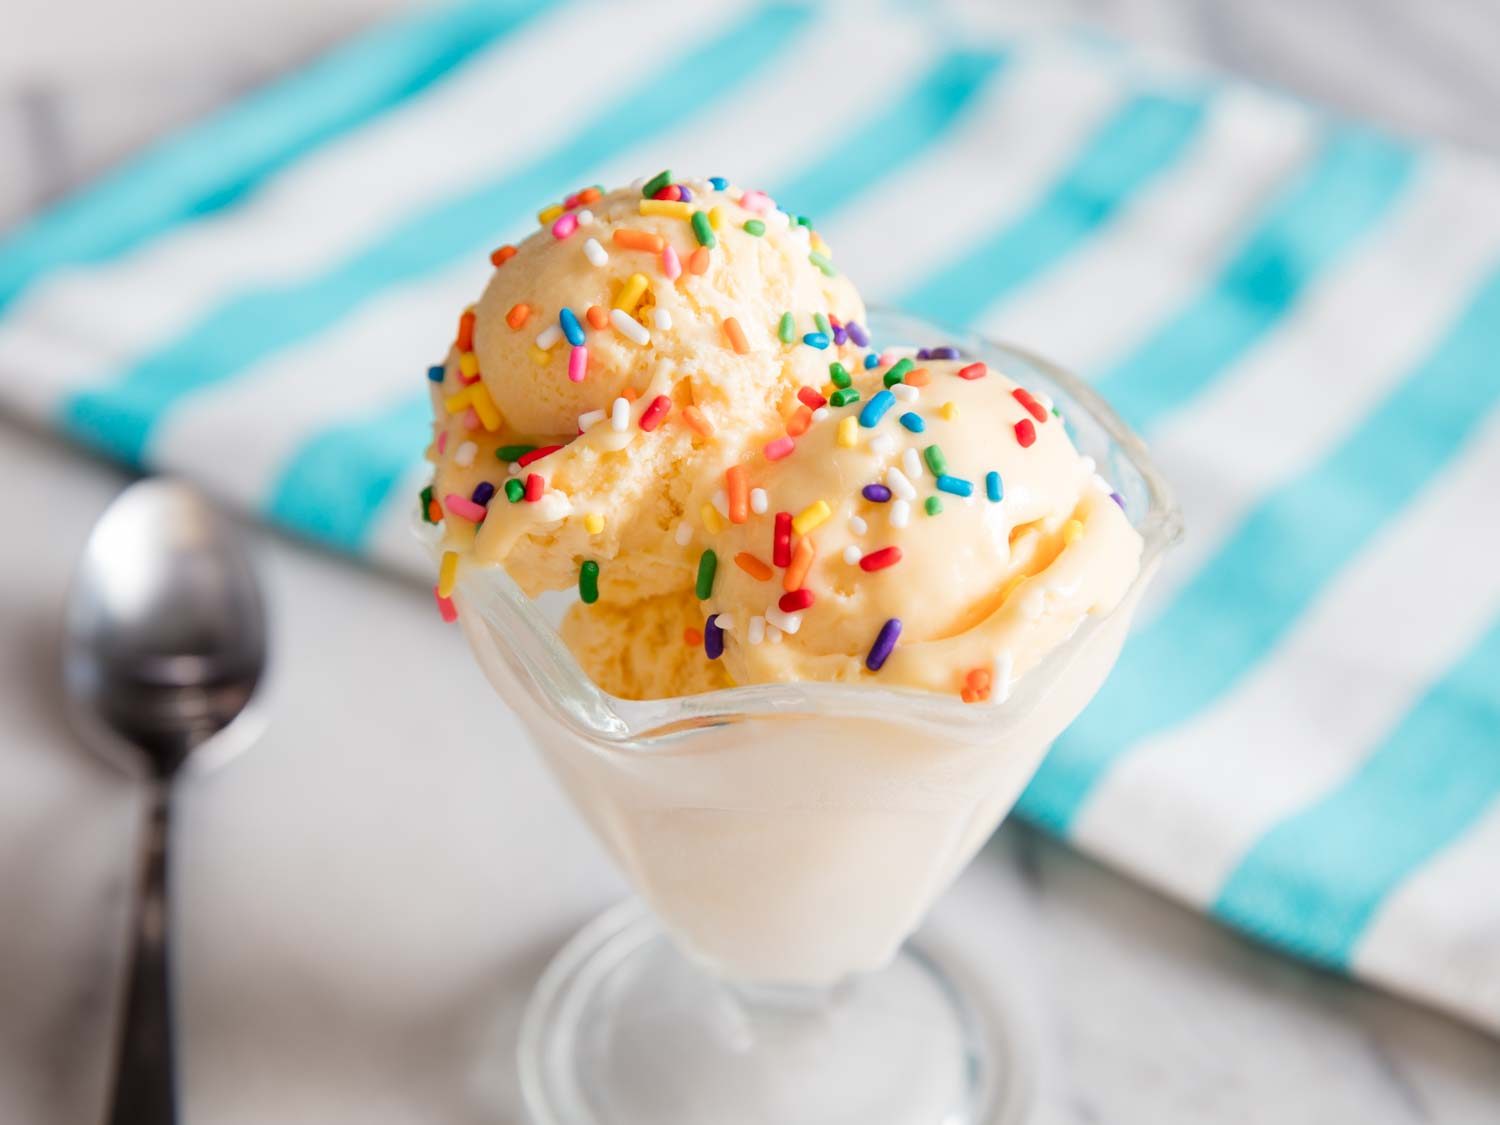
Last summer, I became a little obsessed with making no-churn vanilla ice cream. Typically, no-churn formulas combine evaporated or sweetened condensed milk with whipped cream for a relatively rich and dense frozen dessert with a distinctive flavor, owing to canned milk. This style can be tasty, but is often lacking in the custardy notes and light texture we associate with a classic, churned ice cream.
For a more traditional profile, if not technique, my recipe starts with whole eggs that have been briefly cooked over a water bath, then whipped until cool and folded with whipped cream.
The whipped eggs provide a mild custard flavor along the lines of a conventional ice cream, while the whipped cream adds a fresh dairy flavor and richness. Together, they produce a texture so light that no additional churning is required, in a low-moisture format that resists ice-crystal formation.
As excited as I was about those results, the first question from almost everyone was: What about chocolate?!
While the answer might seem a simple matter of whisking some cocoa powder into that vanilla base, the reality is a little more complex. Whether natural (acidic) or Dutch (alkaline), cocoa powder is relatively high in fiber and starch, as well as saturated fat, properties that can produce some unexpected behaviors in frozen or liquid formulas.
The starchiness of even a high-fat cocoa makes it rather absorbent, meaning that when it’s incorporated into the vanilla base it creates a thicker mixture that won’t aerate as well. In ice cream form, that can translate into a texture that feels dense and dry. Meanwhile, the added fat from cocoa butter tends to freeze rock-hard, making the ice cream difficult to scoop.
Knowing these behaviors means we can work around them, and the adjustments to the formula required to make a good no-churn chocolate ice cream are simple indeed. So long as we use the good stuff, anyway!
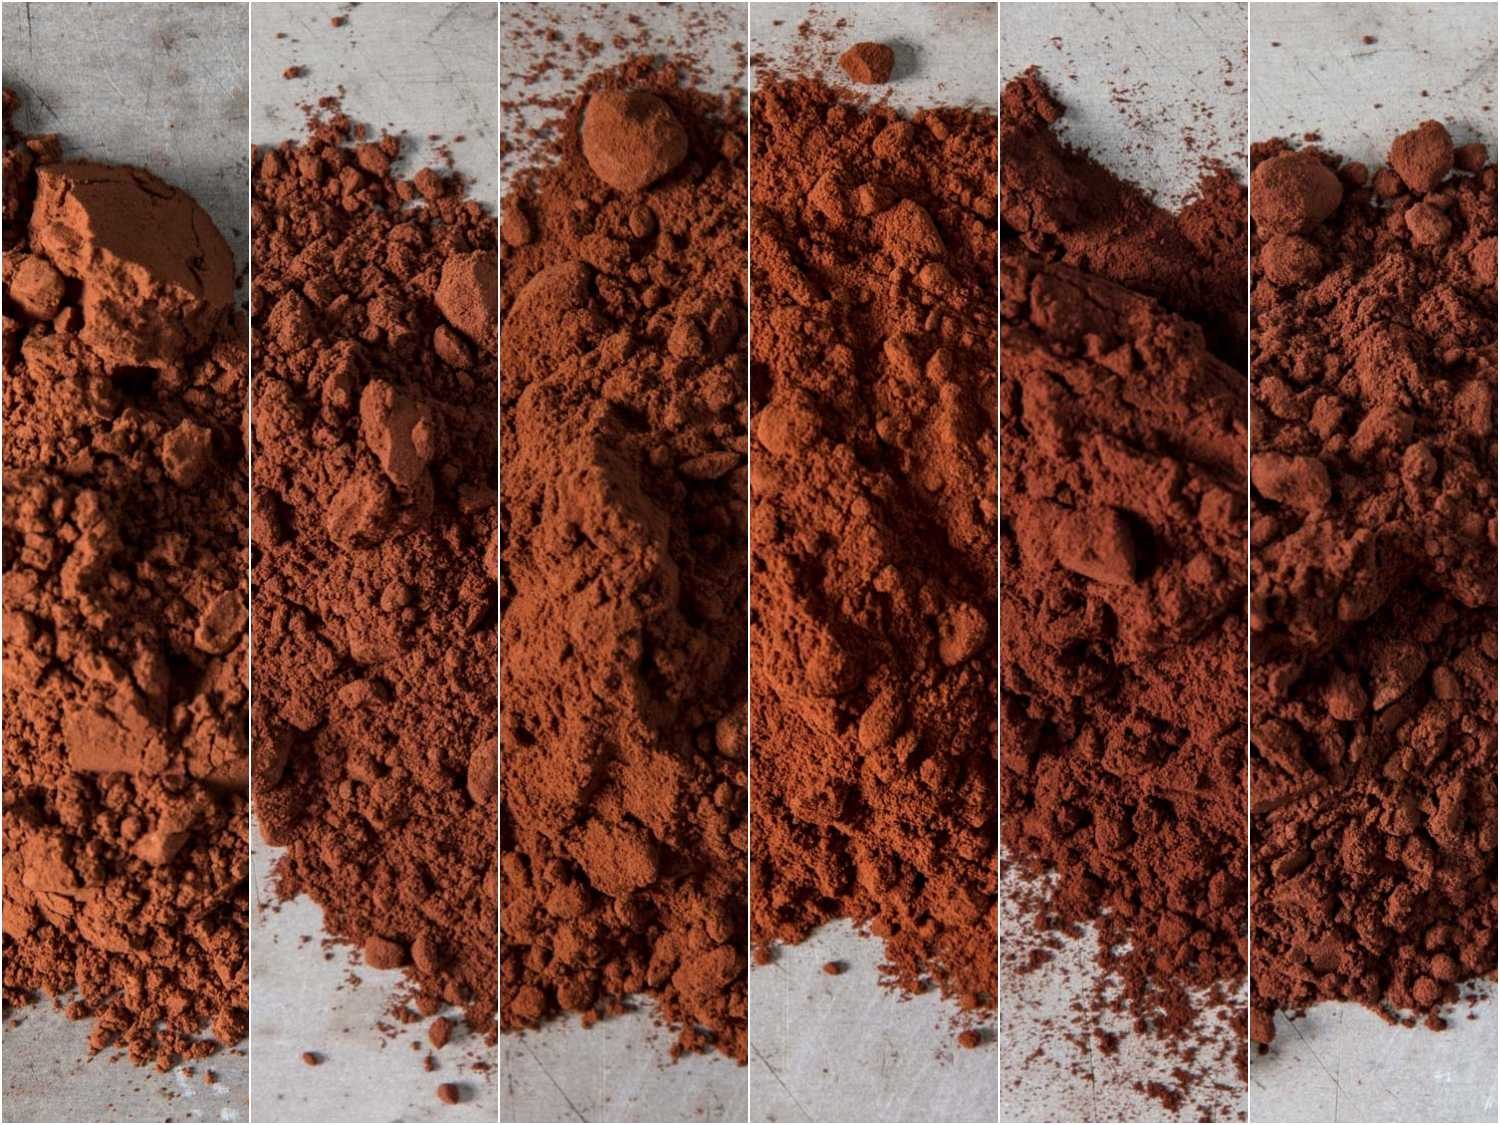
While this recipe will work well with both Dutch and natural cocoa powder styles, it’s important to avoid the low-fat brands commonly sold in supermarkets, as these will make an ice cream that’s starchy and bland. For more information on what to look for when shopping, as well as our favorite brands, see our guide to buying Dutch cocoa and our guide to natural cocoa.
To offset cocoa powder’s freezing point and the amount of liquid it absorbs, this formula uses slightly more sugar and cream, plus a generous splash of alcohol. Don’t worry—it won’t make this ice cream taste boozy, or prevent kids from enjoying it, too. It’s only enough extra liquid (two tablespoons) to balance the starchy cocoa without risking the ice-crystal formation that would result from adding water.
Plus, booze gives us a chance to layer in a bit of extra flavor and complexity. I like to use crème de cacao for an extra-chocolaty vibe, but complementary flavors like nuts (Frangelico, Nocino), coffee (Kahlúa, Tia Maria), and the caramel-like qualities in dark rum and bourbon can work well, too, especially with Dutch cocoa. Or try a contrasting note of citrus (Cointreau, Grand Marnier), cherry (Luxardo maraschino liqueur, kirsch), or herbs (sambuca, Cynar), which work particularly well with natural cocoa.
I combine the cream, cocoa, and spirit or liqueur with vanilla and a pinch of espresso powder, aromatics that will help expand the chocolate flavor regardless of which liqueur you choose.
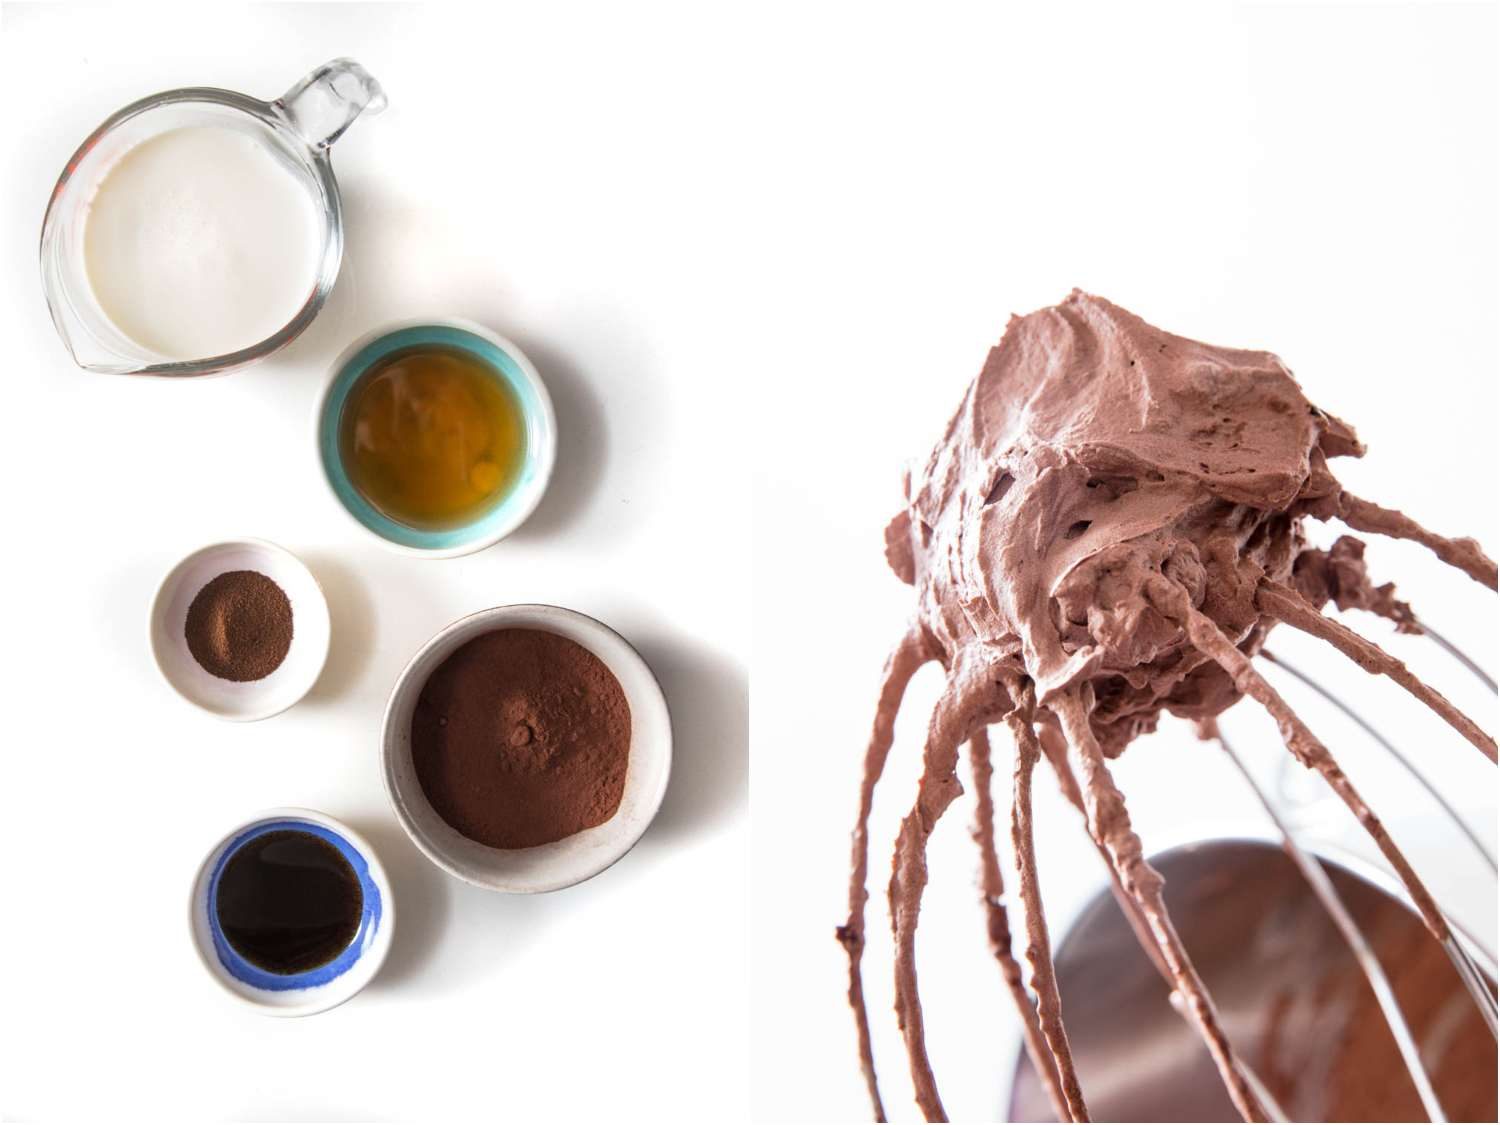
Whip everything together until it’s thick and relatively stiff, then cover and stash it in the fridge while the rest of the ice cream base is prepared.
To limit dirty dishes, I like to transfer the whipped cream to a two-quart baking dish that I can reuse to store the ice cream later on. This size and shape spreads the ice cream into a thin layer that freezes fast, with a nice long “runway” for scooping.
After refrigerating the cream, I prepare a water bath by filling a wide pot with a few inches of water. Next, I place a thick ring of foil in the bottom of the water bath.
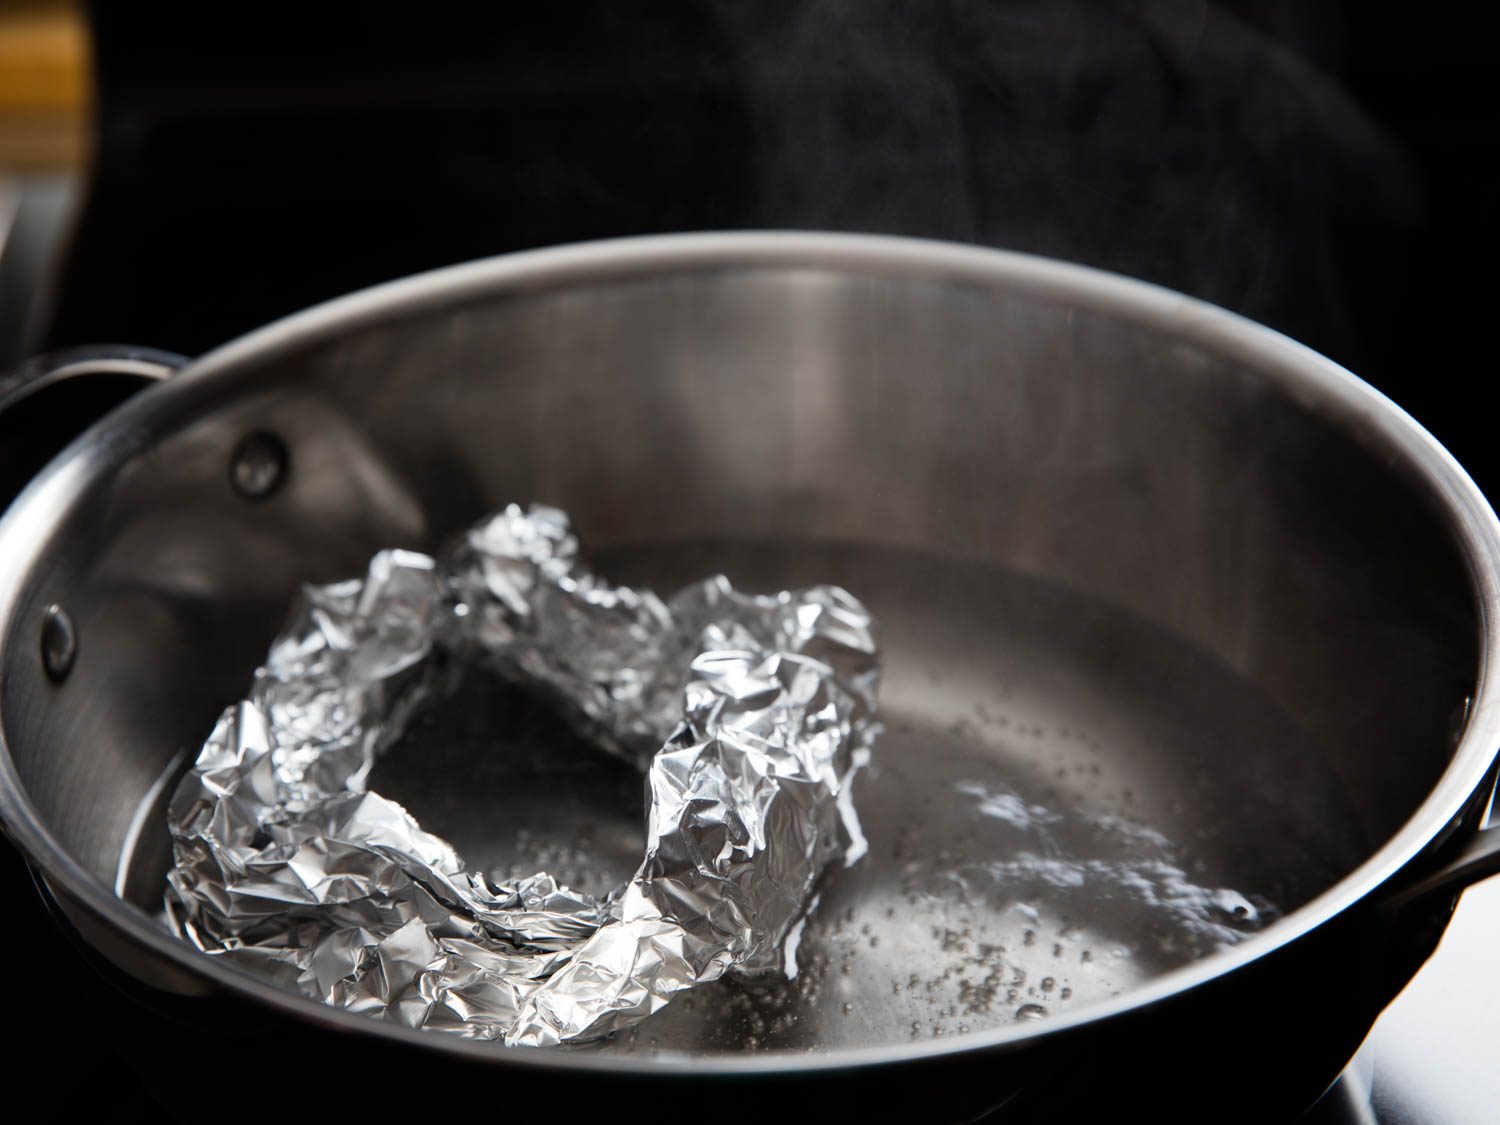
The ring acts as a booster seat, so that when I place my stand mixer bowl over the water, it will sit high, touching neither the water nor the pot itself. This allows steam to flow freely around the bowl, gently warming the eggs with indirect heat.
When the bowl touches the water, the bottom of the pot, or even the sides (thus forming a lid to the pot), the heat will be too strong and direct, leading to scrambled eggs. If you’re using a cheaper stand mixer that comes with a footed bowl, skip this setup and use a glass or ceramic bowl instead of the stand mixer bowl (in which case, it’s fine for the bowl to touch the sides of the pot).

Once the water bath is set up, warm the whole eggs with brown sugar and salt to approximately 160°F (71°C), stirring and scraping constantly with a flexible spatula. In the bowl of a stand mixer, this should take only about five minutes; a slower timeline simply indicates a lack of steam, so adjust the heat as needed to move things along.
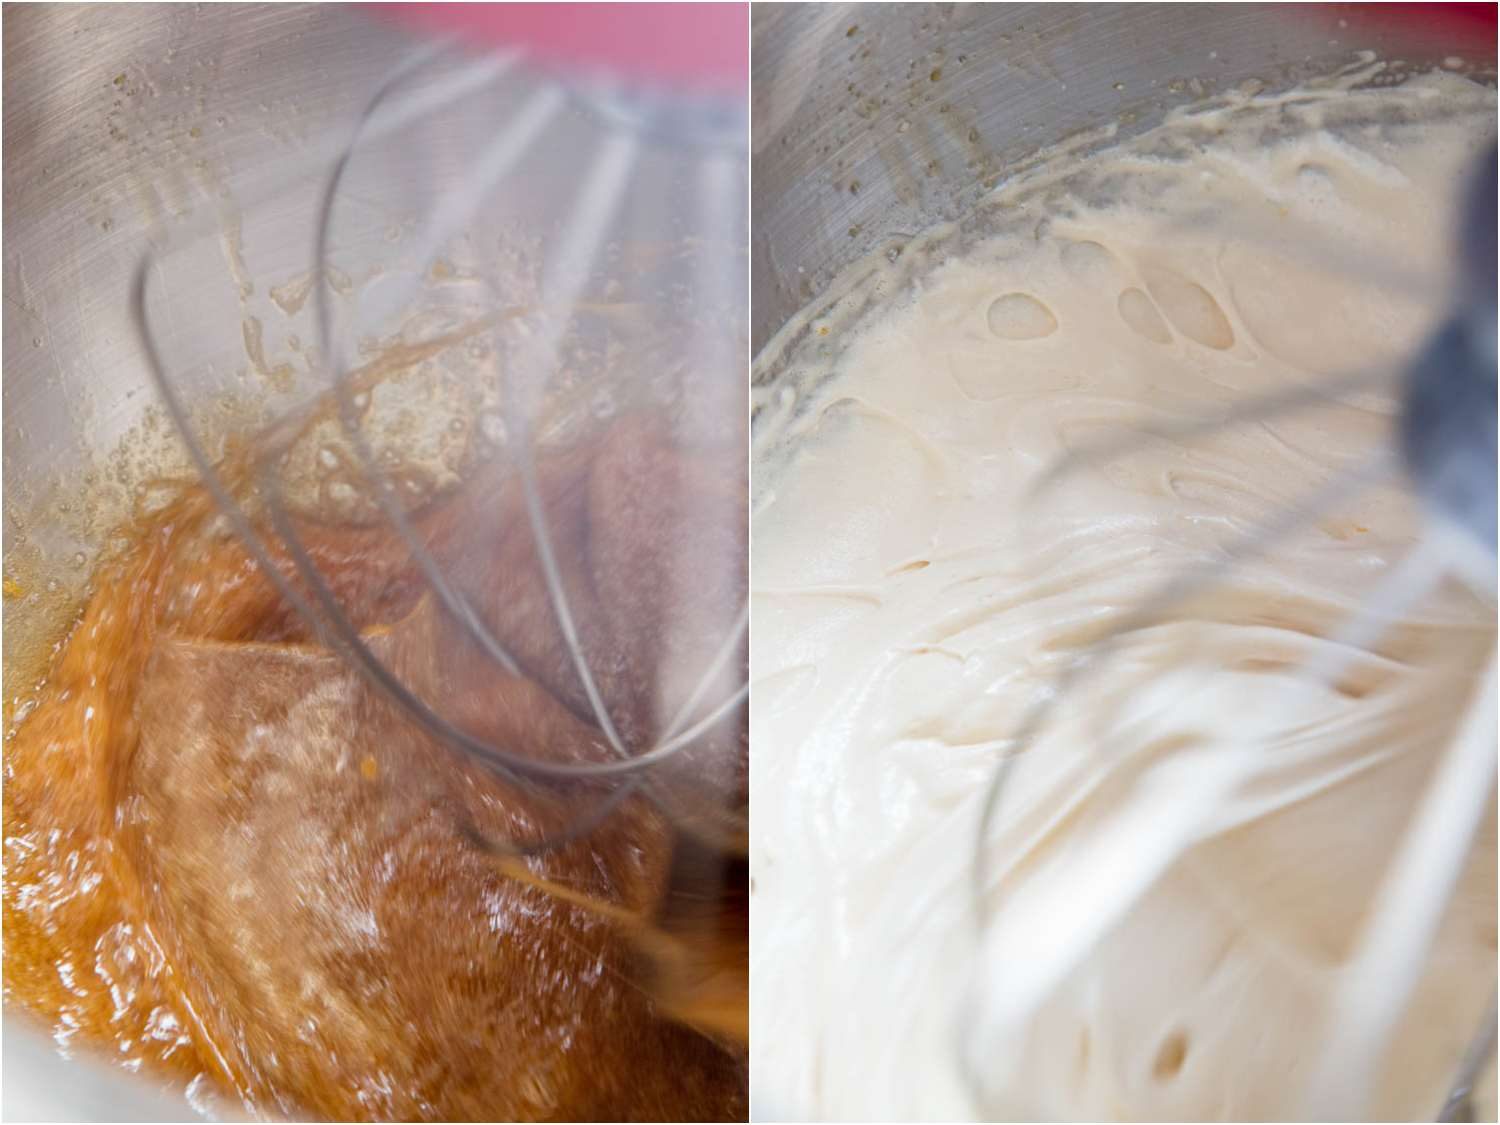
When the egg mixture has reached about 160°F, transfer the bowl to a stand mixer fitted with a whisk attachment and whip on medium-high speed until it’s fluffy, pale, and relatively cool to the touch.
The timing of this phase will vary depending on the power of the mixer itself, but it will generally take from five to eight minutes. When the egg mixture has roughly quadrupled, turning thick, fluffy, and cool, remove the bowl of the stand mixer and incorporate the whipped cocoa cream by hand.
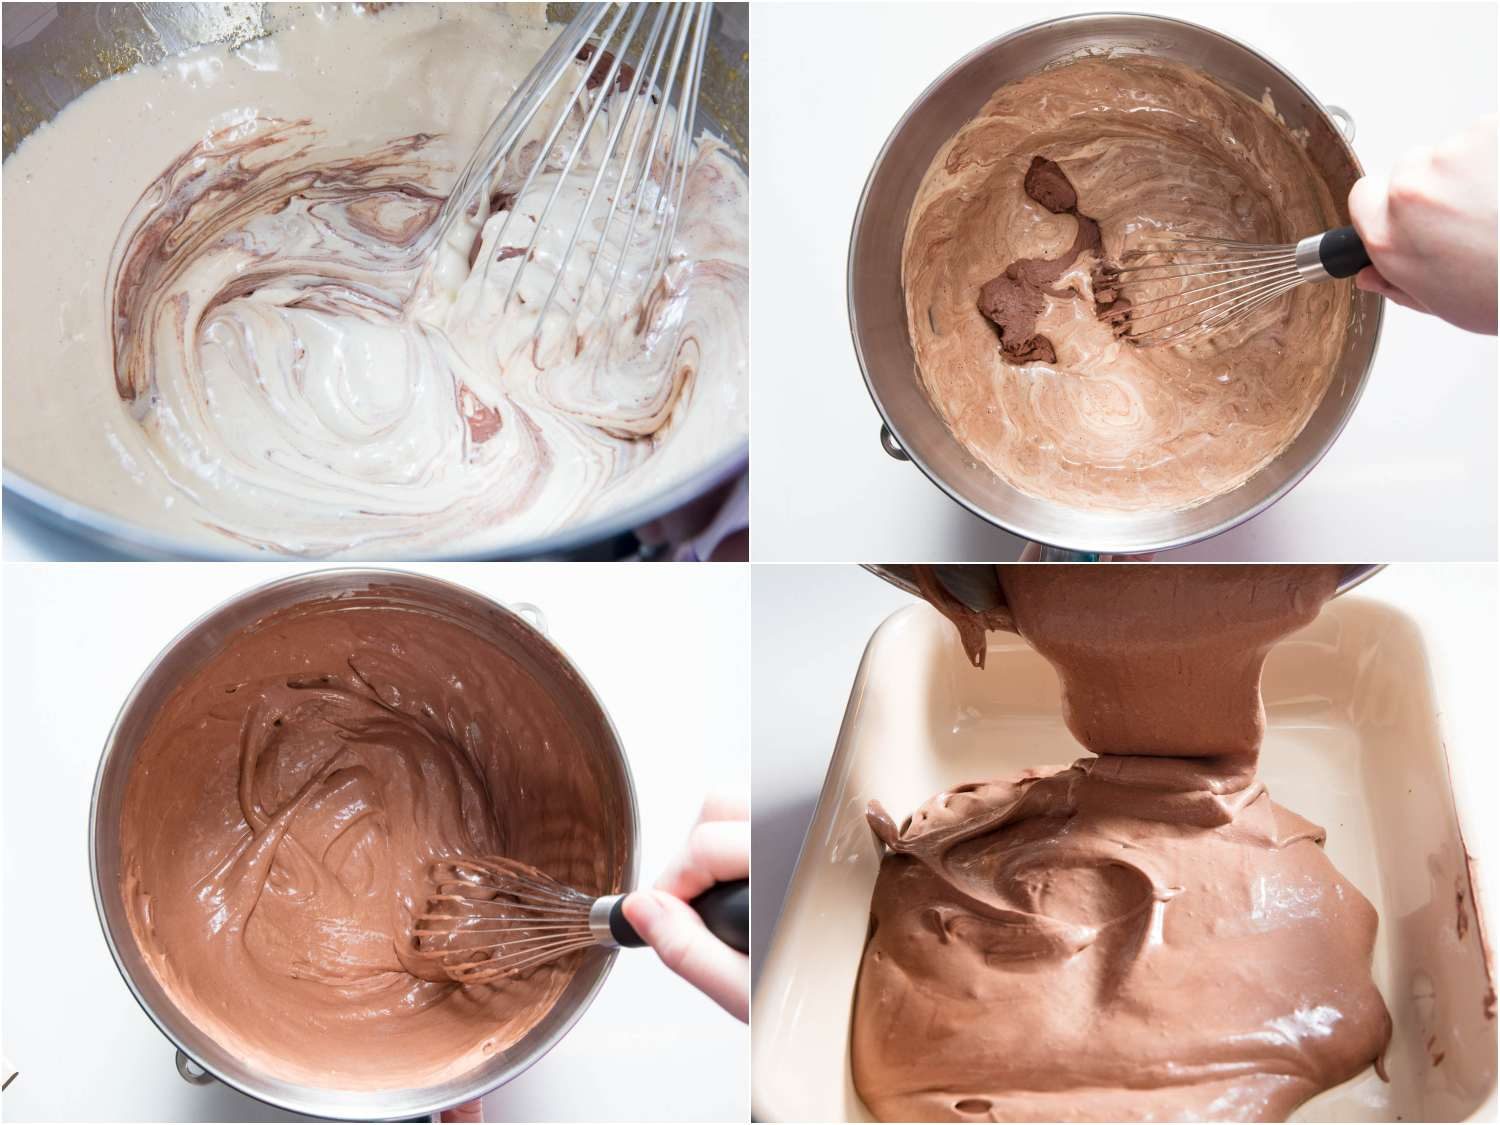
I find this easiest with a large, open balloon whisk, but a gentle folding motion with a flexible spatula will work, as well. When the mixture is homogeneous, scrape it into the baking dish (or other container), then cover and freeze until firm enough to scoop.
This can take between six and eight hours, depending on the exact dimensions of the dish in question, as well as the specific freezer setting. Factoring in that substantial chunk of downtime, the total prep time here is still less than what’s required for traditional ice cream.
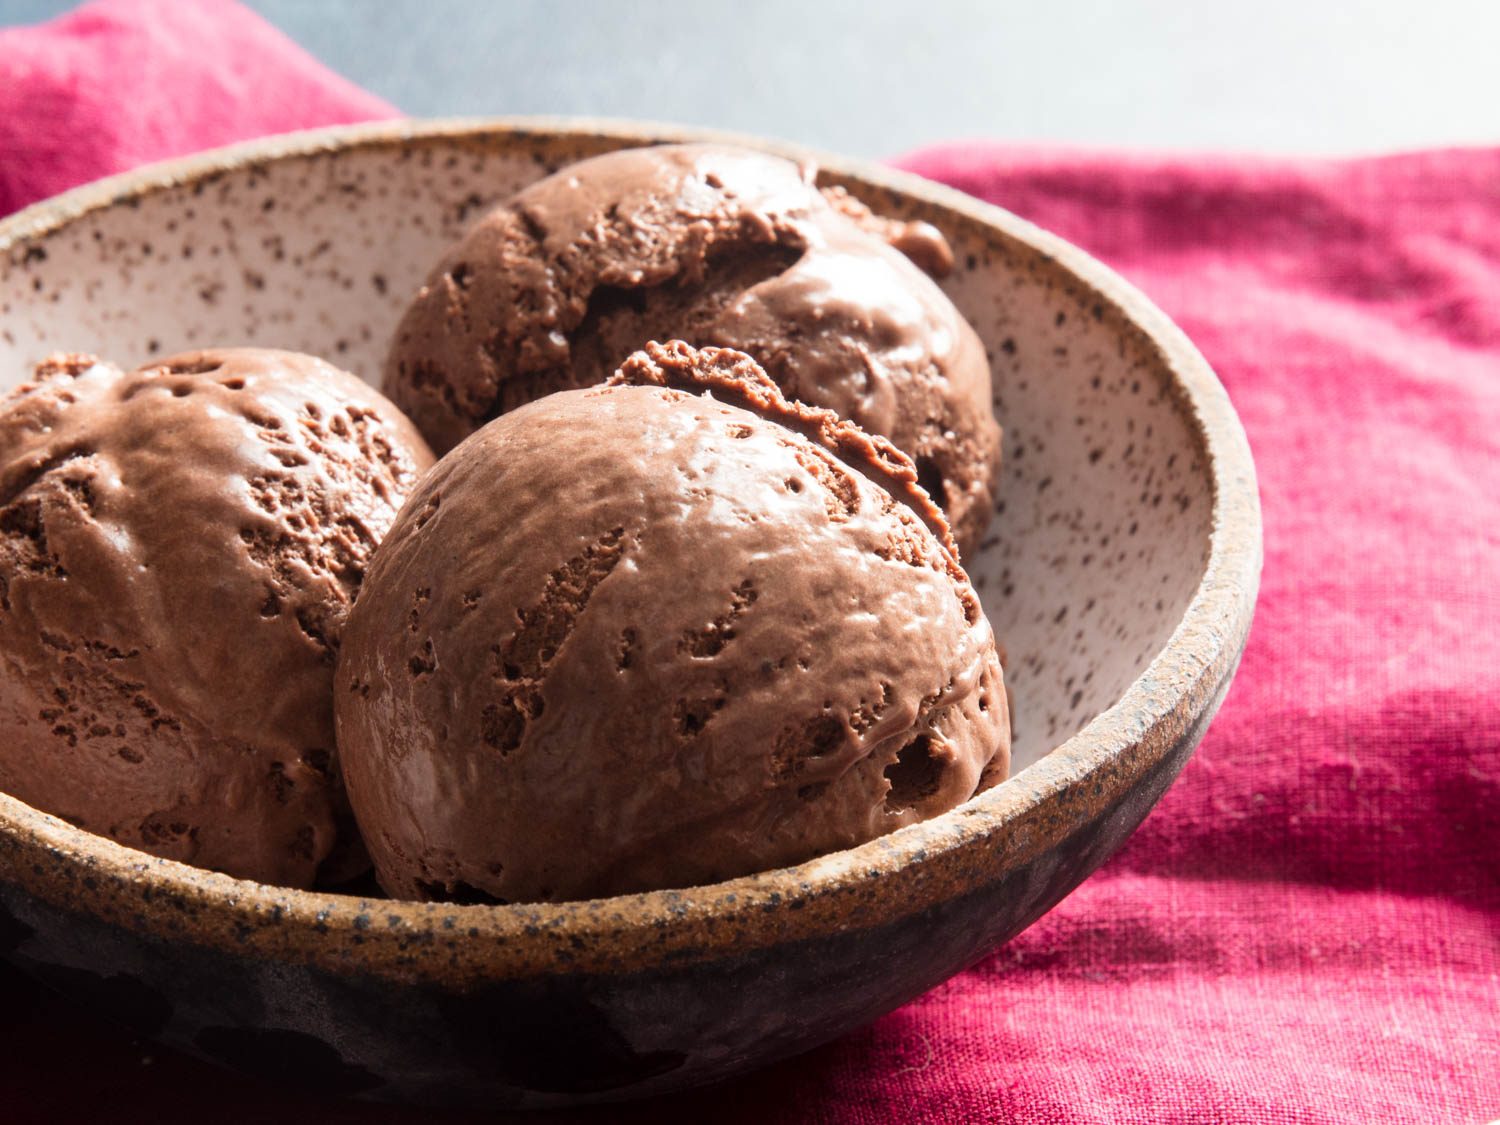
Even if you do have an ice cream machine, having a go-to recipe for no-churn ice cream can be handy if you don’t want to deal with the leftover egg whites involved in a traditional ice cream base, or when circumstances prevent the freezer insert in your machine from chilling in time for use. With results as rich, creamy, and chocolaty as these, a no-churn ice cream is certainly no downgrade—just a different approach to a classic dessert.
This post may contain links to Amazon or other partners; your purchases via these links can benefit Serious Eats. Read more about our affiliate linking policy.
Source link