
[Photographs: Vicky Wasik]
Crunchy Nutella was a staple back in my restaurant days, when I used it for everything: a drizzle for cake, a sauce for panna cotta, a spread over baguette, a dip for fresh fruit, a swirl in ice cream, a center for truffles, and the black bottom of a cream pie.
Nutella may be the world’s most famous brand of gianduja, Italy’s beloved chocolate hazelnut paste—though, where traditional gianduja has a much higher percentage of hazelnuts, Nutella is made predominantly from sugar and palm oil, flavored with the bare minimum of hazelnuts and cocoa.
My version is spiritually related to both, but technically quite distinct. I make it by grinding hazelnut brittle in a food processor, along with melted chocolate and roasted-hazelnut oil. This produced a soft chocolate spread with a deep hazelnut flavor, backed by notes of caramel. While the spread itself had a creamy consistency, the bits of brittle gave it a crispy bite.
It’s still something of a personal obsession, but over the last eight years, my method has evolved. I make it with less sugar, more hazelnuts, and a bit of baking soda to deepen its nutty flavor.
I’ve also dialed in a method for dissolving the brittle, resulting in a silky-smooth spread that still has all the same notes of caramel, minus the crunch—so the final texture is up to you.
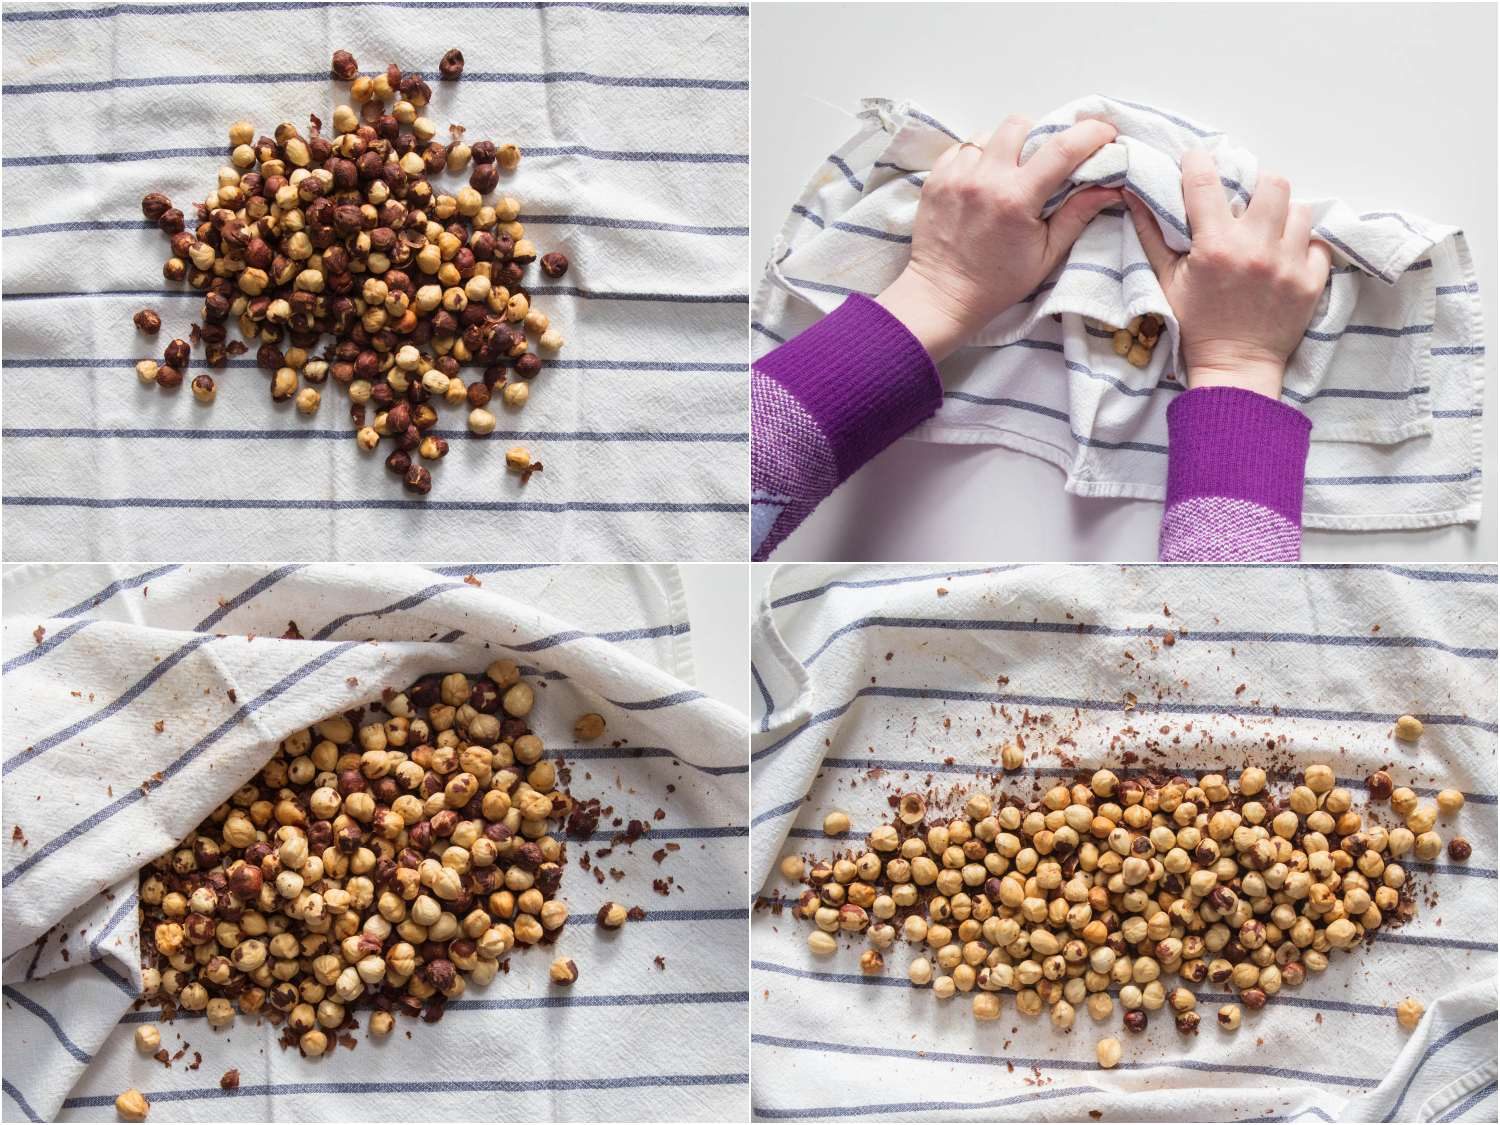
The recipe starts out with skinned toasted hazelnuts. For the uninitiated, the process is simple enough: Toast a batch of whole hazelnuts in a 350°F (180°C) oven until fragrant, then transfer them to a clean dish towel.
Fold it over the warm hazelnuts, then rub and roll them through the towel until their paper skins flake off. This bit of extra effort ensures a strong hazelnut flavor, as the fibrous and papery skins will only add unwanted texture and astringency.
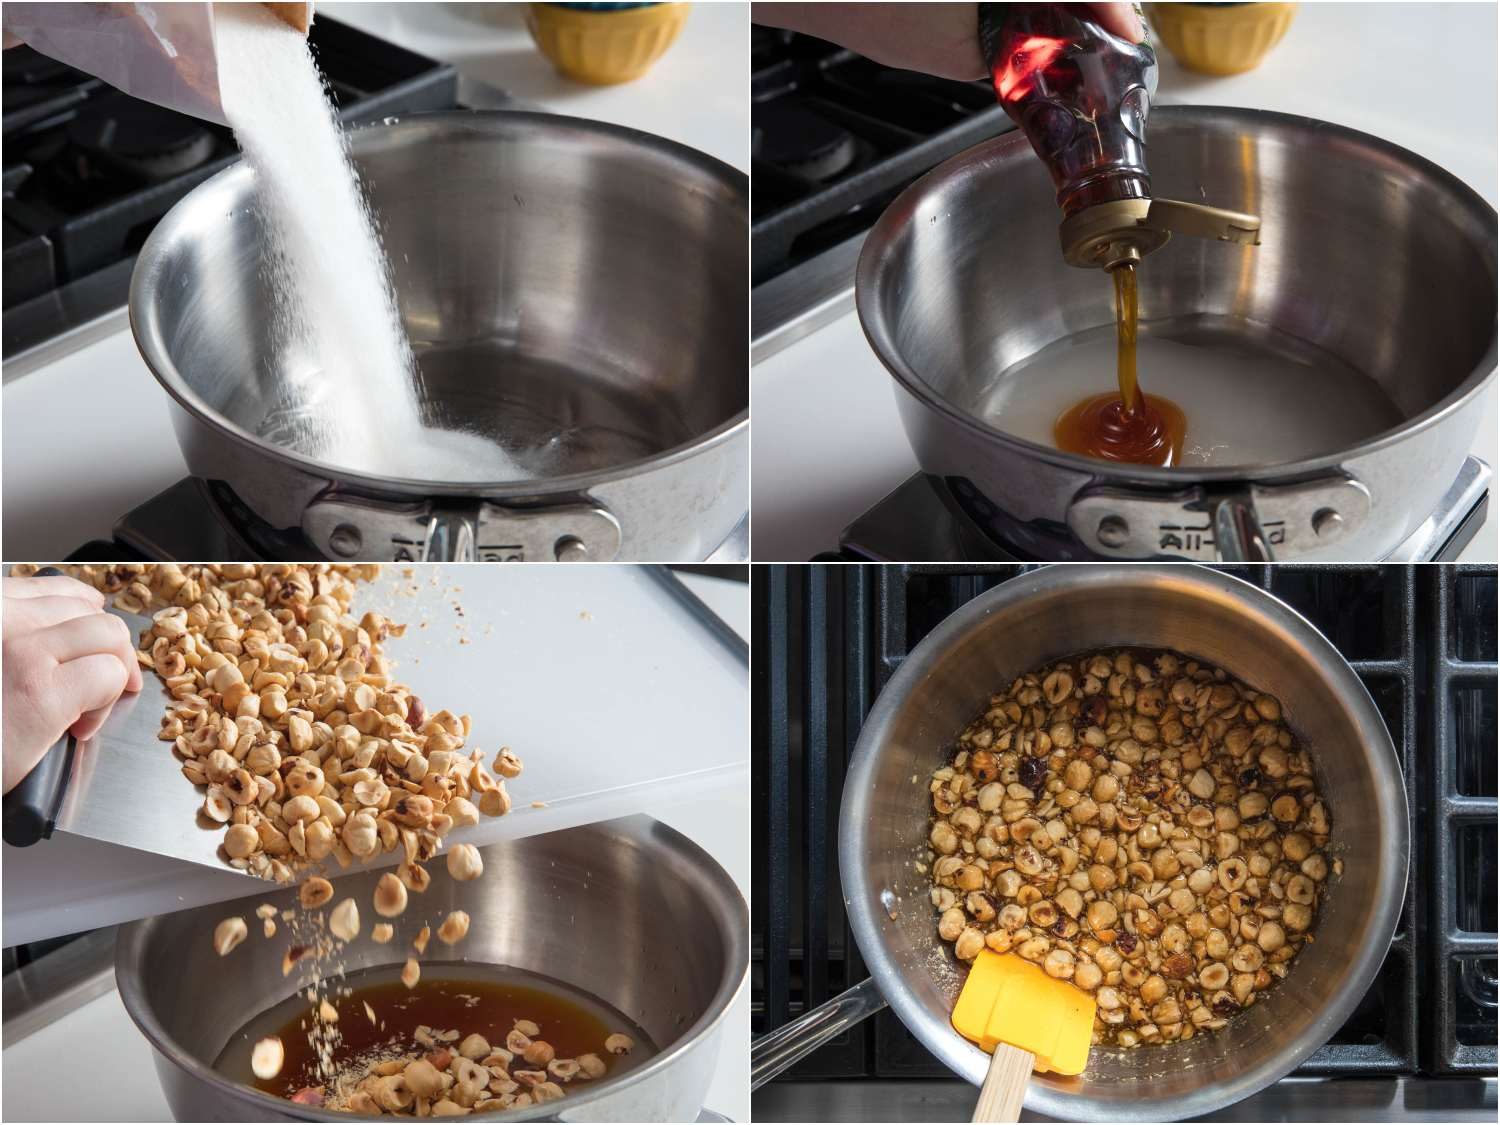
To make the brittle, I combine water, corn syrup or golden syrup, sugar, salt, and hazelnuts in a three-quart saucier over medium heat, and cook until it’s caramelized to taste.
This means cooking the candy to somewhere between 320 and 340°F (160 and 171°C). Within this range, the texture of the brittle will remain the same; the only differences will be in color and flavor.
Err on the light/low end of that spectrum for a delicate, sweet caramel flavor, or push things to the dark/high end for a deeper, bittersweet profile instead. Lighter caramels pair well with darker or more bitter chocolates, while darker caramels can help balance sweeter, milder chocolates, so this decision may be influenced by the ingredients you already have on hand. You can find some of my favorite dark chocolates for baking right here.
The cooking process is easy to judge by eye when you’re using corn syrup—the clear syrup can’t begin to turn golden until it hits that range, and where you stop is a matter of personal preference, not science.
This isn’t as easy with golden syrup, as it will make the candy darker from the start. While a preferred target color can be learned with experience, beginners will need a clip-on* digital thermometer to confirm the candy has reached at least 320°F.
* Handheld thermometers are fast when you’re checking the temperature of a slab of meat, but they can lag behind while climbing from room temperature to somewhere beyond 320°F. Beyond that, inserting, removing, and reinserting the probe can trigger crystallization if it’s not washed after each dip. So please: clip-on or bust!
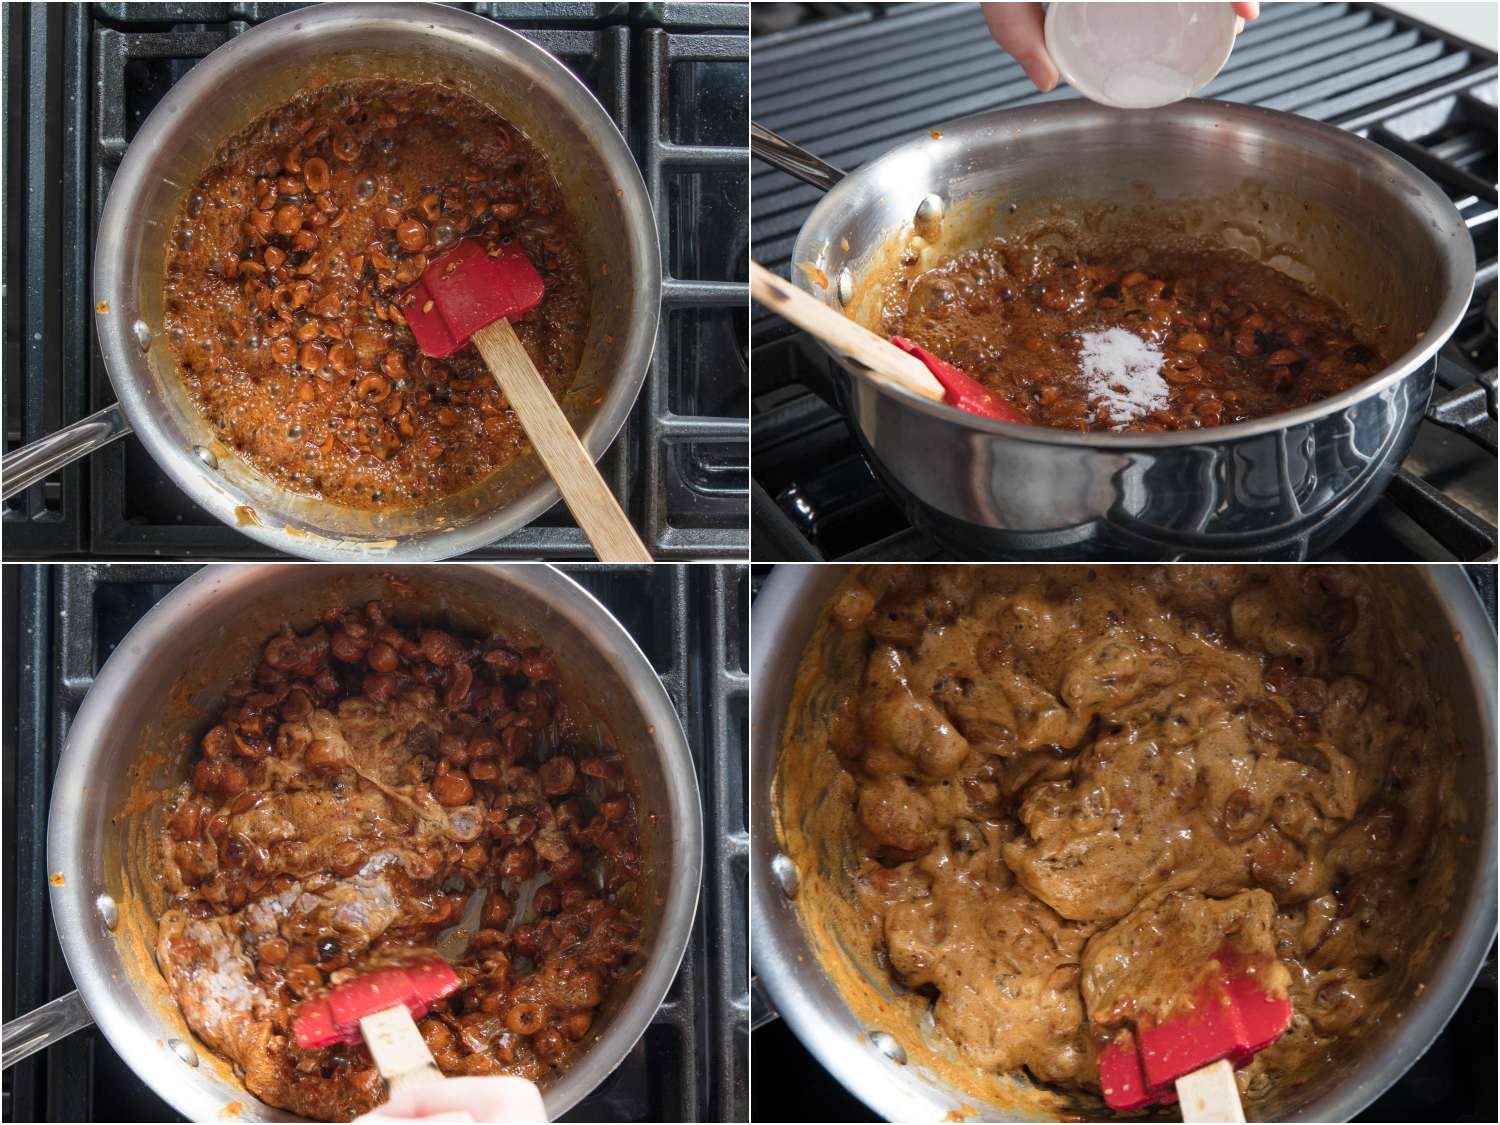
As soon as the candy has hit the desired color or temperature (for me this is a foxy amber, around 320°F), I shut off the heat and stir in a bit of baking soda. This foams and alkalizes the candy, giving it a more delicate texture that’s easier to grind, while also producing, a deeper, nuttier flavor.
When the candy is evenly foamy and light, scrape it onto a greased half-sheet pan, and set it aside to cool.

Once the candy has shed its heat, transfer it to a food processor, or else wrap it up tight in plastic and nestle it into an airtight container. (The cooled candy will quickly turn tacky and soft if left out or stored improperly.)
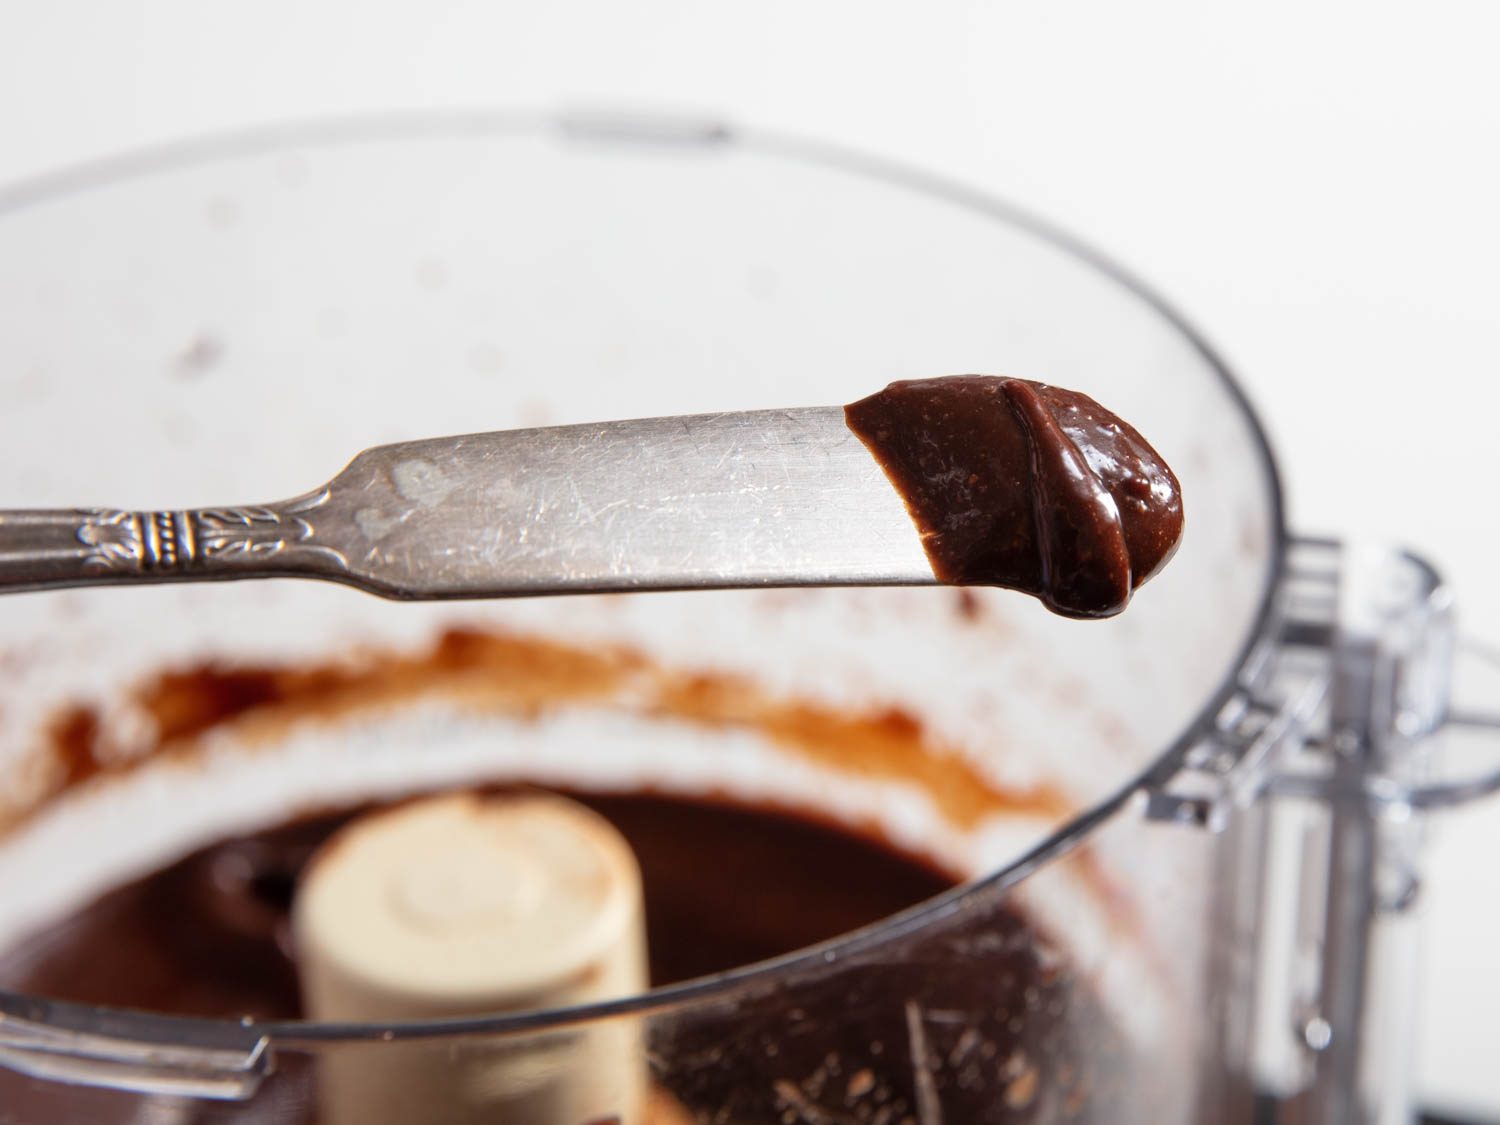
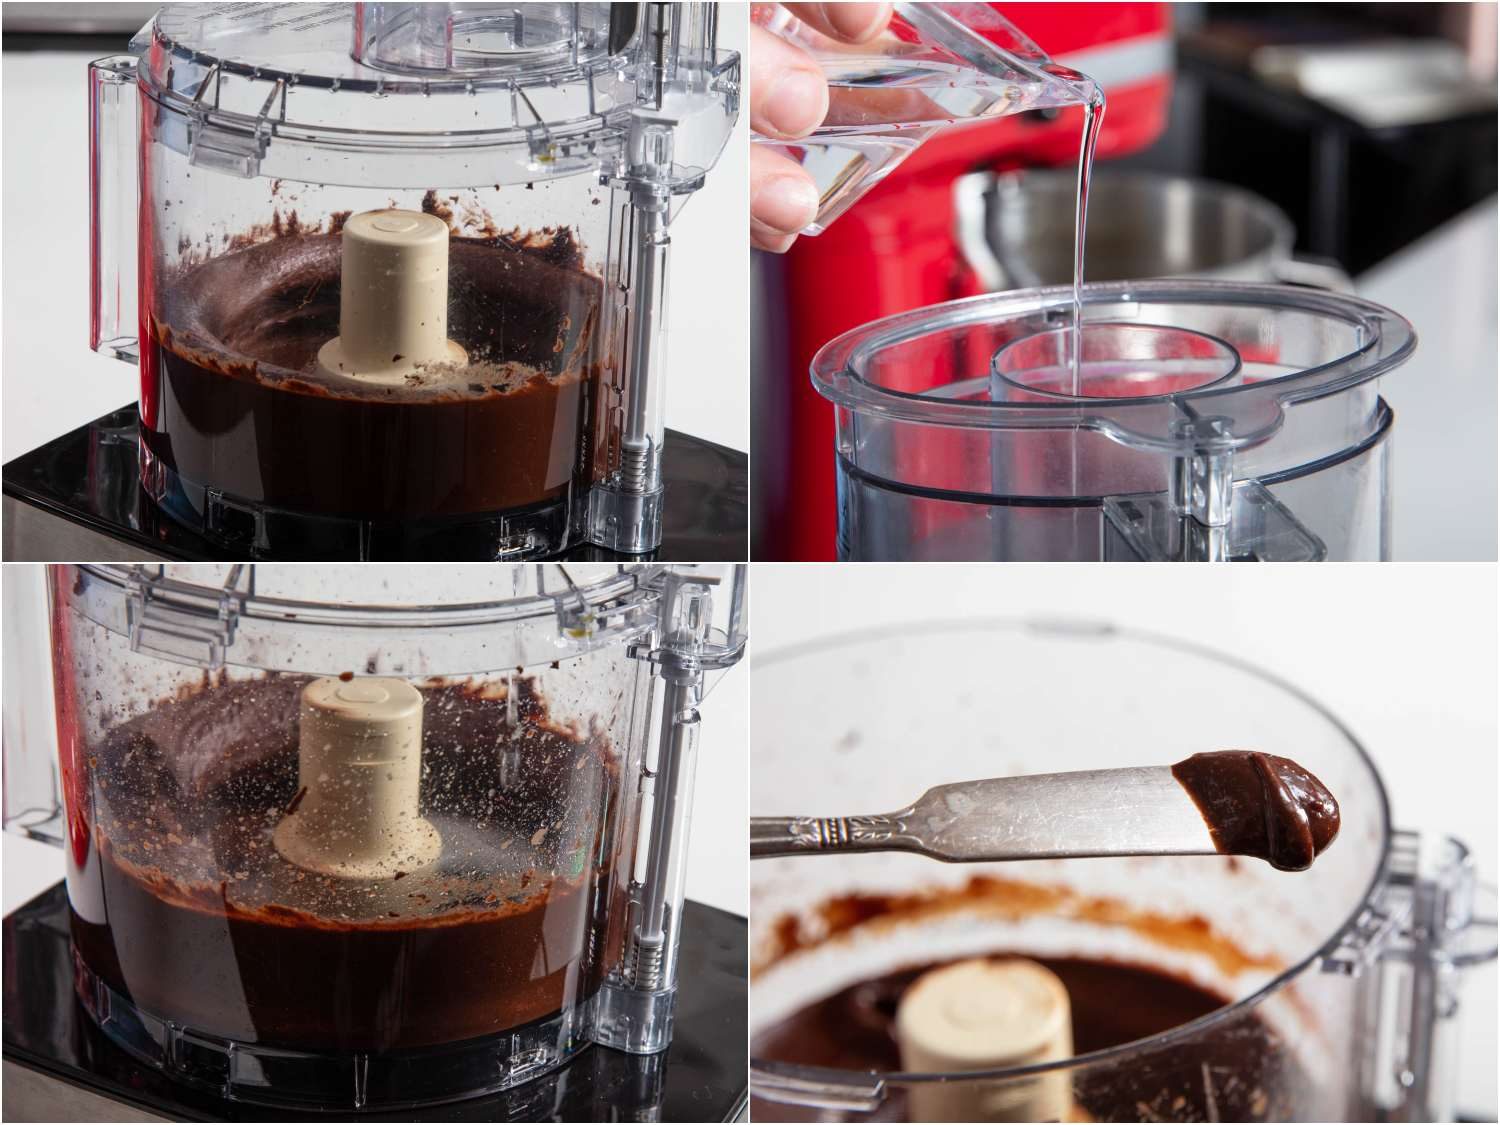
Grind the brittle in the food processor until it forms a thick, peanut butter–like paste. The timing can vary considerably depending on the size and power of the machine, but expect this to take between three and five minutes.
After grinding, I add a bit of Dutch cocoa and continue processing until the mixture is homogeneous. The melted chocolate and roasted-hazelnut oil can then be drizzled through the pour spout while the machine is running.
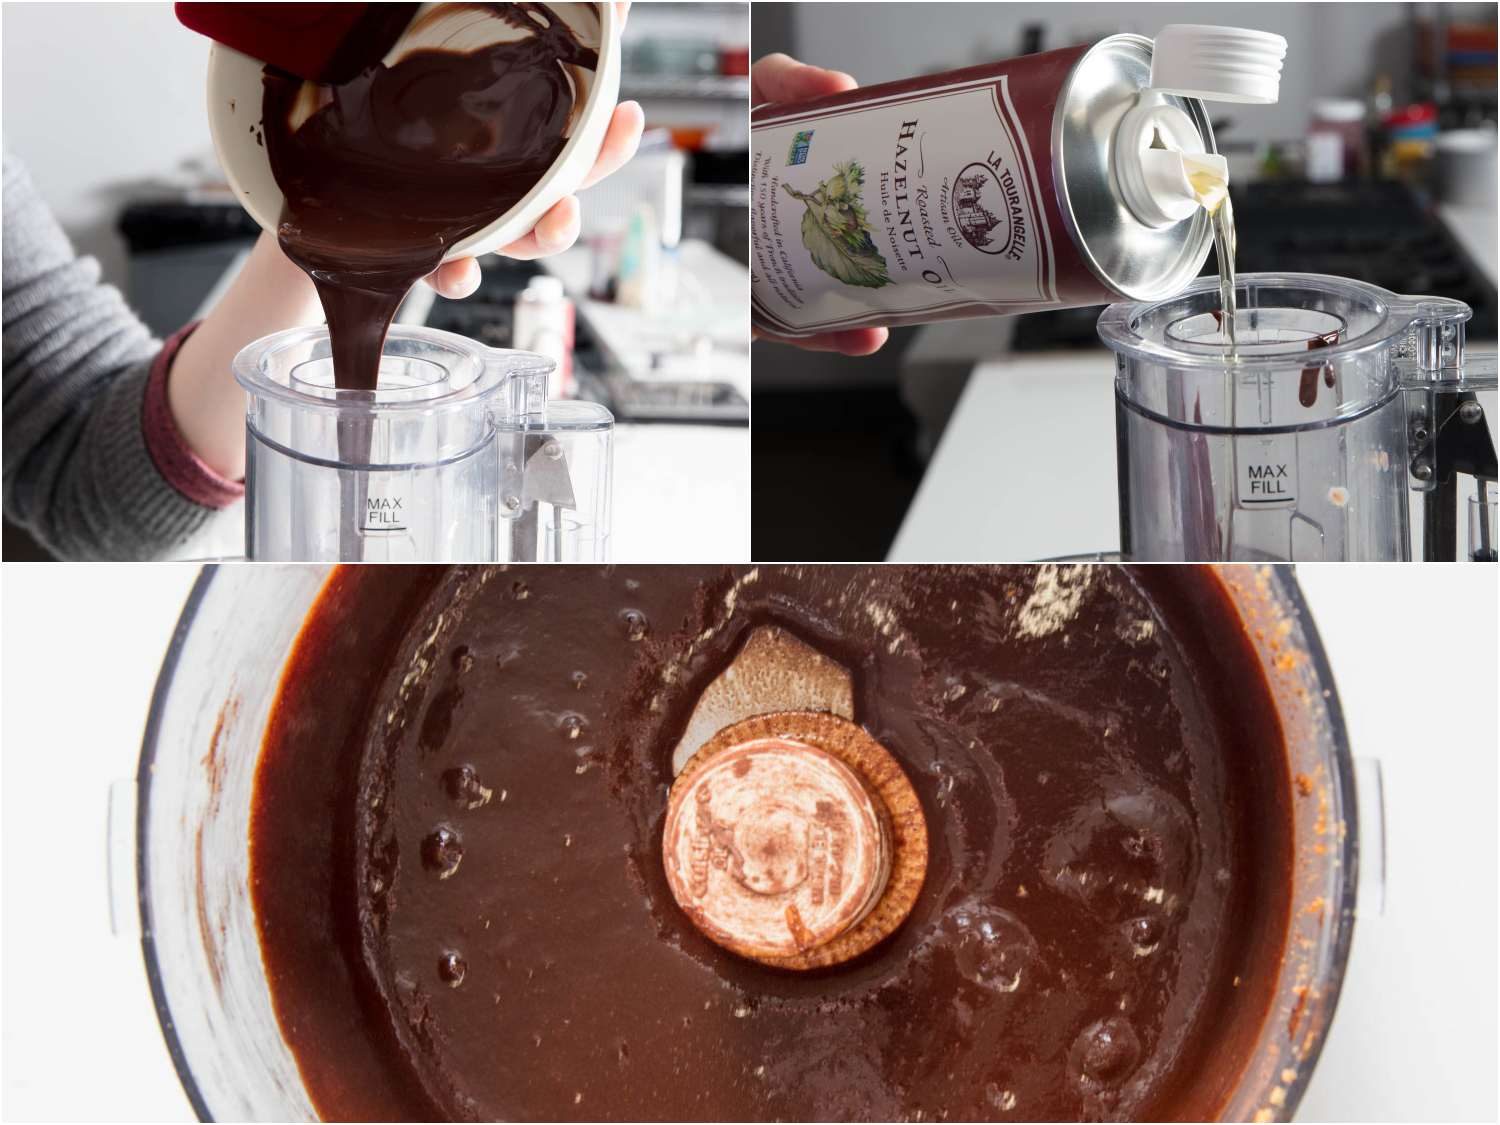
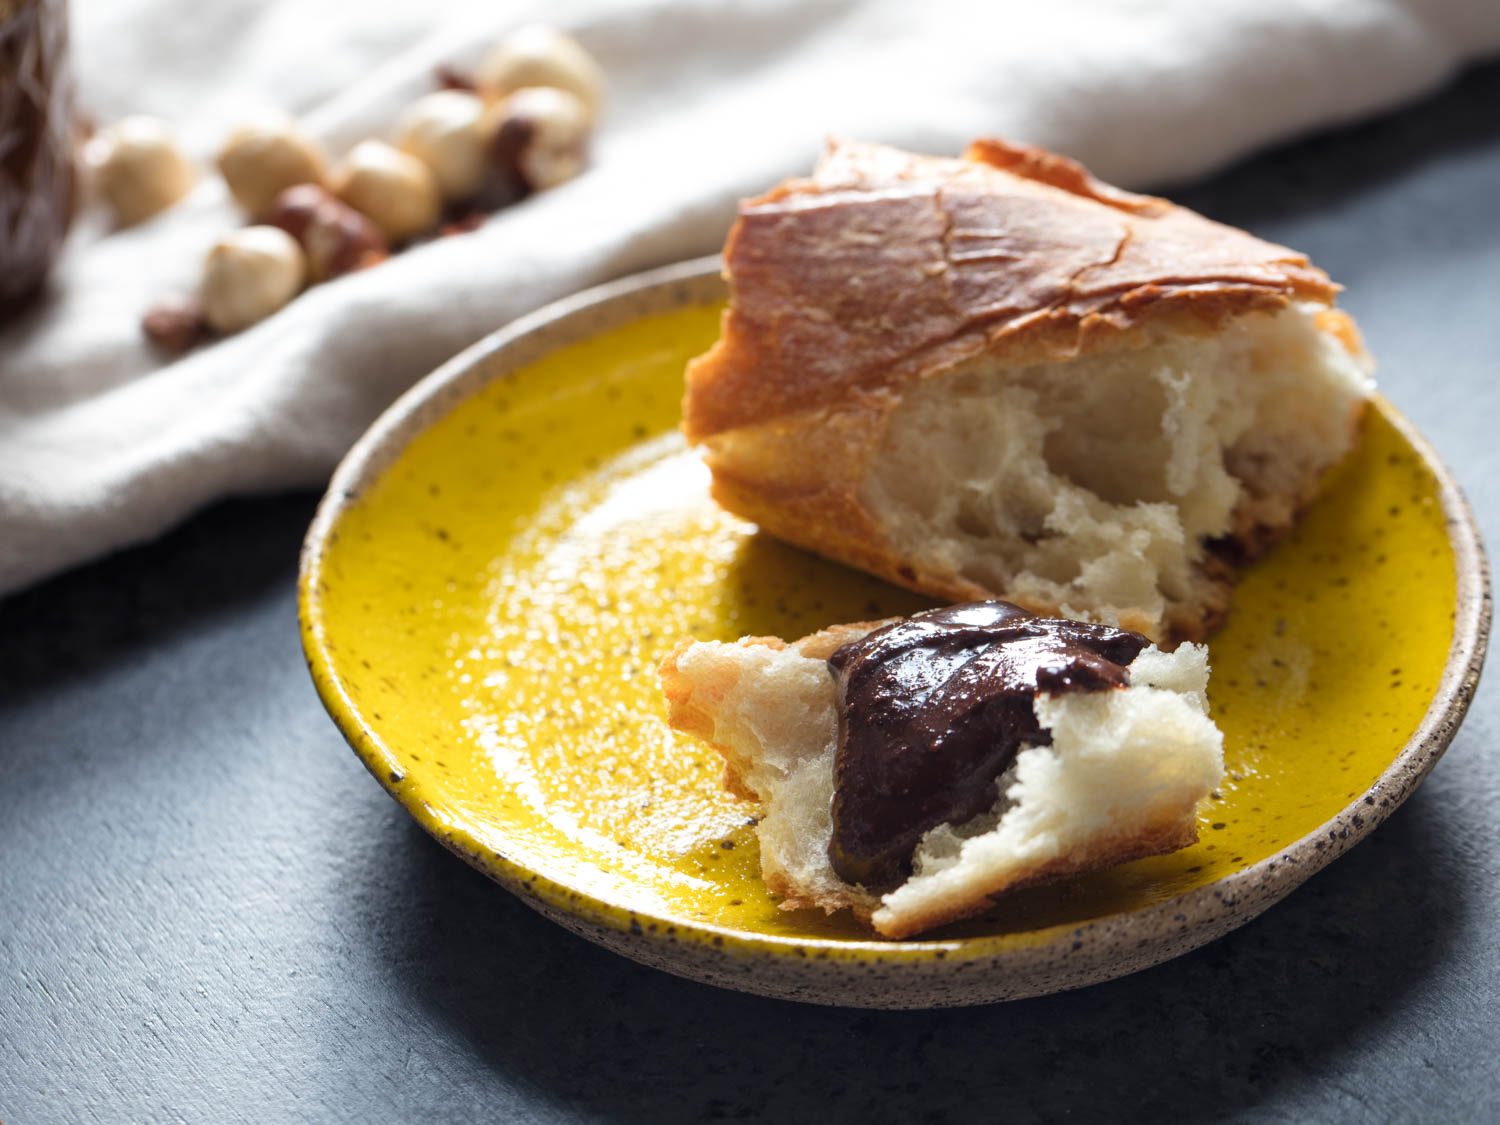
At this stage, the mixture will be thin-bodied and warm. Sometimes this is as far as I go, because I can’t resist spooning this crispy chocolate goo over a chunk of fresh baguette. While warm, the candy bits will have a slightly tacky texture, but that’s never stopped me.
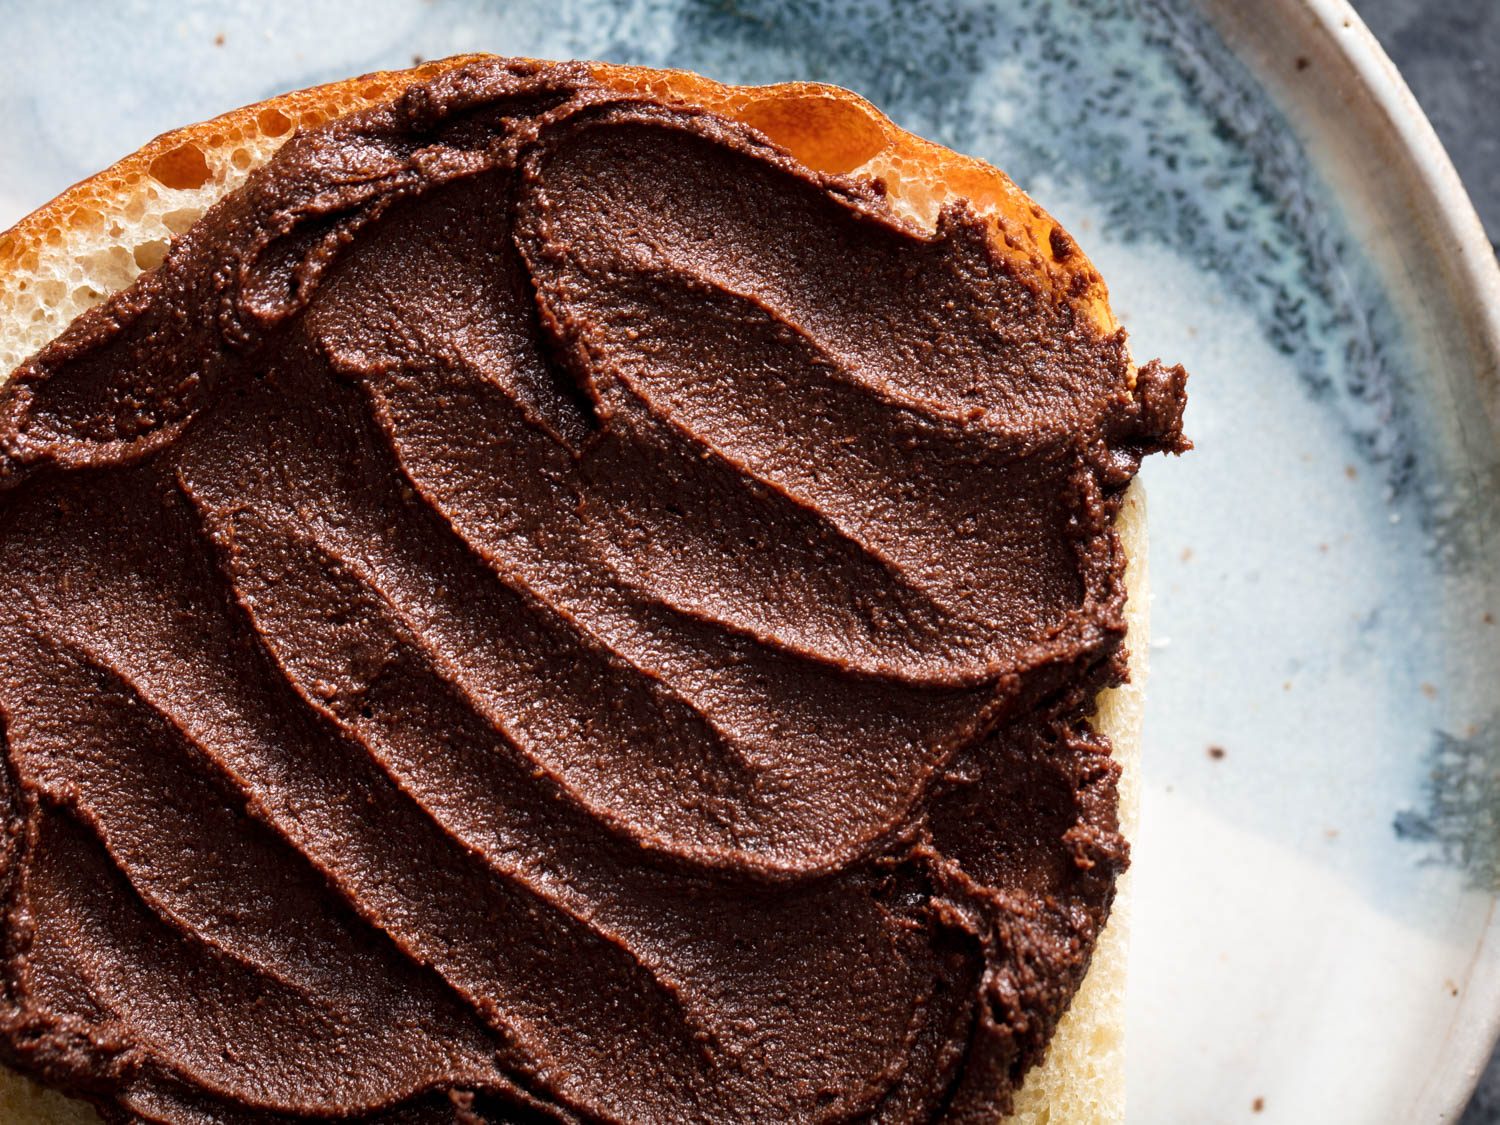
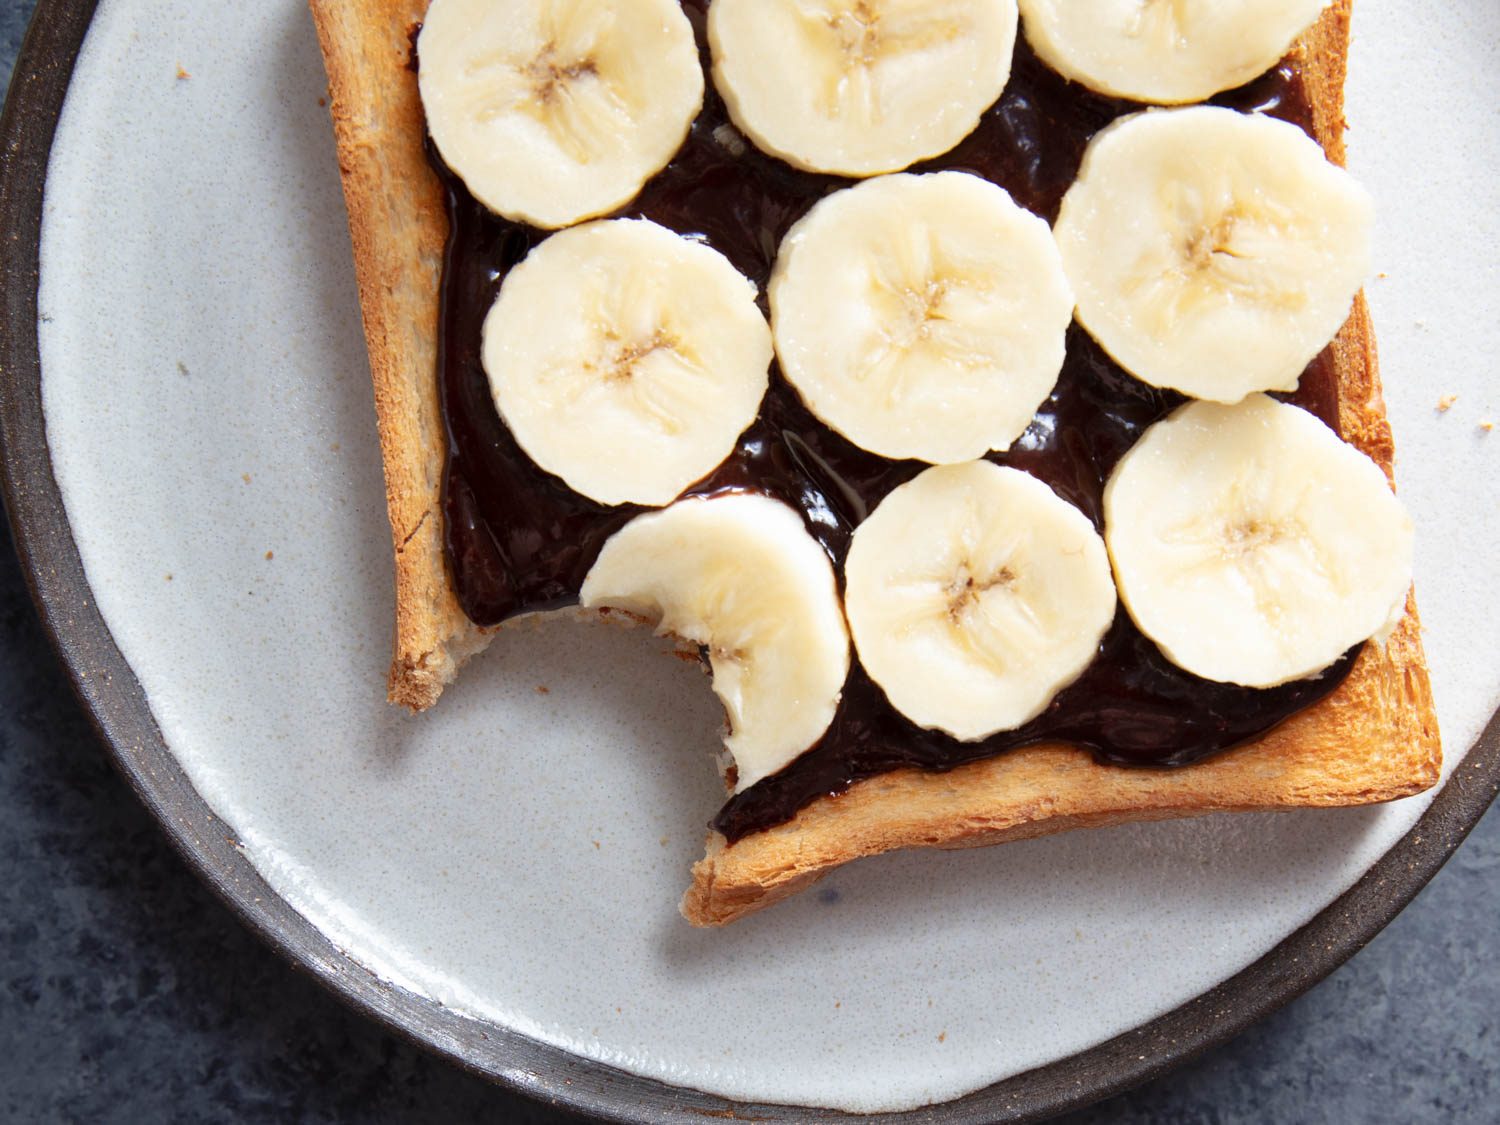
After about 24 hours at cool room temperature (longer if the ambient temperature is warmer), the mixture will set rather firmly, and the candy bits will develop a delicate crispness. At this point, it can be spooned up with a melon baller to make chocolate-hazelnut truffles, or simply spread over thick slices of toast.
But those who prefer a perfectly smooth and creamy chocolate-hazelnut spread should pulse in about five ounces of water. Over-processing can break the emulsion, so add the water in a slow but steady stream, and stop pulsing as soon as the spread comes together in a creamy paste.
The mixture will keep at cool room temperature in an airtight container for about a month, remaining well emulsified and easy to spread. Its shelf life can be extended by refrigerating the whole batch, or by splitting it between two containers: one to keep at room temperature for now, and one to refrigerate and bring out somewhere down the road.
Whether you opt for thick and crispy or soft and creamy, this chocolate-hazelnut spread has a deeply nutty flavor and mellow sweetness, backed by the complexity of caramel. It’s amazing as a filling for cookies or crepes, as a fudgy swirl in ice cream, or just spread over your morning toast.
This post may contain links to Amazon or other partners; your purchases via these links can benefit Serious Eats. Read more about our affiliate linking policy.
Source link