
[Photographs: Vicky Wasik]
I’d argue that the best way to get to know a city is to eat your way across town. So when I moved to Chicago a few years back for a restaurant job, I’d spend my days off trying to find the best food each neighborhood had to offer. I’d make carnitas pilgrimages to Pilsen, treks down to Bridgeport for killer British meat pies, and spend whole afternoons eating dosas on Devon Avenue. But one of my all-time favorite food excursions is one I returned to time and again: a journey to the north side of the city for northern Thai food. I’d hit up a few spots, grabbing an order of grilled pork neck here, a fermented sausage there, and all the while falling in love with Thai sticky rice, the ubiquitous accompaniment than can cut through and temper a dish’s heat just as well as it can serve as a delivery vehicle for dipping sauces, soups, and dressings.
Sticky rice, which is also known as “glutinous”* or “sweet” rice, is an essential ingredient in northern and northeastern Thai, as well as Lao, cuisine. It’s used in countless sweet and savory applications, for dishes like coconut sticky rice with mango, or to make toasted rice powder for dipping sauces like jaew. In its most basic form, sticky rice is steamed and served as an integral accompaniment to a meal, with diners pulling off small pieces and molding it with their fingers to dip and scoop with as they eat.
* Not to be confused with glutenous! Glutinous describes the rice’s level of amylopectin, a water-soluble component of starch. You can read more about grains and gluten in our guide to whole grains.
Most rice preparations that claim to be “steamed” are actually boiled in water. But Thai sticky rice (khao niao) is really and truly steamed, because it otherwise disintegrates when boiled. To ensure the grains cook and absorb moisture evenly, sticky rice first needs to be soaked and rinsed in water before cooking. Once steamed, the grains of glutinous rice become tender but maintain a distinct chewiness. And while they are indeed sticky, they maintain their individual structure and don’t turn into a homogenous paste when handled.
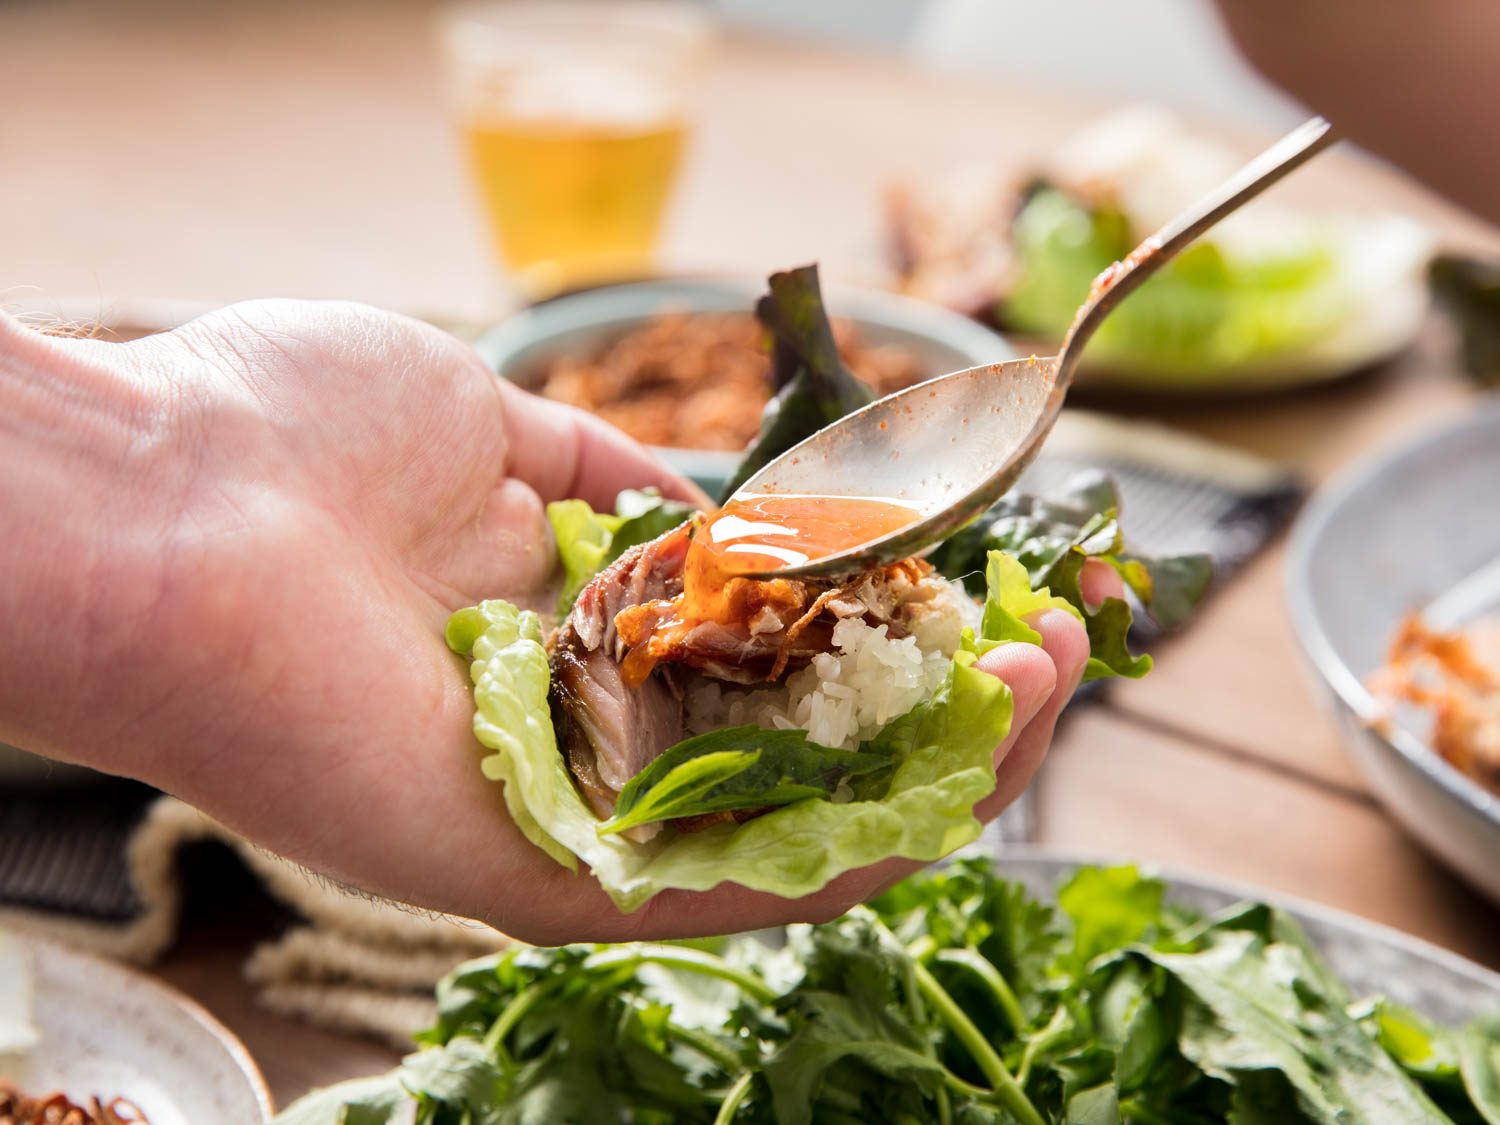
Sticky rice pairs incredibly well with grilled or roasted meats and fish, and it’s great for soaking up assertive dipping sauces and broths. It’s also a great side dish option for when you’re entertaining and cooking for a crowd; it can be made ahead and will stay warm for a while, a little goes a long way, and it’s made for sharing, forcing your dinner companions to get comfortable with each other as they tear off morsels for themselves. It’s also very simple to make. Here’s how to do it.
How to Make Thai Sticky Rice
Soak It
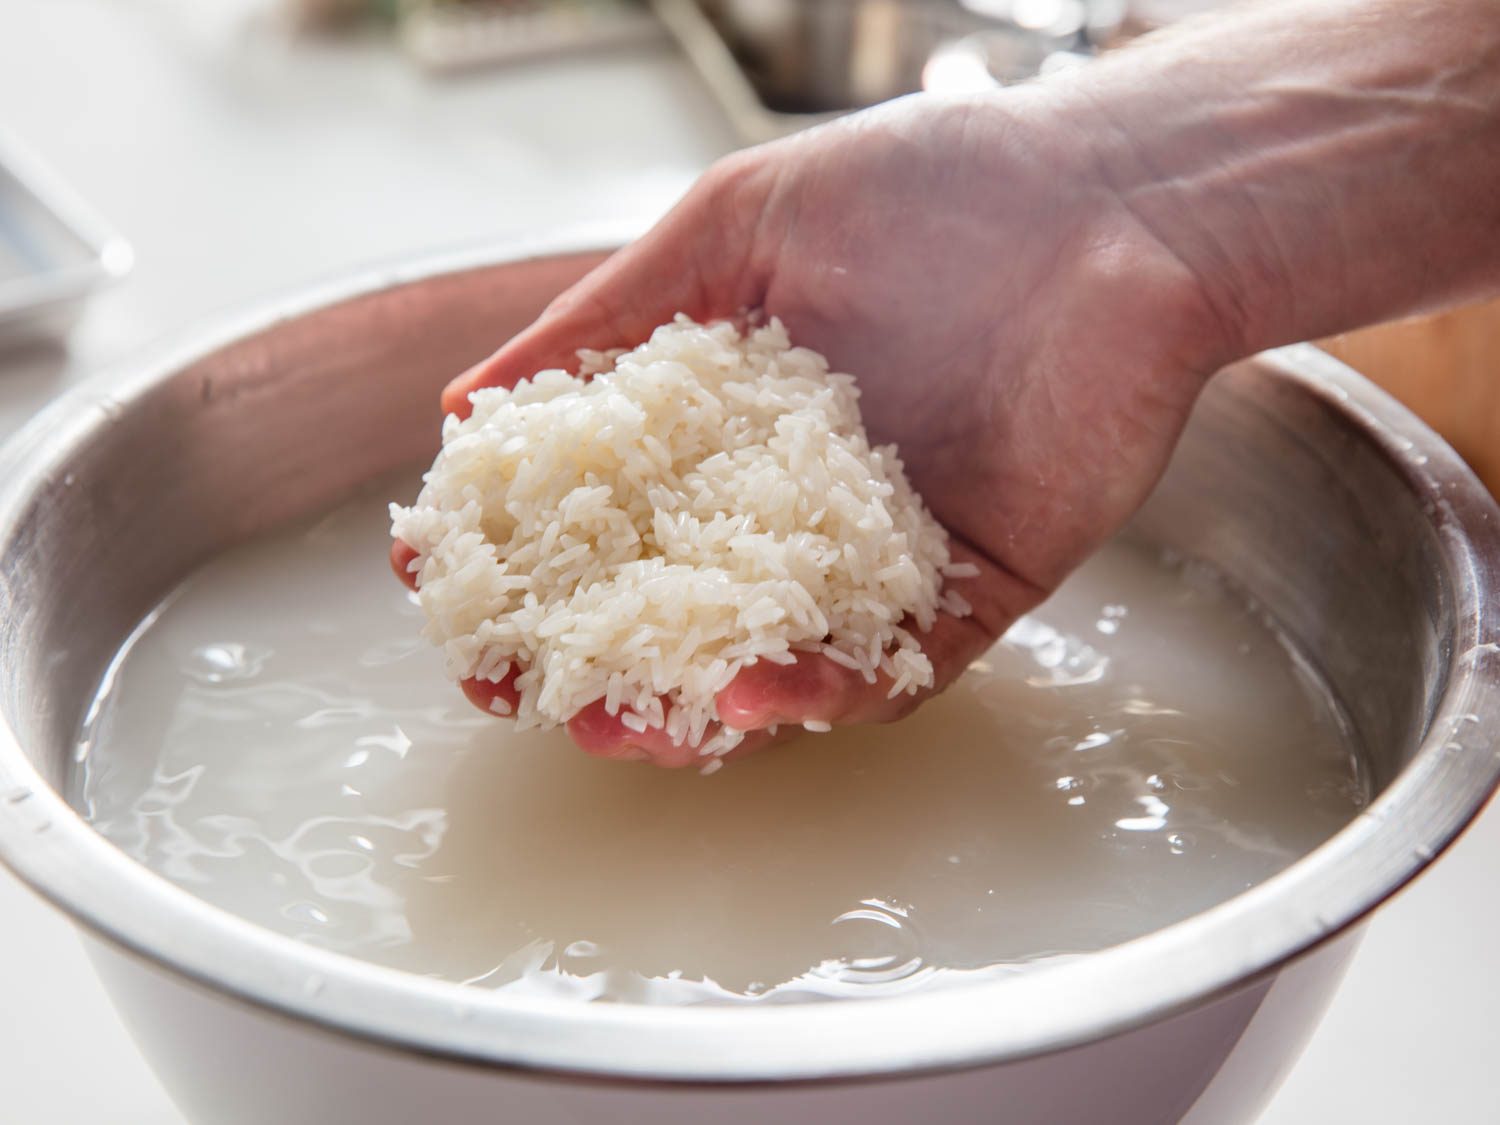
As I mentioned earlier, sticky rice needs to be soaked before cooking. In an ideal world, we’d all place the rice in a large bowl, cover it by a few inches with cool water, and leave it to soak overnight. If you’re like me, and rarely put a lot of forethought into home cooking projects, don’t despair. You can pull off same-day sticky rice by soaking the grains in hot water for a couple of hours. It will work out just fine.
Rinse It
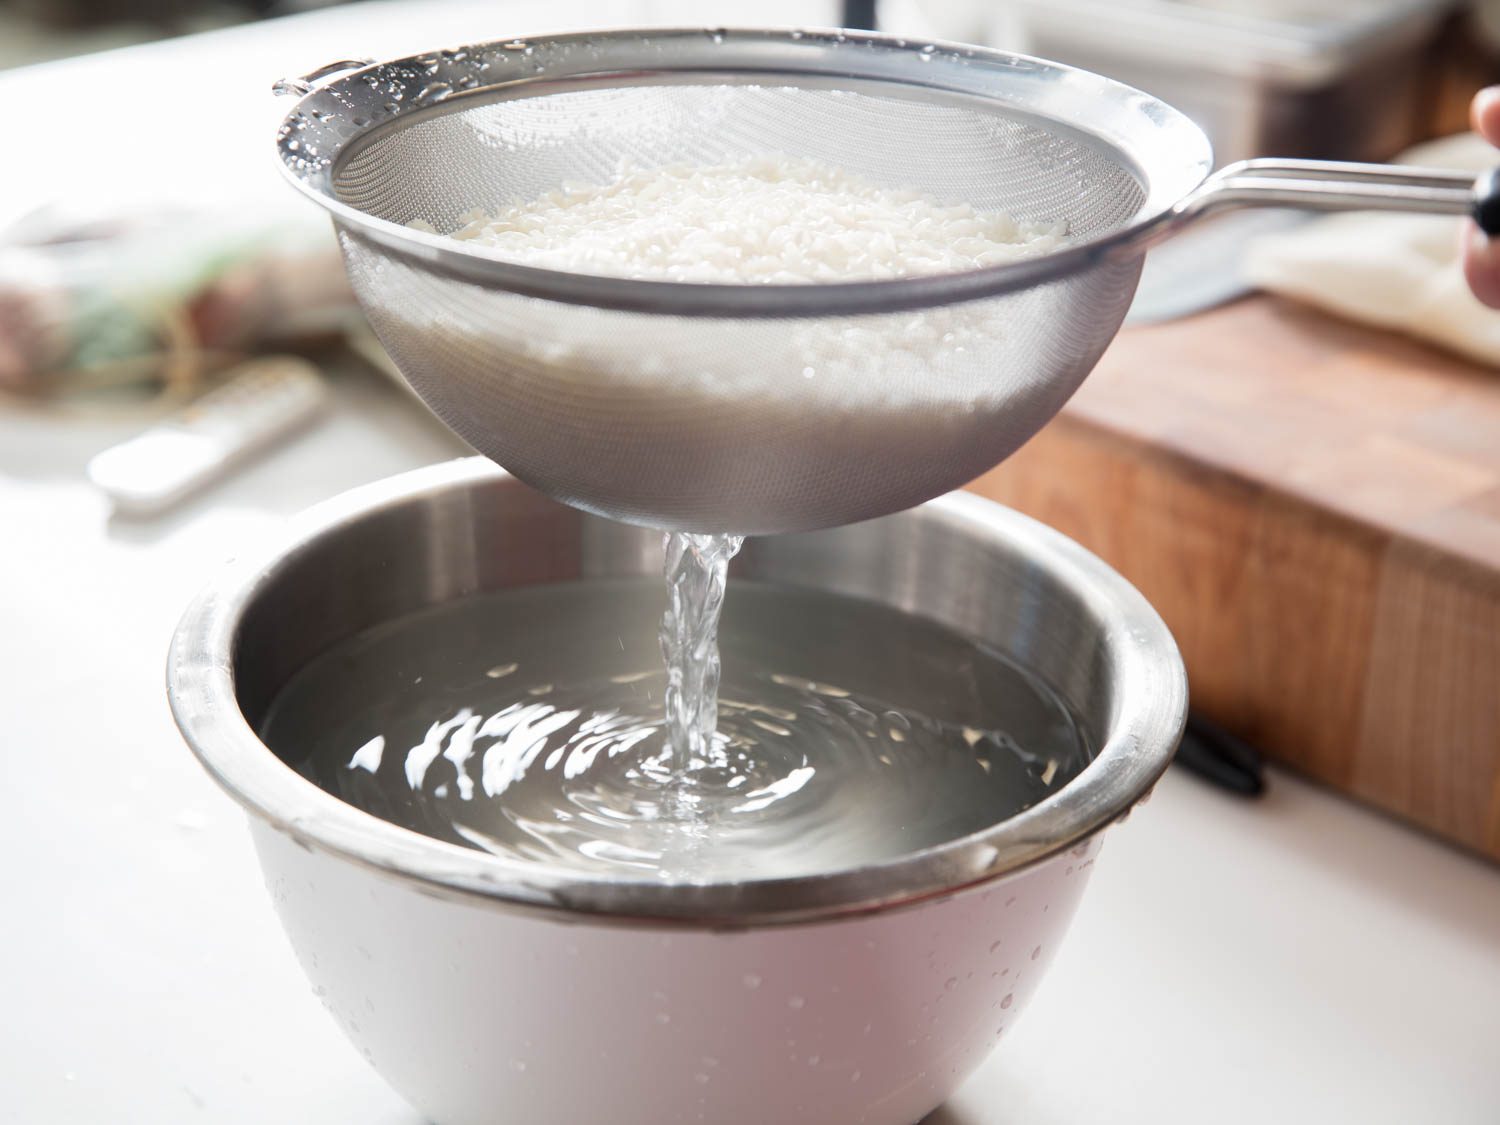
Once the rice has soaked, you need to drain it and then rinse it repeatedly to wash off excess starch. Though you may be tempted, holding a strainer filled with rice under running water will not do the trick. Instead, dump the rice into a fine-mesh strainer and discard the first round of soaking water. Then refill the soaking bowl with water and set the strainer inside, submerging the rice in water while keeping it in the strainer basket. Swish the rice around with your hand to release starch from the grains, then lift the strainer out of the water, dump out the water, and refill the bowl with fresh water.
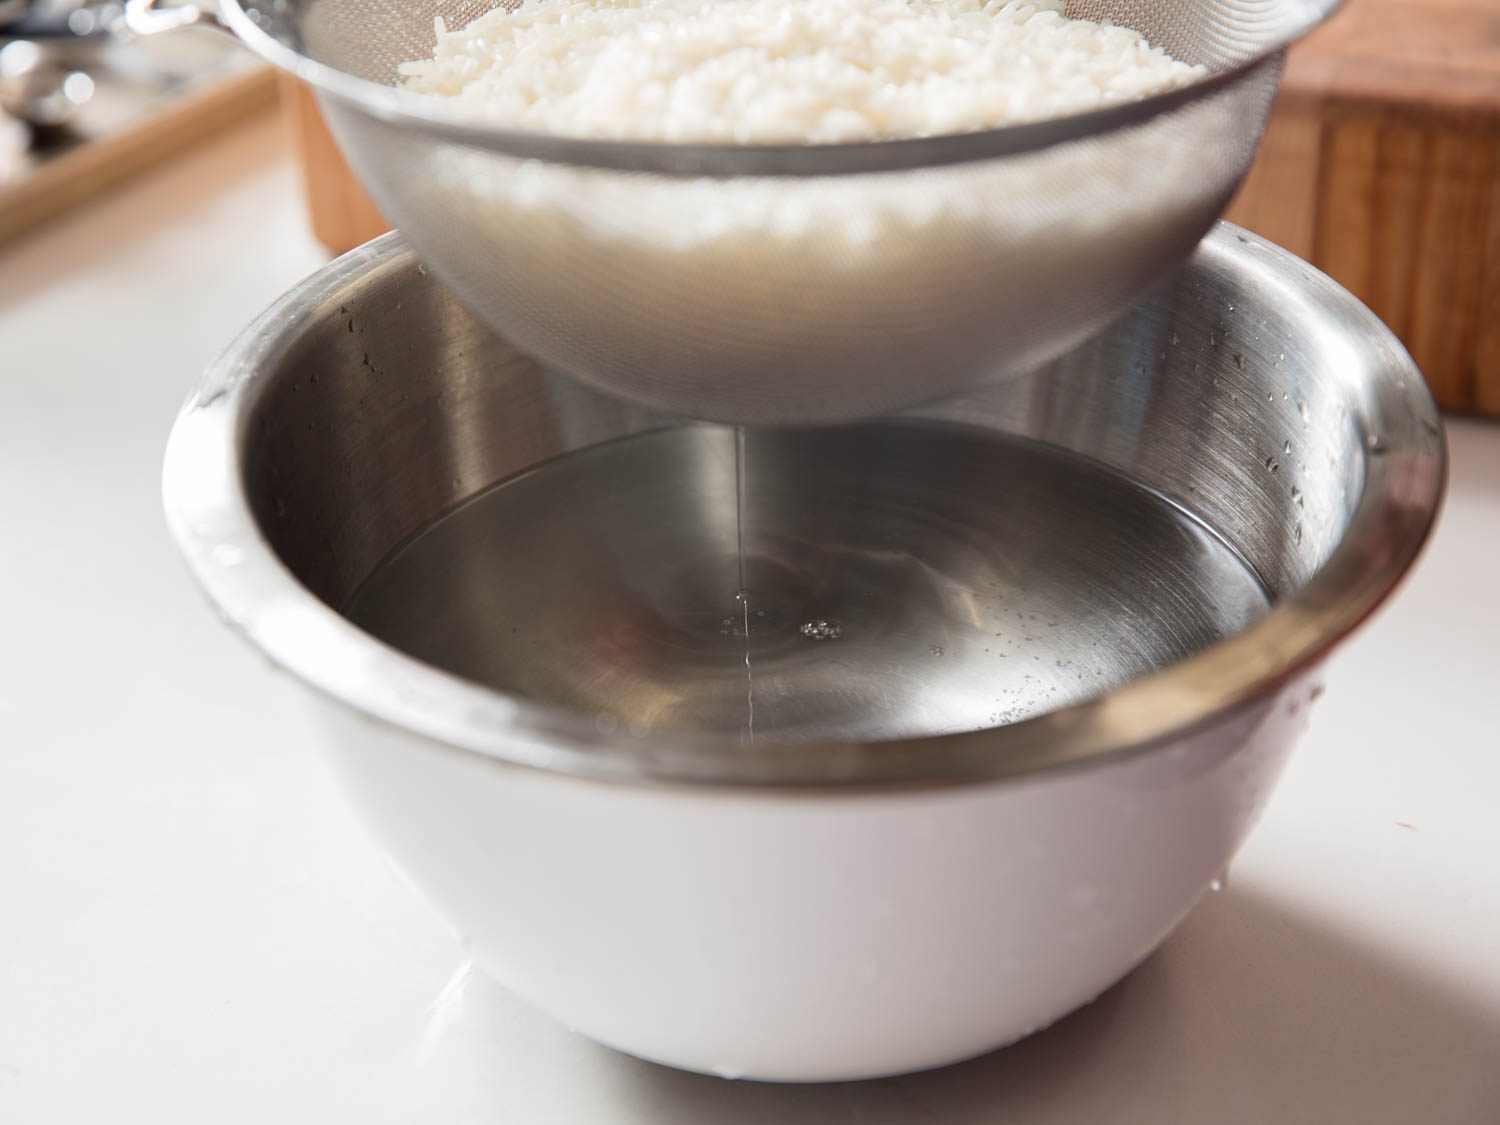
Repeat this process a few times until the water in the bowl is mostly clear. Rinsing off the excess starch in this manner ensures that the grains of rice remain separate when cooked, and don’t steam into a clumpy brick.
Wrap It
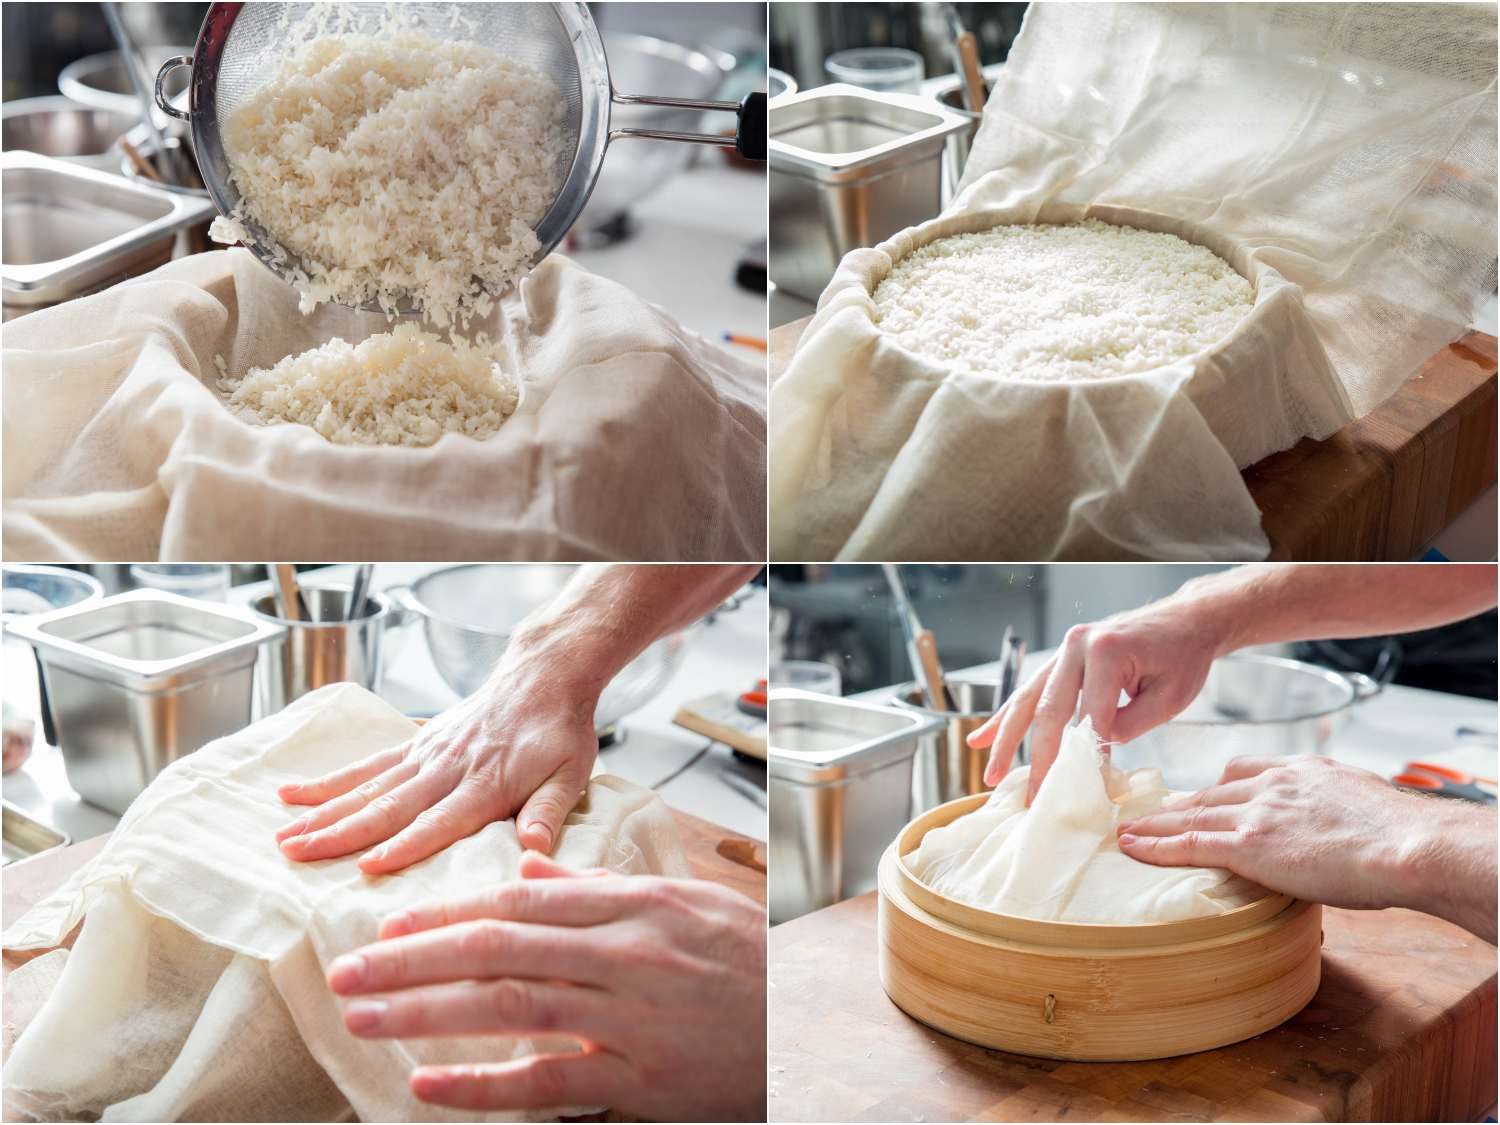
Next, line the basket of a steamer with a double-layer of damp cheesecloth, making sure that you have enough cloth for a few inches of overhang on all sides of the basket. If you don’t have a bamboo steamer, you can use a stainless steel steamer insert, or even a colander. If you have a traditional Thai sticky rice steamer, which looks a bit like an oversized pour-over coffee rig with a metal jug base and a bamboo basket instead of a filter, then obviously you don’t need my help and you can carry on making sticky rice as usual.
Transfer the rinsed rice into the cheesecloth-lined steamer basket, use your hands to pat the rice into an even layer, and then fold the overhanging cheesecloth over the rice to form a cute little rice parcel before popping a lid on the basket (provided you’re using one).
Steam It
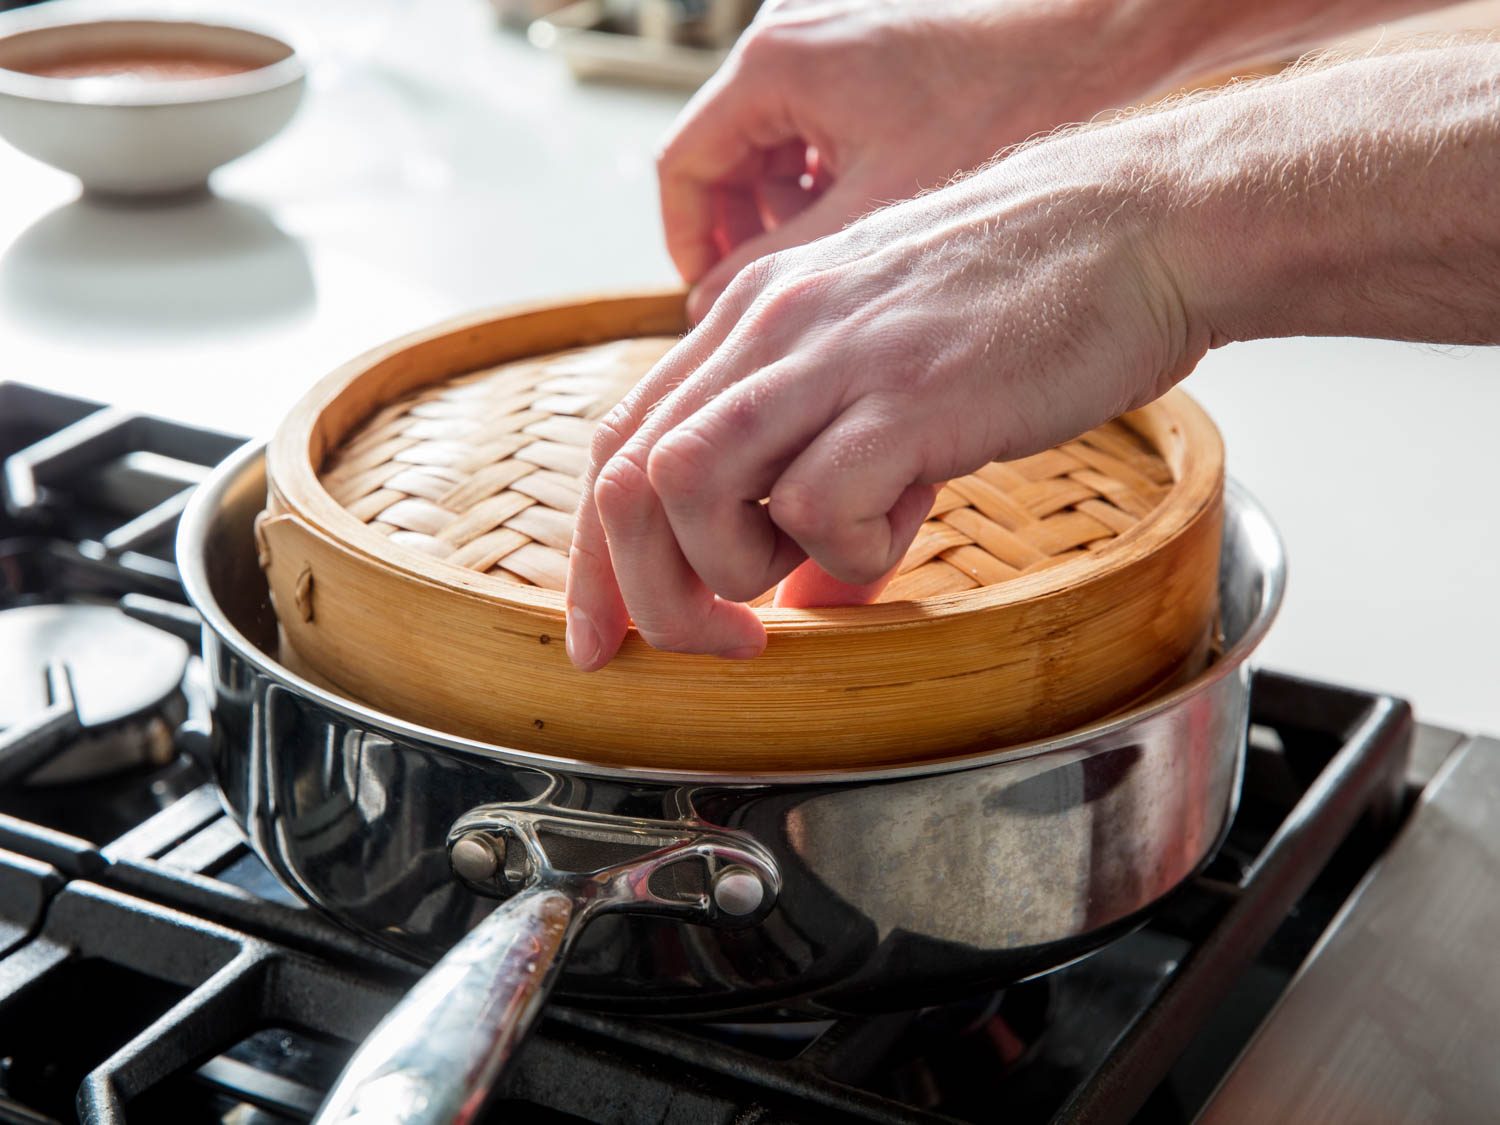
Next, simply bring a couple of inches of water to a boil in a vessel large enough to fit the steamer basket. You can use a wok, a pot, or, as I did in this case, a straight-sided sauté pan. Lower the heat a little to keep the water at a rolling simmer, and steam the rice for 10 minutes.
Flip It
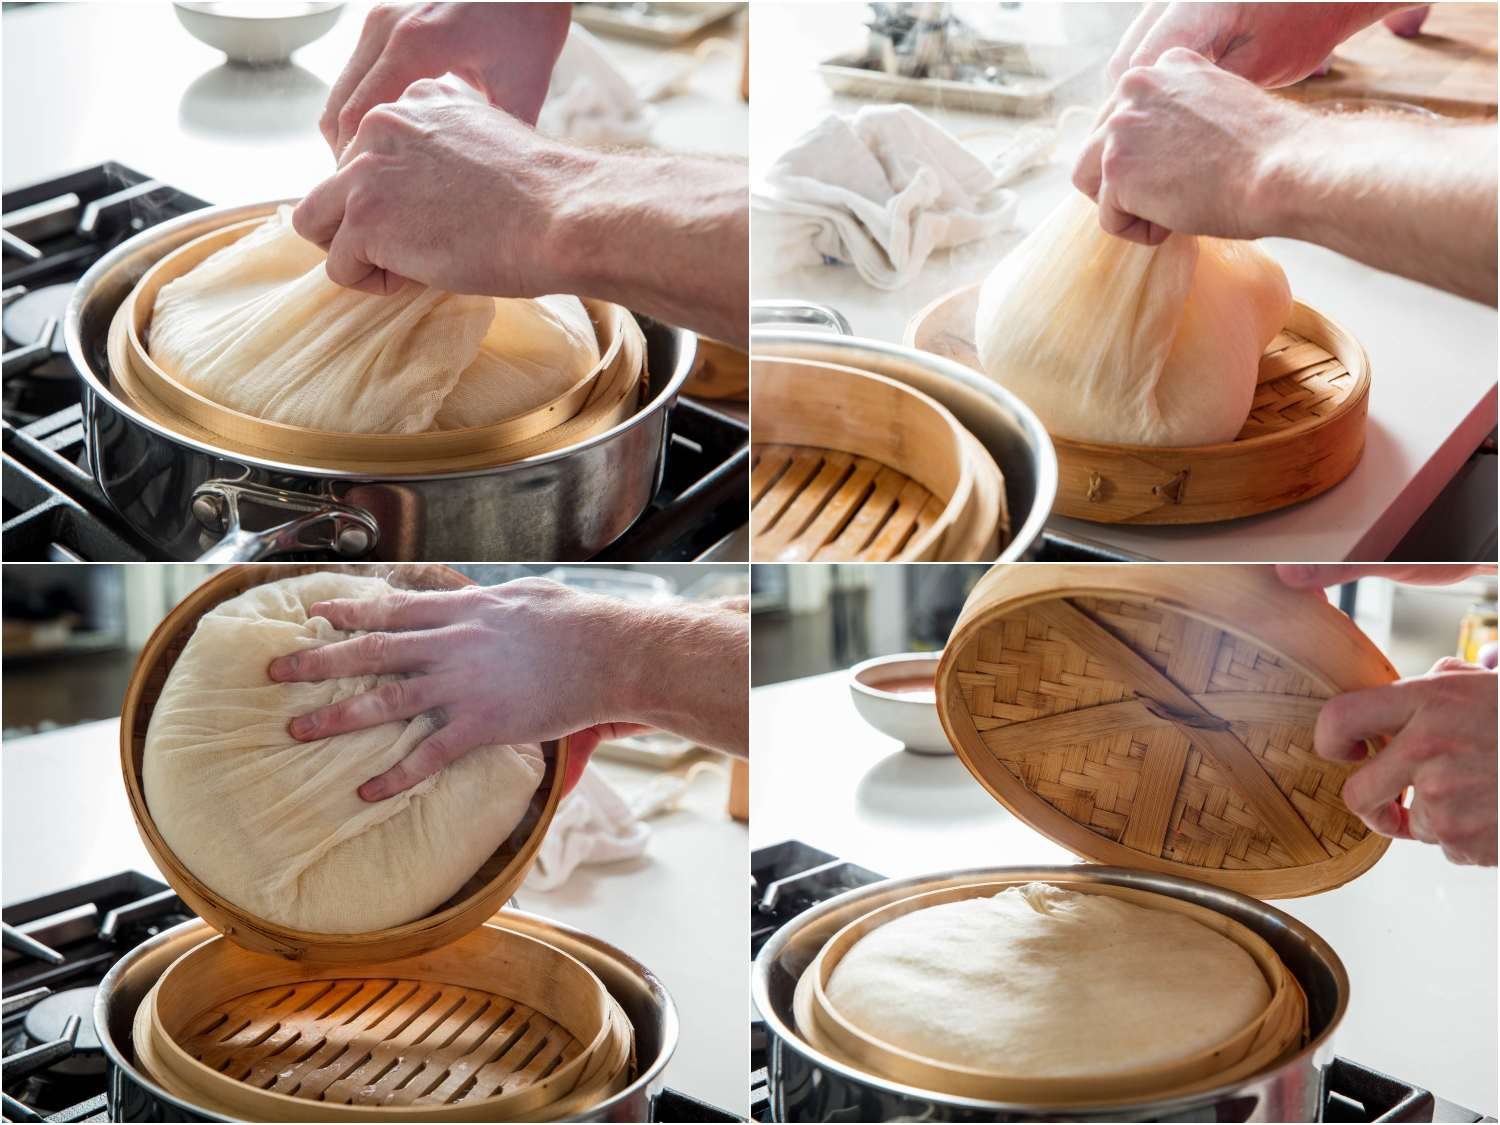
After 10 minutes, remove the lid of the steamer and carefully flip the rice parcel over so that the folded up bundle is now on the bottom. Pop the lid back on, and steam the rice for another 10 minutes. Flipping the rice halfway through cooking ensures the rice cooks evenly, and it’s most important to do when you’re steaming a large amount of rice at once. If you’re only cooking a couple cups of rice, you can skip the flip.
Steam It Some More
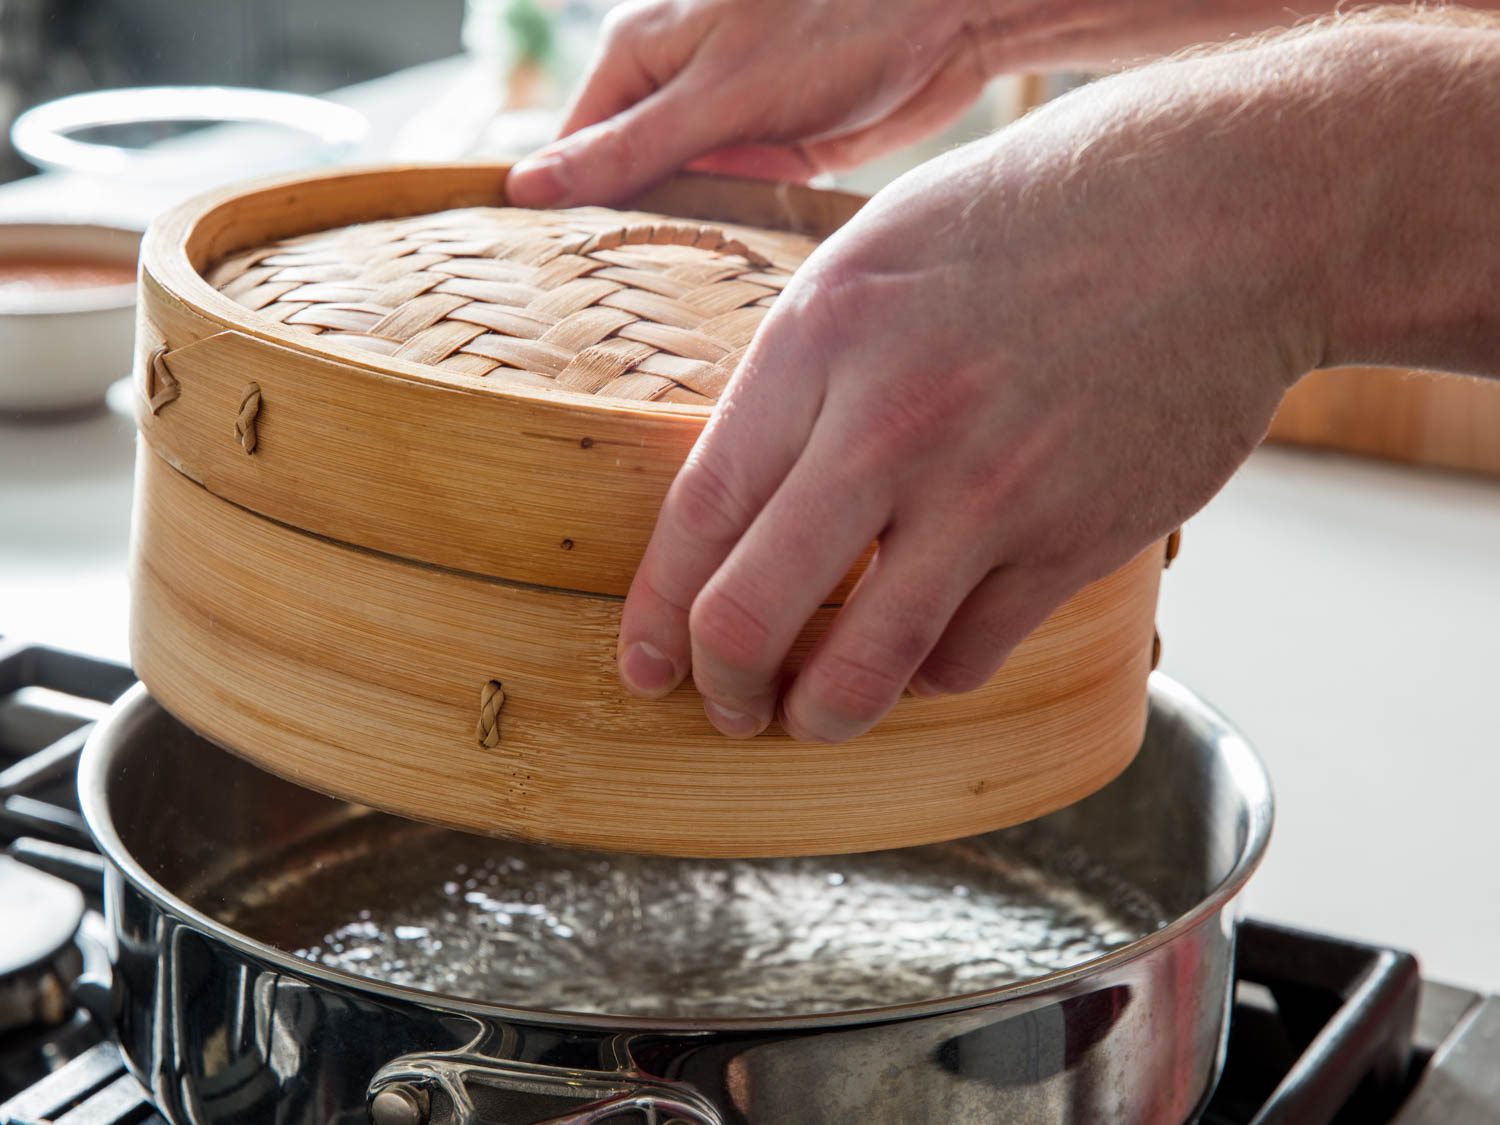
After the rice has steamed for a total of 20 minutes, take it off the heat and let it hang out for a few minutes until it’s cool enough to handle. At this point, you can transfer it to a serving bowl, ditch the cheesecloth, and cover the bowl with a plate to keep the rice warm (it will stay warm for about an hour, and you can easily reheat it by zapping it on low heat in the microwave).
Serve It
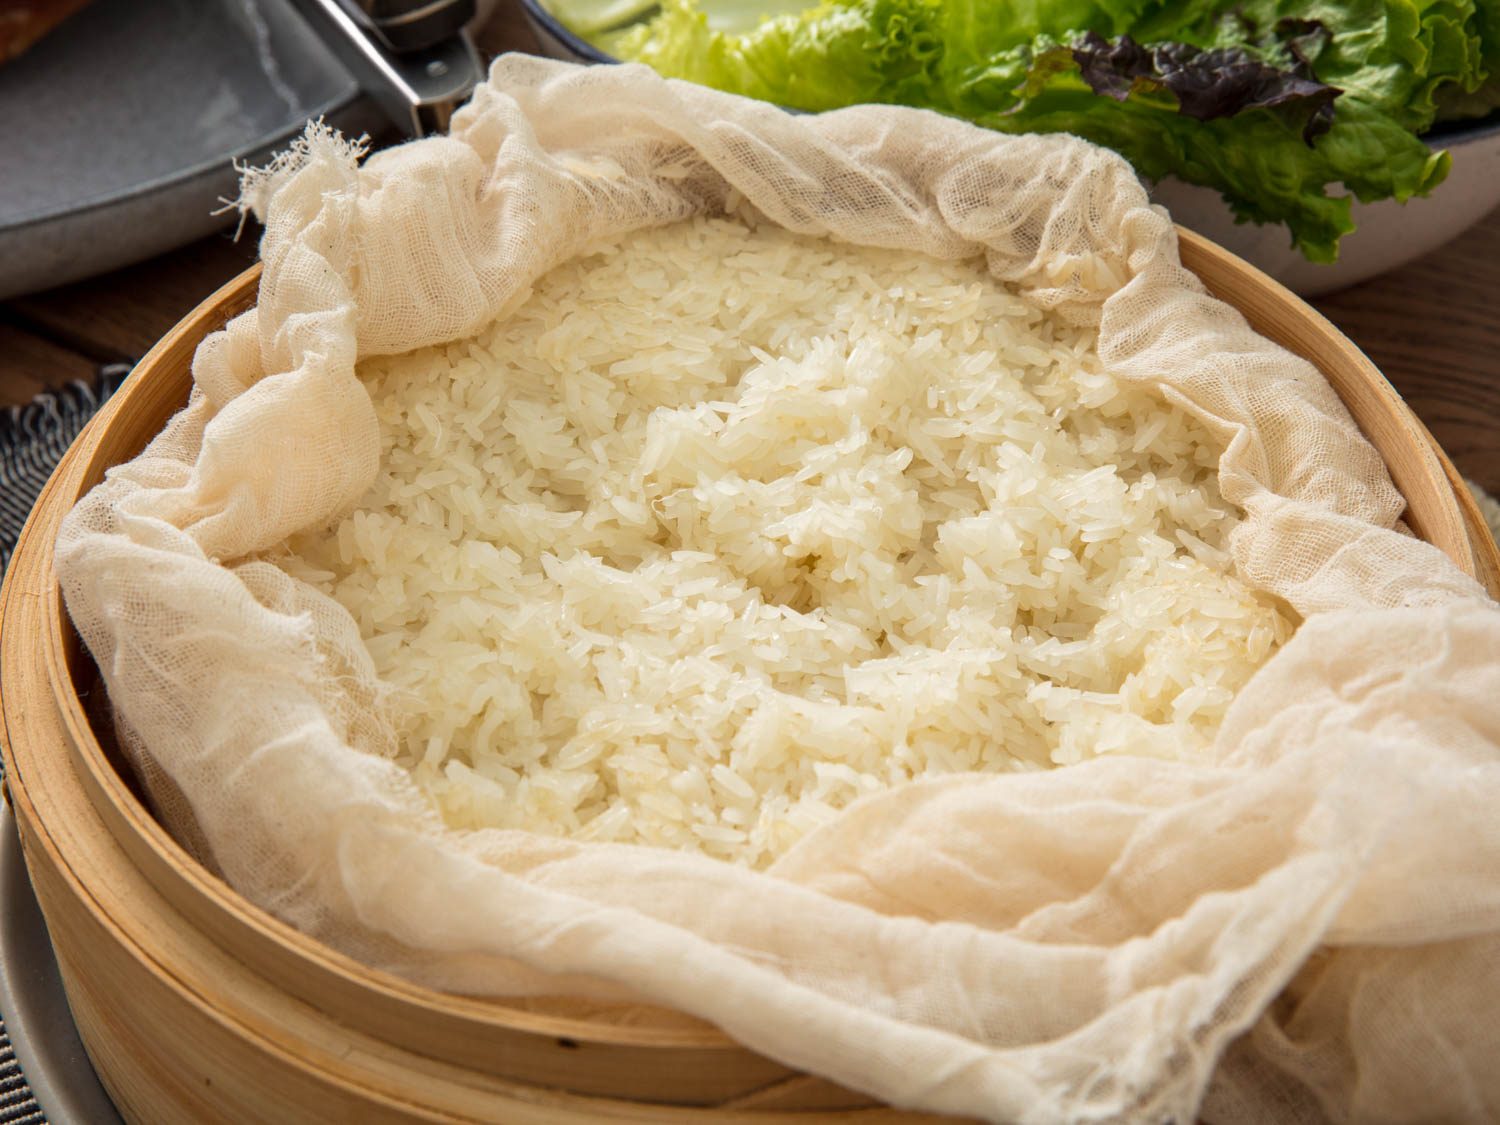
If you want to serve it in the steamer basket instead, flip the bundle back over so that the folds are facing up. When you’re ready to serve, peel back the cheesecloth and dig in. Without the need to accurately measure water in relation to rice, I find making sticky rice to be a lot less stressful than boiling rice on the stovetop. You just have to give it the soak-and-steam spa treatment.
This post may contain links to Amazon or other partners; your purchases via these links can benefit Serious Eats. Read more about our affiliate linking policy.
Source link