[Video: Serious Eats Video. Photographs: Vicky Wasik]
Carbon steel pans don’t get half the love cast iron ones do, which is too bad since carbon steel can be just as useful in a home kitchen. Like cast iron, carbon steel has relatively poor heat conduction and relatively good heat retention, which makes it a solid choice for pan-roasting meats. But because carbon steel pans are usually stamped or spun from sheets of metal instead of cast in a form, they have sloped sides and are thinner and lighter than cast iron. Those two features make them much better suited to tossing foods, which means they’re one of the best pans for sautéing meats and vegetables.
One other thing carbon steel has in common with cast iron: it’s seasoned. Contrary to popular belief, “seasoning” in the context of cookware is not flavor that builds up in a pan over time. Instead, seasoning is an accumulation of incredibly thin layers of oil that have transformed, via heat, from liquid grease into a solid, plastic-like polymer.
There are a couple of reasons to season a carbon steel pan (the same reasons and techniques apply to cast iron). First, bare carbon steel will rust if exposed to moisture and humidity; seasoning acts as a barrier to water, preventing the pan from rusting on a humid day. The seasoning also boosts the pan’s performance, giving it a nonstick surface that only modern Teflon-type coatings can beat. When seasoned properly, carbon steel is great for eggs, pancakes, crepes, blini, and more—in fact, traditional omelette and crèpe pans are made from carbon steel.

Seasoning a carbon steel pan is easy to do. It’s also more instructive than seasoning case iron. That’s because most cast iron comes pre-seasoned from the factory, making it difficult for the home cook to fully grasp what the seasoning even is. That’s right, jet-black cast iron isn’t black because of the metal, it’s black because of the seasoning—underneath that dark exterior is grey iron.
Look at a new carbon steel pan and you’ll see something you rarely do with cast iron: the color of the bare metal. Most carbon steel pans come completely unseasoned, allowing you to see the seasoning develop before your eyes. With enough seasoning layers, your carbon steel pans will be as black as cast iron. Once you’ve witnessed this, you’ll have no confusion about what seasoning is, and what it isn’t.
Step 1: Remove Protective Coating and Wash the Pan
Most carbon steel pans come unseasoned, with a protective coating that ensures the bare metal doesn’t rust. How do you know if your pan is unseasoned? It’ll be a metallic grey color, and not black like most off-the-shelf cast iron pans.
The first thing you need to do is remove that coating. Because different manufacturers use different coatings, I’m not going to provide instructions for that here. Simply follow the instructions that come with the pan. Once you’ve done that, wash the pan well.
Step 2: Dry the Pan
As soon as you’ve removed the protective coating and washed the pan, you need to dry it right away: The stuff that was preventing your pan from rusting is gone and you’d be shocked by how quickly a light coating of rust can form on bare, wet steel.
I usually give the wet pan a quick towel-dry, then set it over a stovetop burner to cook off any remaining moisture. This also happens to lead us right into the next step: heating the pan.
Step 3: Heat the Pan
It’s time to apply the first layer of seasoning, and it helps to heat the pan first so that the oil can go on as thinly as possible. I often do this over a burner but you can do it in a 450°F oven, as well, as long as the handle of your carbon steel pan is oven-safe (unlike cast iron pans, which are a solid piece of iron, handle and all, carbon steel has a handle riveted on; some handles on carbon steel pans can’t take high oven heat, so check the owner’s manual).
Step 4: Apply Oil Sparingly
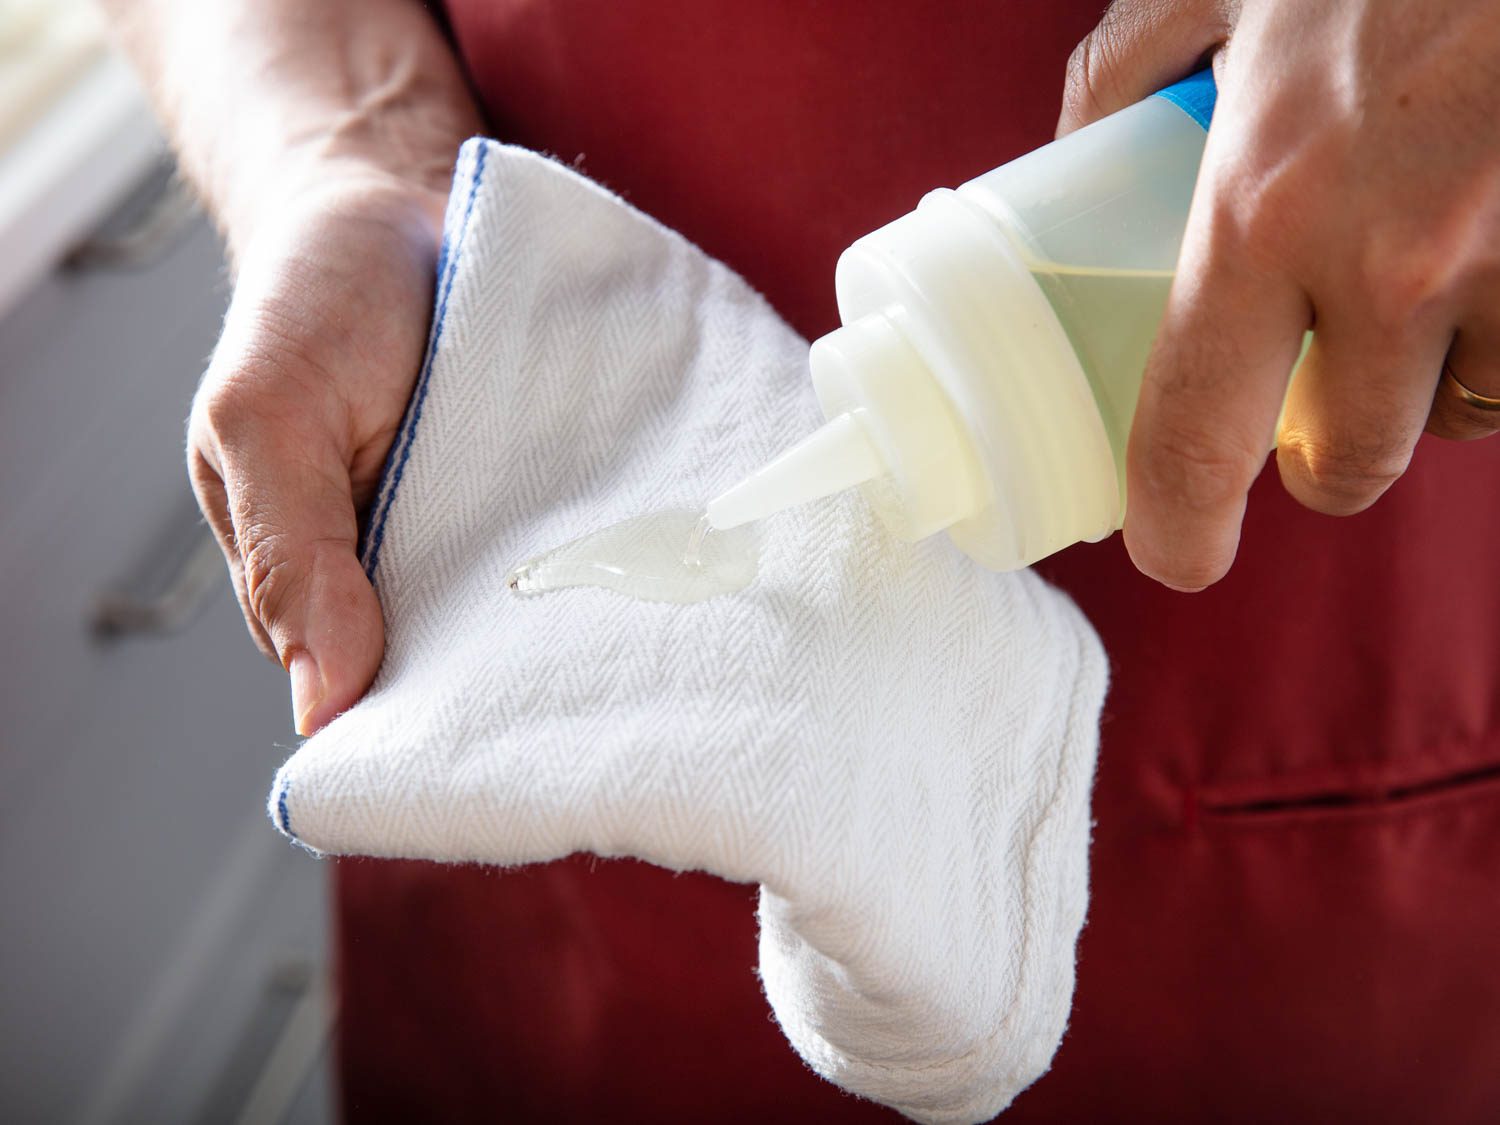
Lightly grease a kitchen towel that you don’t mind ruining with a neutral oil. Canola oil, vegetable oil, and grapeseed oil all work. What you don’t want to use: lard and shortening; butter, which has water and milk solids mixed into it; olive oil, which is more expensive and often has sediment; or flax-seed oil, which makes for beautiful looking seasoning that’s more prone to flaking off.
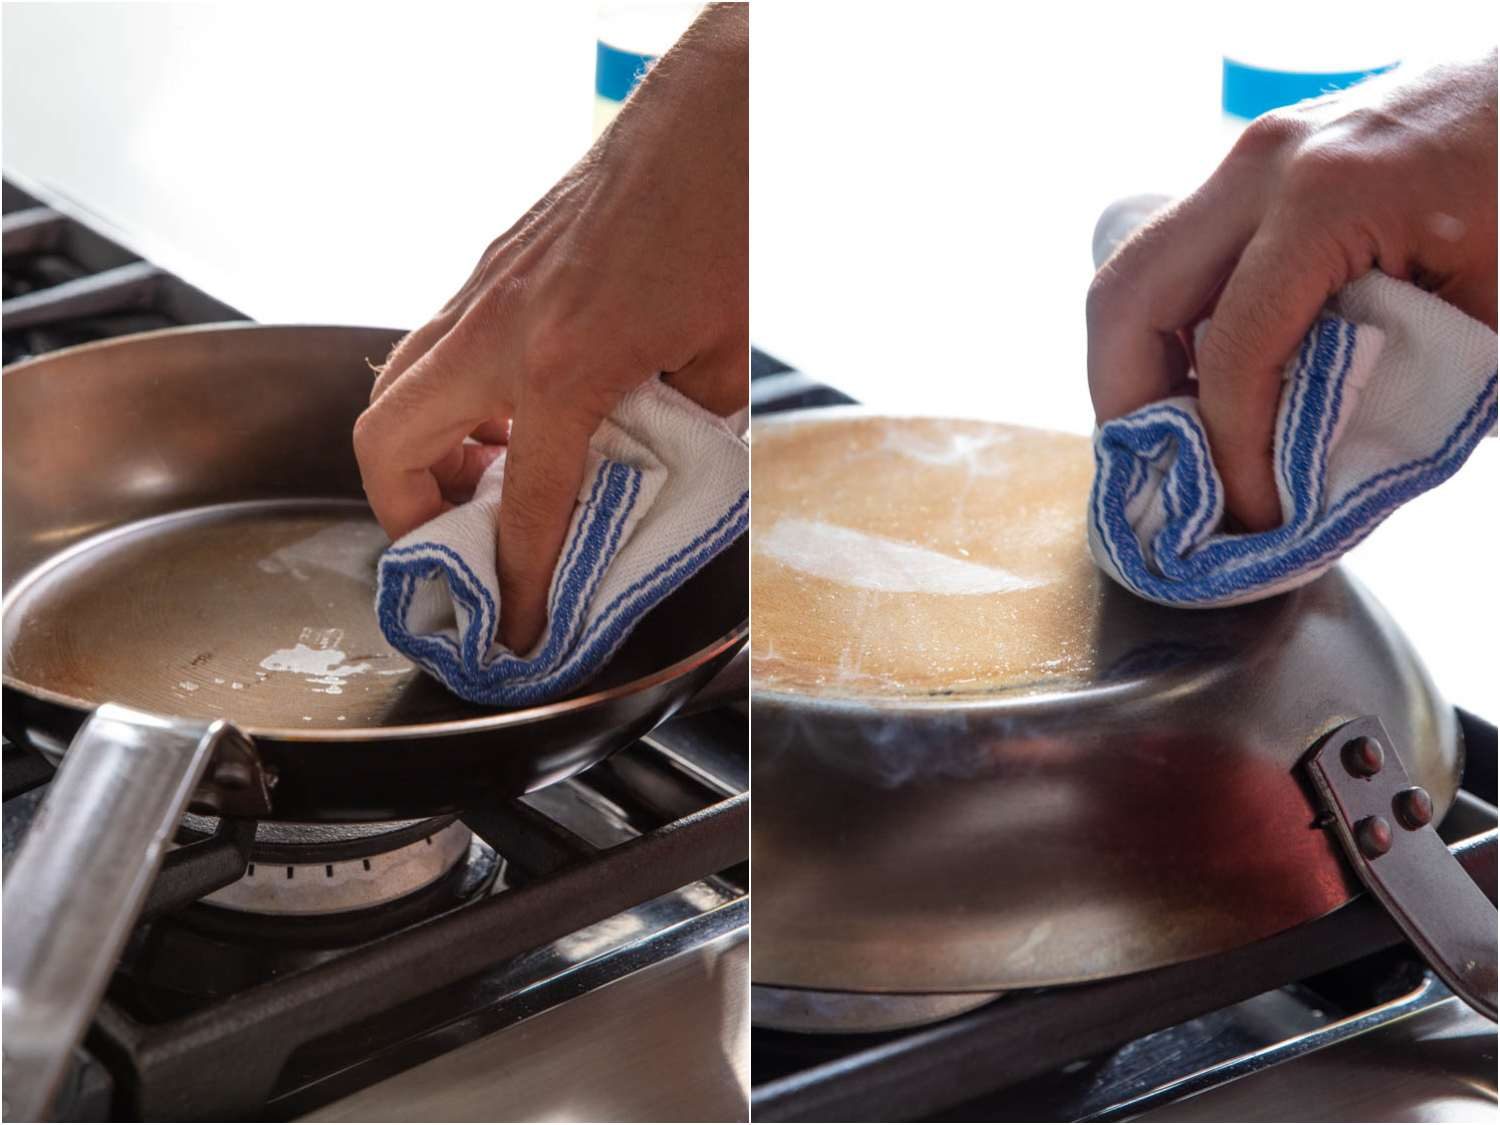
Now rub that oil onto the pan, inside and out, making sure to buff away any excess until the pan looks dry. I can’t stress this point enough: A heavy hand with the oil will mess up your seasoning, leaving you with a splotchy, sticky coating that can be difficult to fix. If you so much as wonder if you might have applied too much oil, I can guarantee that you have.
Buff it out, buff it dry, buff away any trace that you’ve oiled that pan at all. Don’t worry, there’s still oil there, and it’s just enough for seasoning.
Step 5: Burn it On
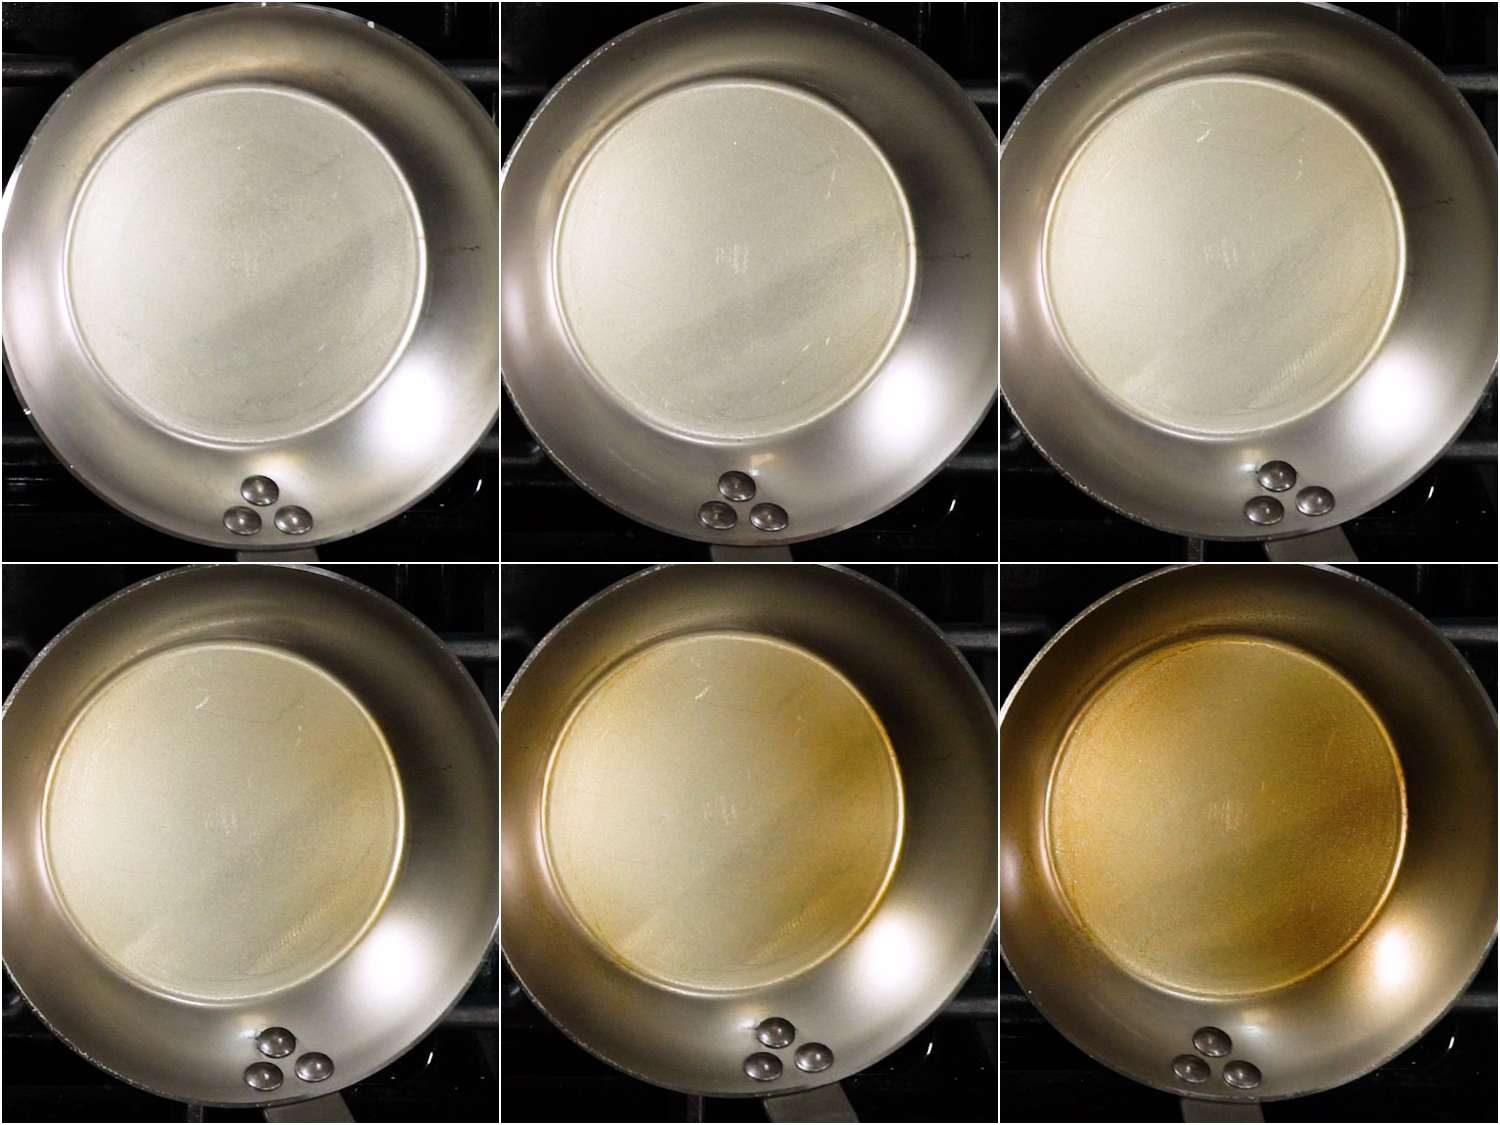
Now let the oiled pan heat, either on the burner at its highest setting or in that hot oven. The burner works well, but because carbon steel doesn’t conduct heat well, you may need to move the pan around to ensure the oil has formed a polymer everywhere. How can you tell? Well, with new carbon steel, you can literally see it. The areas where the oil has set into a solid coating will have turned a faint shade of brown. That’s the seasoning!
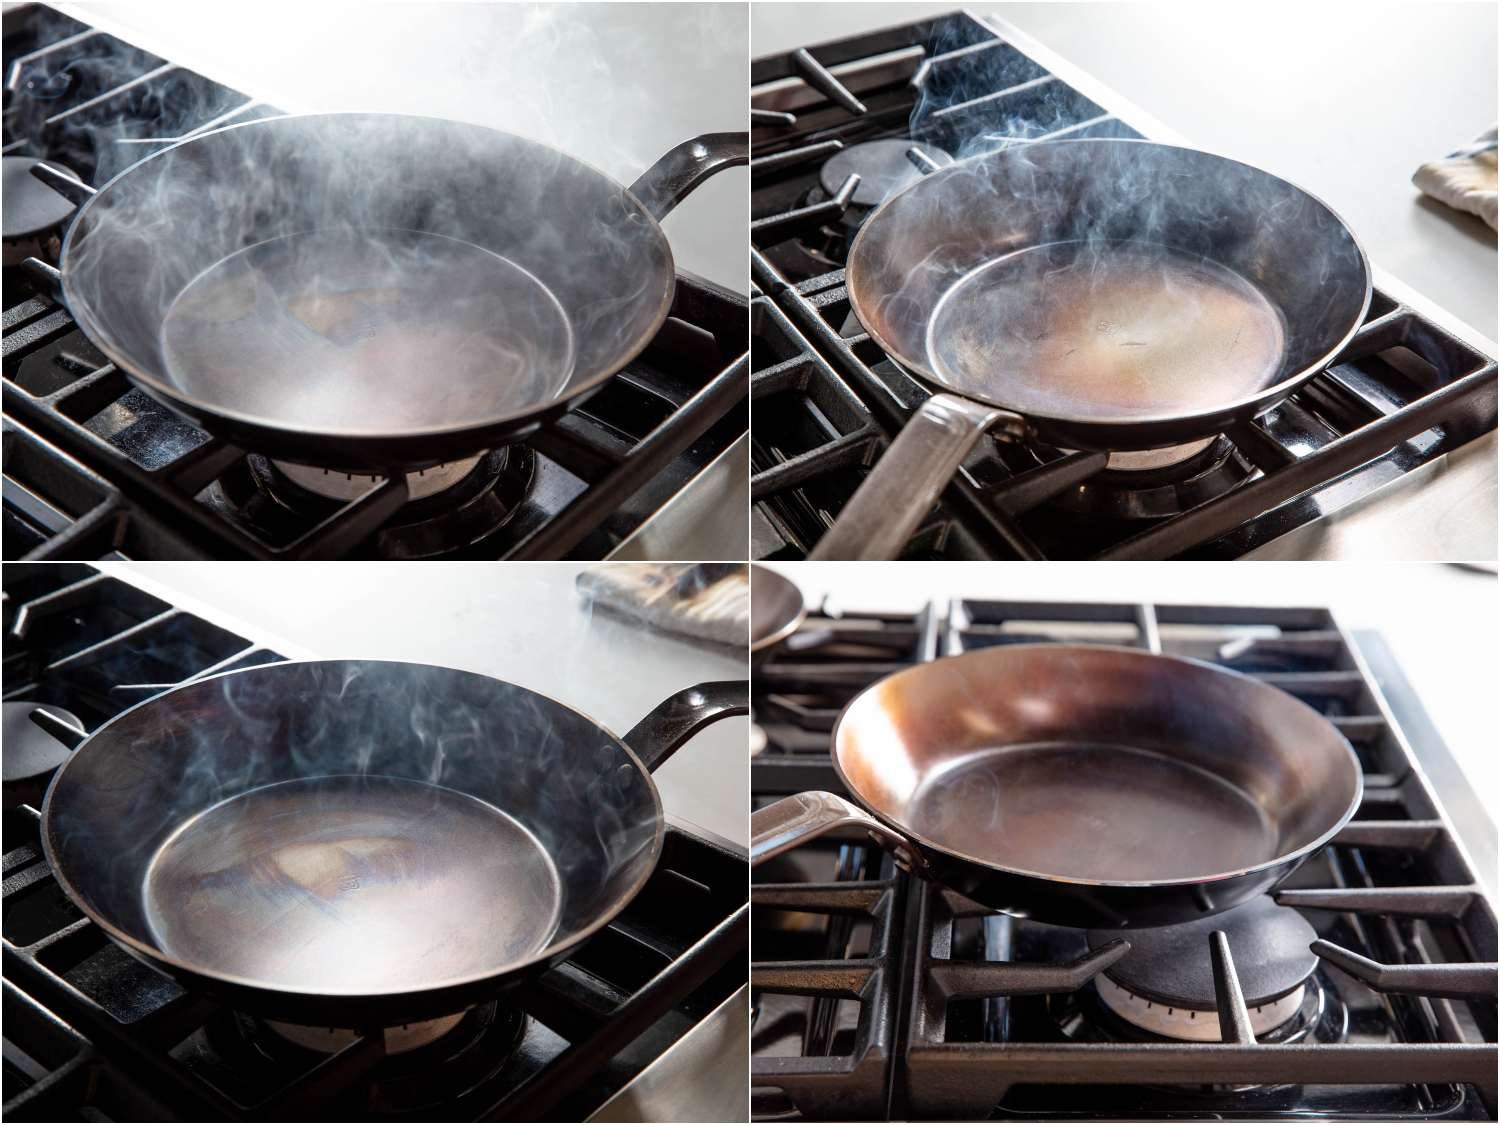
Time-lapse of the smoke decreasing and the vanishing once the oil has fully polymerized into a layer of seasoning.
Beware, the pan will smoke heavily during this process, so open your windows, turn on your fans, and send your kids out to play.
The smoking will eventually stop, which is a sign that the coating of oil has completed its transformation. How long this takes over a burner depends on the burner’s heat output and the size of the pan, but it can be several minutes. In the oven, about 30 minutes should do it.
Step 6: Repeat
Continue applying those micro-thin layers of oil and heating them until they darken, over and over, until the pan is, at the very least, a dark shade of brown. That should be enough seasoning to start cooking.
Step 7: Use the Pan and Re-Season as Needed
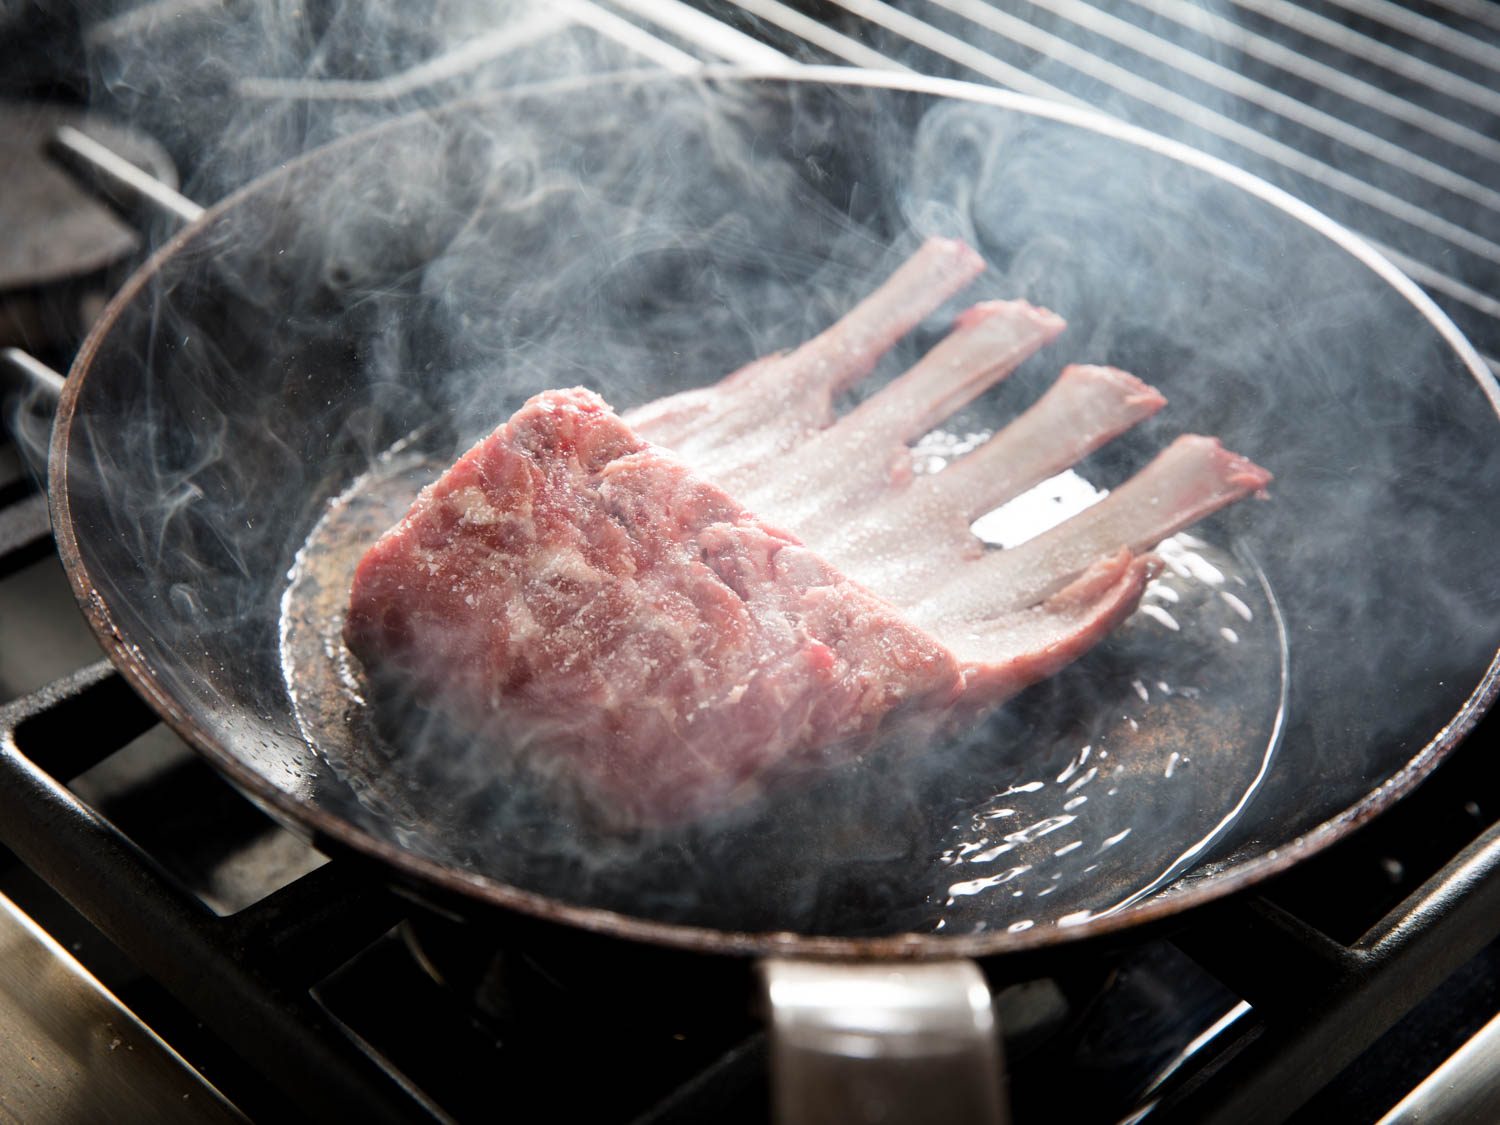
Cooking a rack of lamb in a carbon steel pan.
From this point on, your goal is to use the pan. With enough roasting and sautéing in the pan, you will build up even more seasoning. Of course, you can also lay down some new layers of seasoning using the heat-oil-heat process above whenever you want. Eventually your pan will turn black. If my anecdotal experience is accurate, the seasoning on a carbon steel pan can be a little more prone to flaking off than the seasoning on cast iron. If this happens, don’t sweat it, just season the pan a few more times to patch up a problem spot.
All that’s left is to maintain the pan well. The method is the same as with cast iron, which you can read about in our article on proper cast-iron cleaning and washing technique.
This post may contain links to Amazon or other partners; your purchases via these links can benefit Serious Eats. Read more about our affiliate linking policy.
Source link