[Photographs: Vicky Wasik. Video: Serious Eats Video.]
Brownies get no respect.
Europe’s chocolate tortes are held in high regard, a proud culinary tradition centered around fine chocolate and fine dining. Meanwhile, the humble brownie is seen as little more than an after-school snack, something cobbled together from melted chocolate chips, if it’s made from scratch at all.
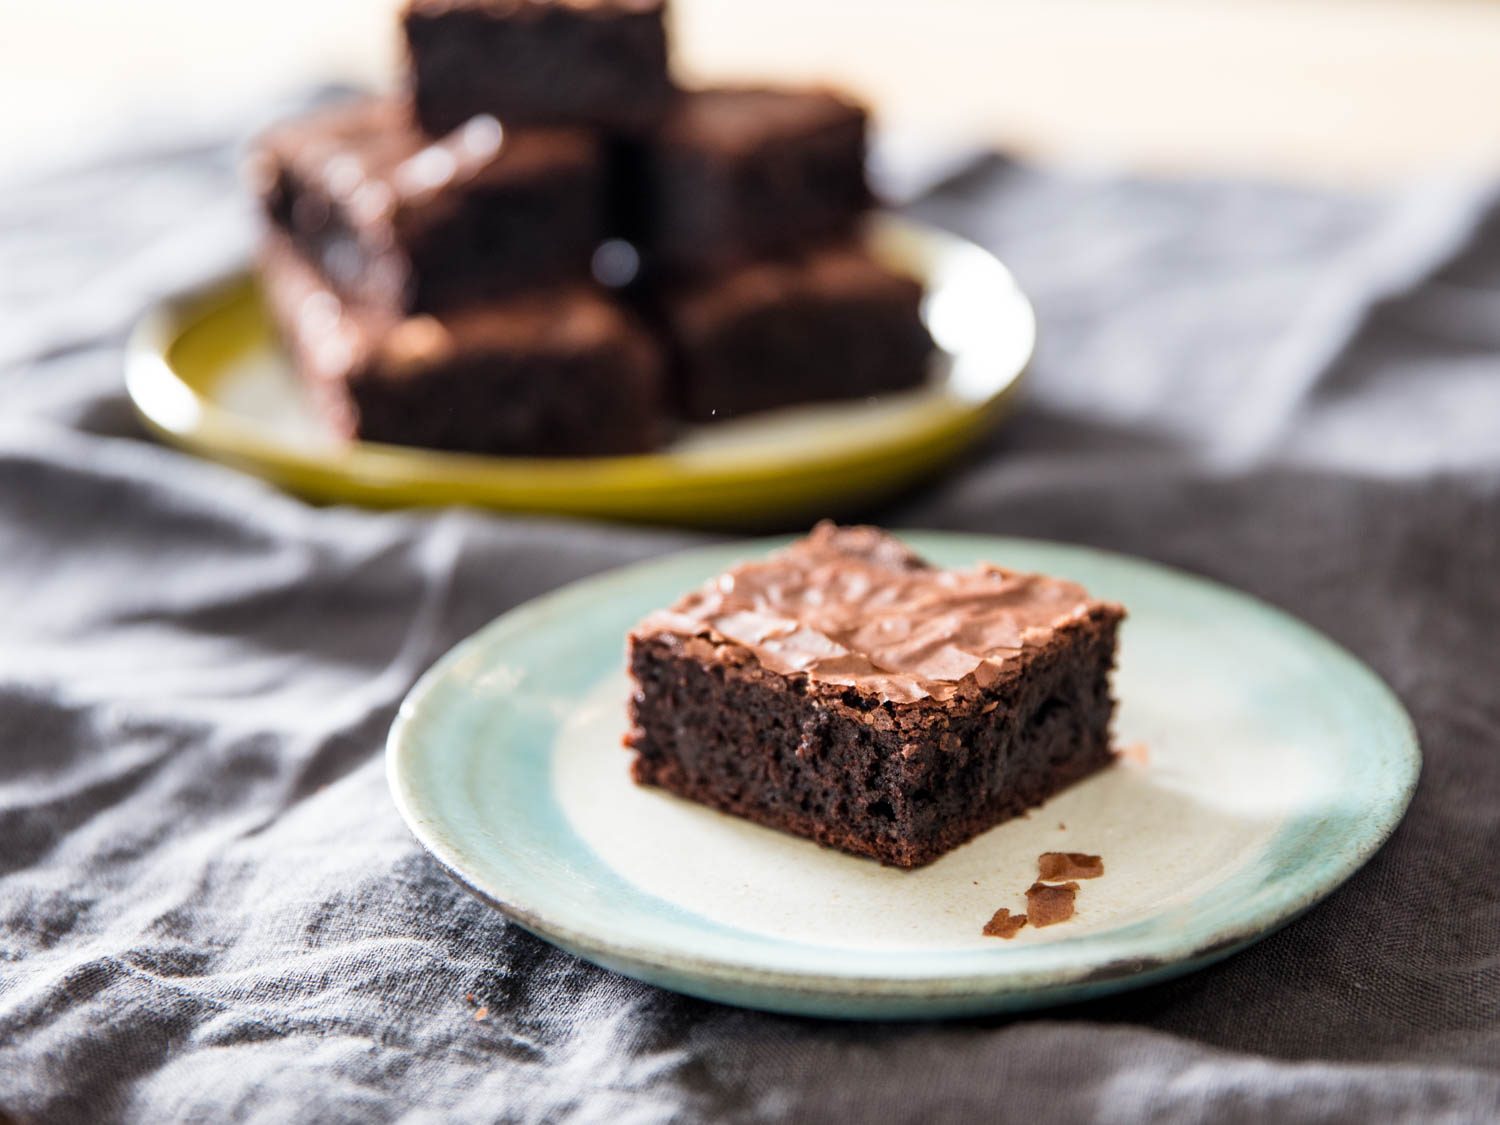
It’s a shame, because brownies have been around for more than a hundred years, invented as a showcase for the best chocolate Americans could buy. The history of their name and the evolution of the recipe is something my cookbook covers in depth, but today I’m here to talk about the ingredients and technique involved in making a brownie like this:
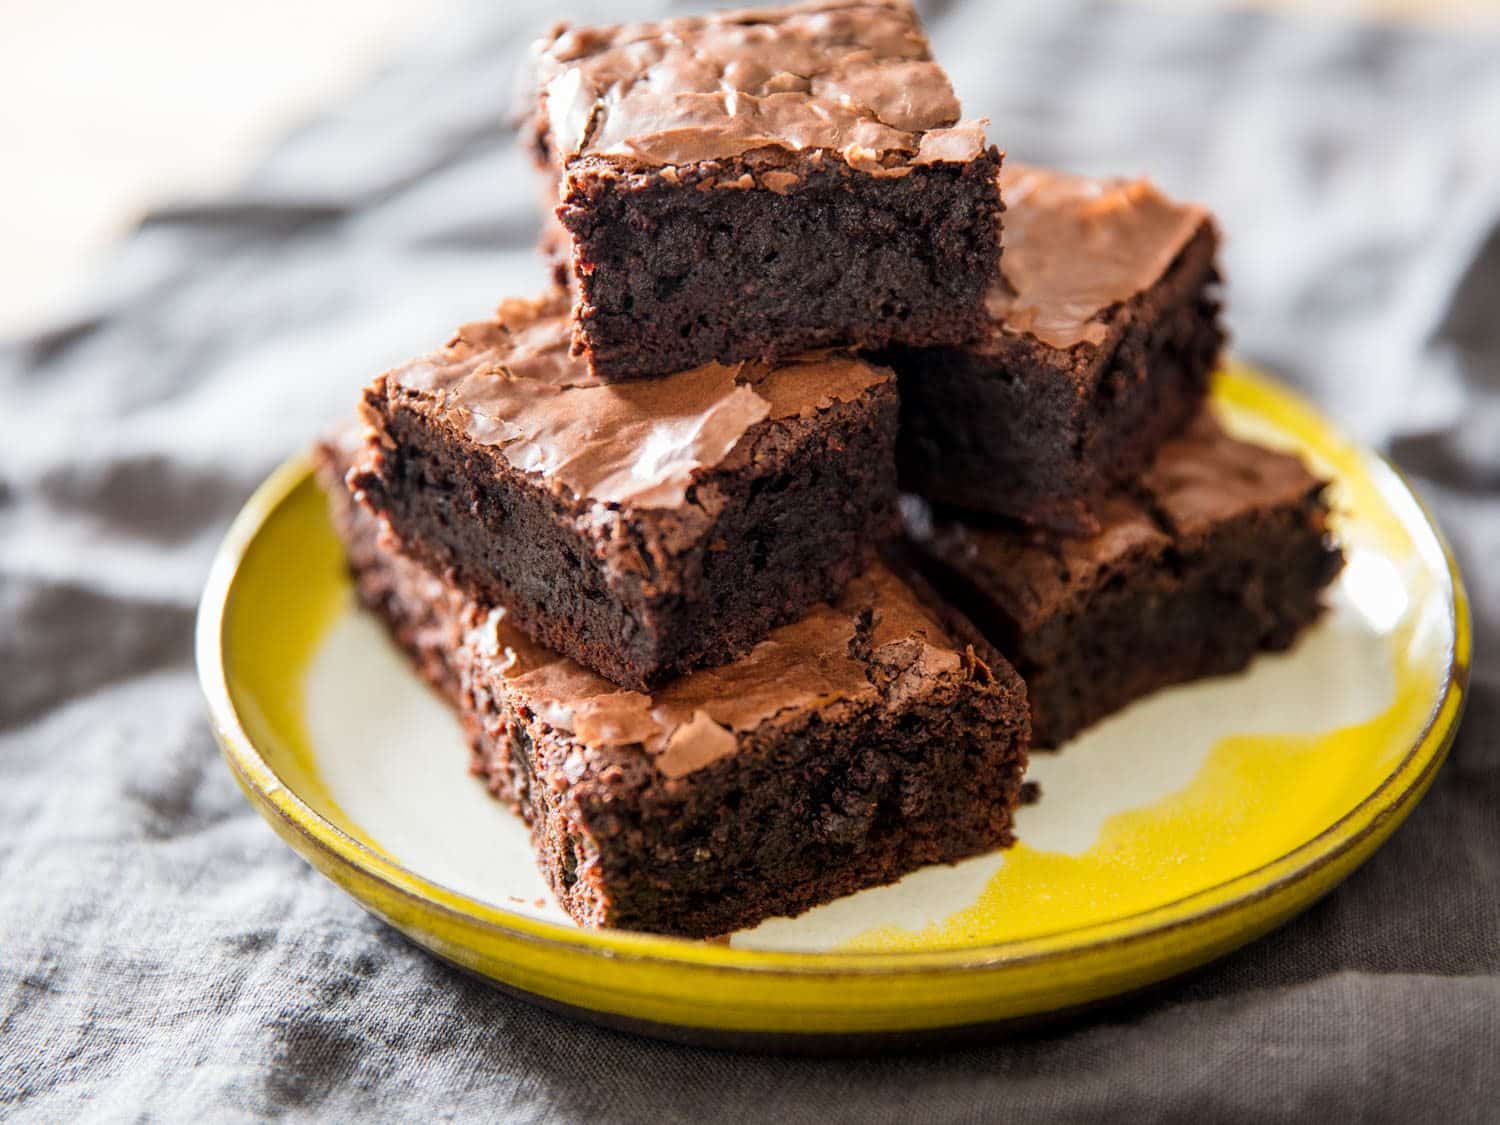
It’s a hefty square of chocolate to be sure, but fudgey rather than gooey, with just a little bit of chew, and a shimmery, paper-thin crust on top. As befitting their name, brownies are all about brown ingredients like dark chocolate, Dutch cocoa powder, and brown sugar, but my recipe adds one more—brown butter. It’s a simple way to layer in more flavor, with a bit of nutty richness to underscore the earthy chocolate.
Brown butter doesn’t require any skill, just a bit of patience. Start by gently melting the butter in a 3-quart saucier over medium-low heat; if you happen to have a used vanilla bean stuck in a jar of sugar somewhere, toss that in too. It’s not a necessity in the least, just a great way to get more milage out of a leftover vanilla bean and infuse a deeper vanilla flavor into the brownie base.
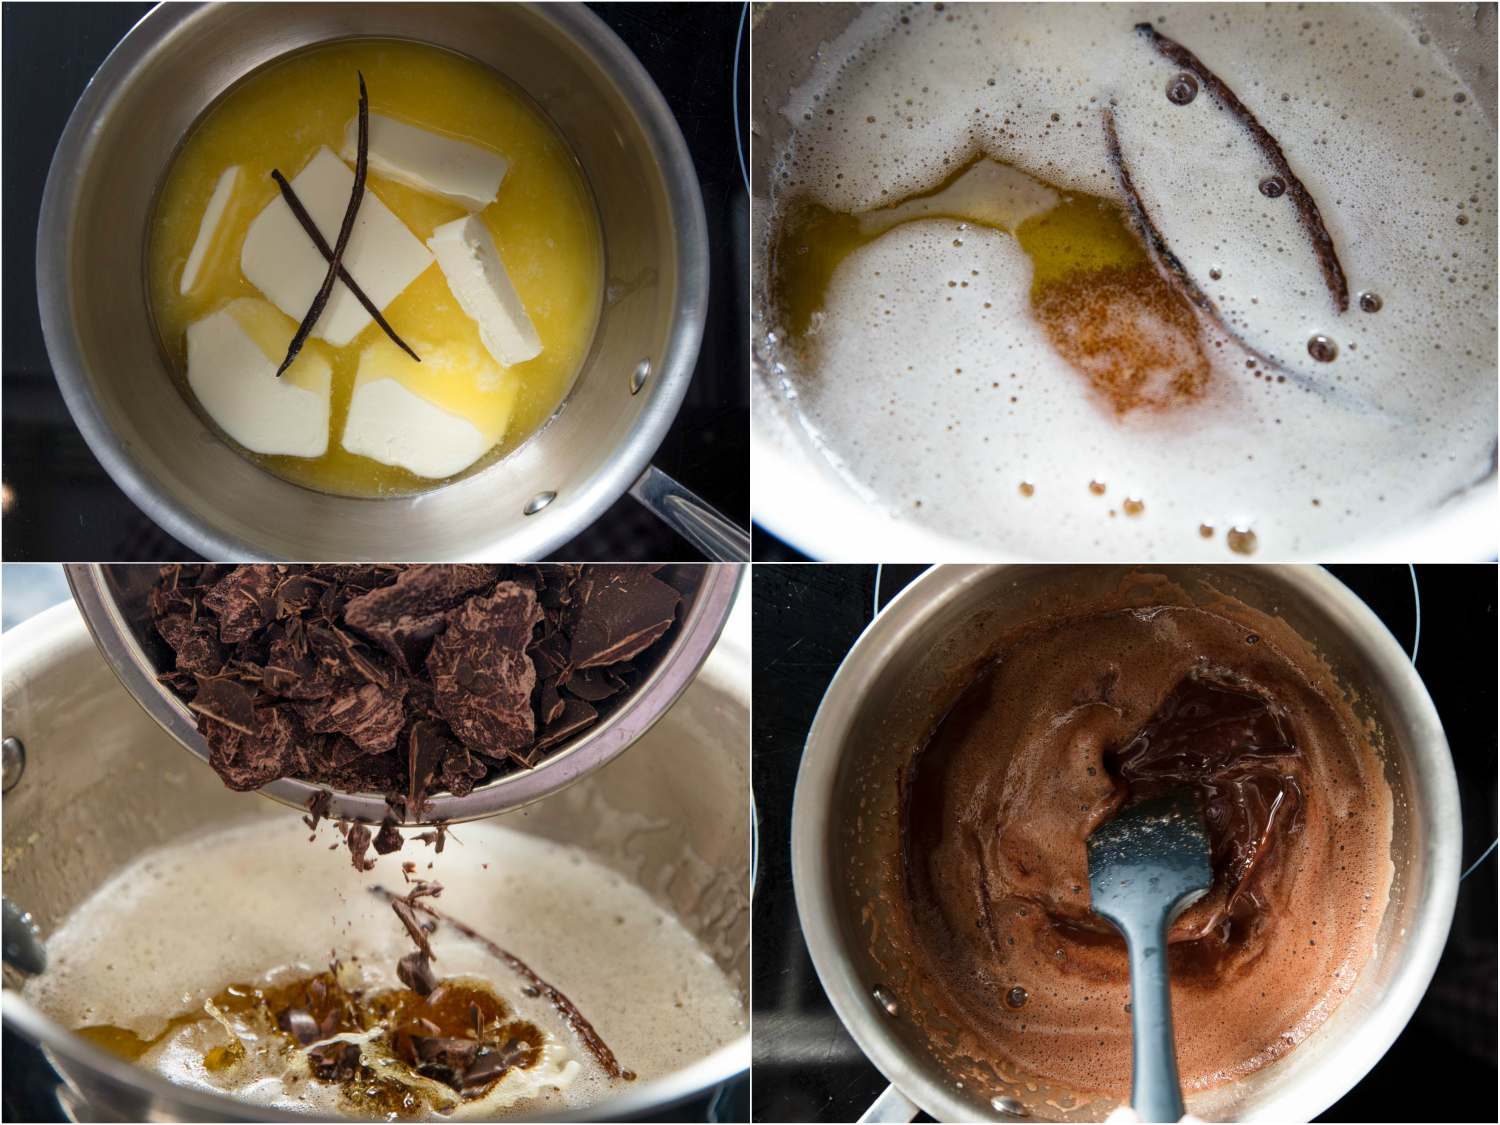
Don’t be tempted to rush this step by cranking up the heat or else the butter will pop and splatter like a pan of bacon. Once the butter has fully melted, increased the heat to medium. Stir and scrape the saucier with a heat-resistant spatula as the butter bubbles and foams, keeping the milk solids in motion so they don’t burn along the bottom. It’s a noisy endeavor, as the butter will hiss and roar, but you’ll know you’ve reached the end when it all goes ninja silent. Off heat, stir in the dark chocolate and set the pan aside until needed.
Next up—foaming the eggs. This is, without question, the most crucial step. Start by combining the eggs with sugar, salt, and some optional instant espresso. Adding the solids to the wet eggs allows them to dissolve fully, creating a dark, dense, and gooey bowl of egg-syrup. By whipping them well, the eggs transform into a pale, thick, and fluffy foam. Stop shy of that goal and you’ll have a pan of something like wet fudge, not brownies. The time it takes to foam the eggs can vary wildly depending on the horsepower of a given stand mixer, the size of its bowl, and even ambient temperature if it drops below 70°F in the kitchen. So trust your eyes, not your stopwatch, and keep whipping the eggs until they’re foamy, thick, and pale.
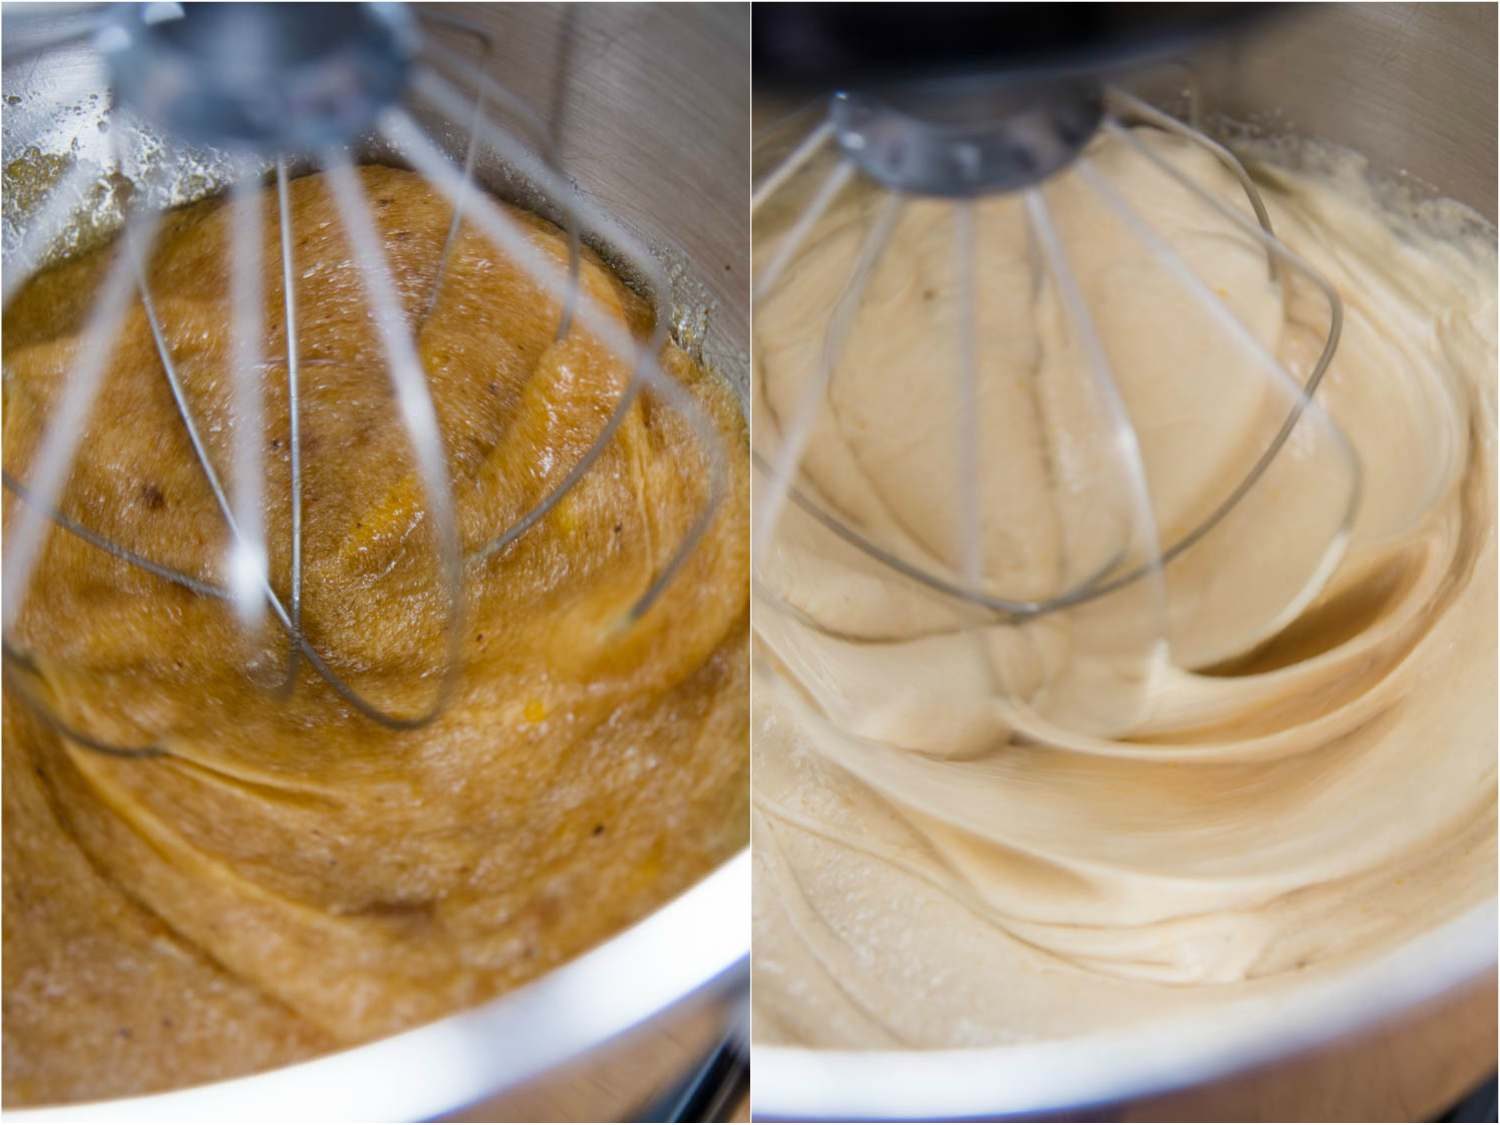
While the eggs are whipping, sift together the flour and Dutch cocoa. This helps remove lumps, of course, but it also ensures the two are homogenous and well-aerated—factors that make it easier to incorporate the dry ingredients and minimize the risk of over-mixing.
Once the eggs are nicely whipped, reduce the speed to low and pour in the chocolate-butter, followed by the sifted dry ingredients. Finish mixing with a flexible spatula, using it to scrape and fold to ensure the batter is well mixed from the bottom up.
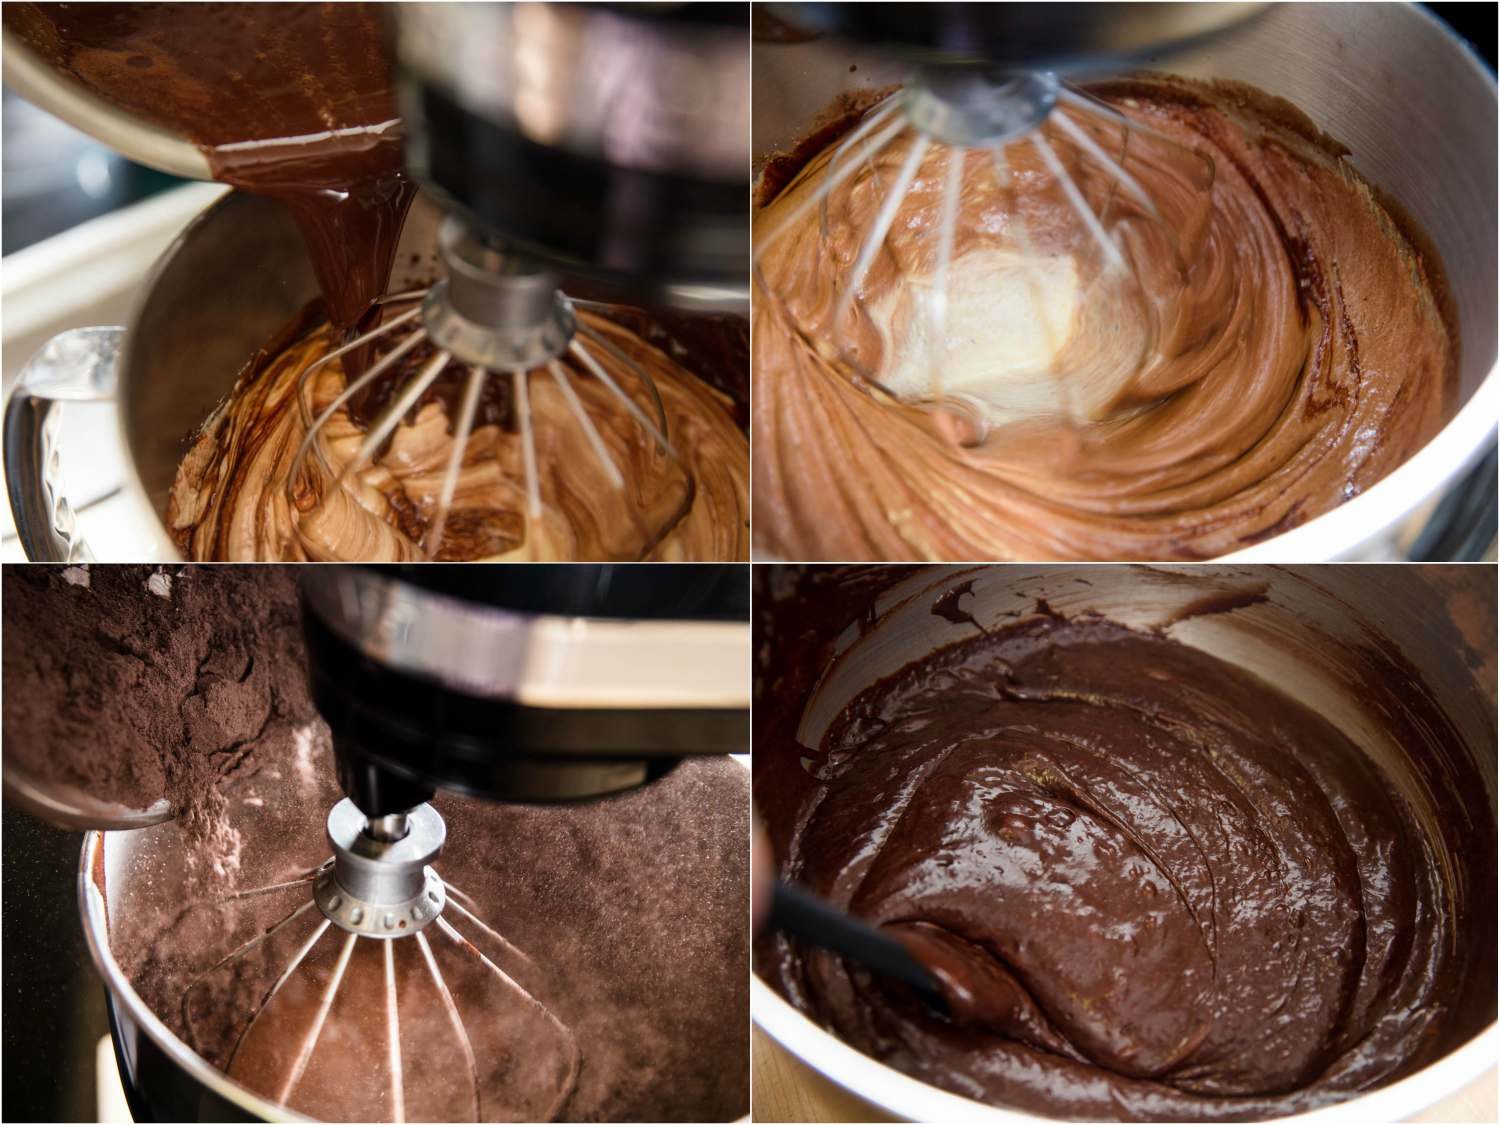
Pour the batter into a foil-lined 9- by 13-inch anodized aluminum cake pan. I’m wild about this one from Fat Daddios because it’s both nonreactive (aka, the perfect lasagna pan) and fitted with a removable bottom (making it easier to remove fragile desserts like a crumb-topped coffee cake or wobbly lemon bars).
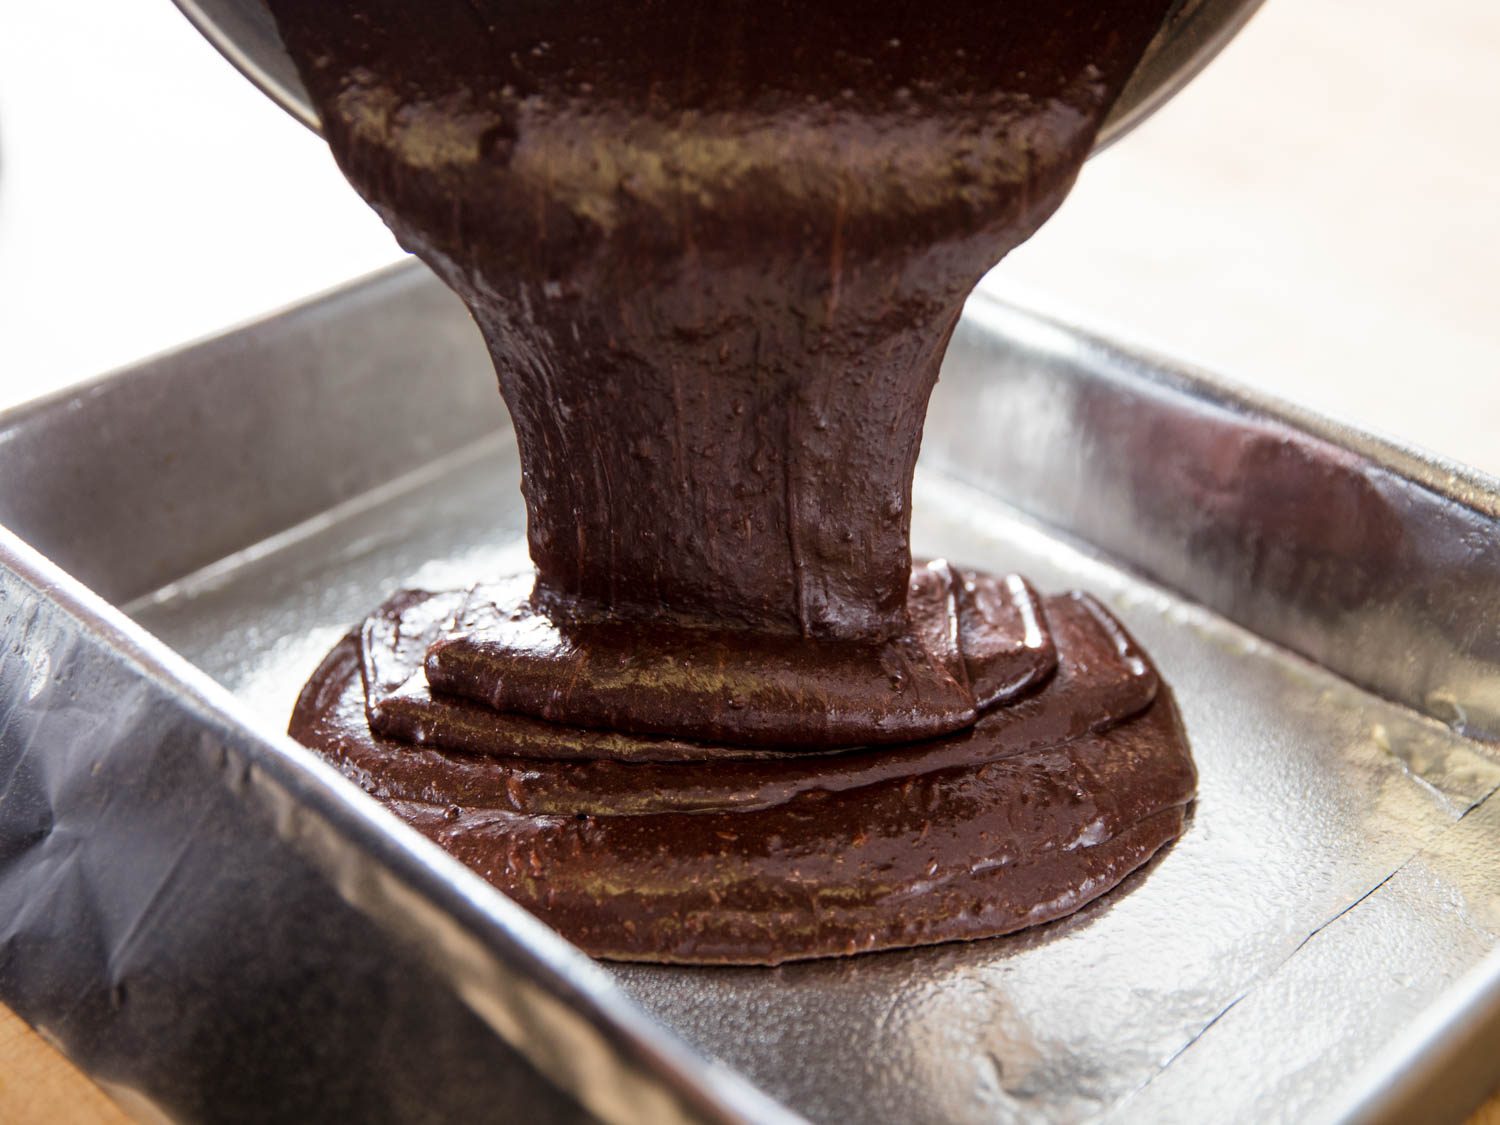
The important thing, regardless of brand or style, is to reach for a pan made from lightweight, reflective metal like aluminum. At their core, brownies are a type of chocolate cake, and should be treated as such. In heavy glass pans, brownies may take twice as long to bake, and they risk turning out gummy and dense. In dark, nonstick pans, brownies will bake much faster, browning more than they should along the bottom, and drying out around the edges.
But in aluminum, a well-whipped brownie batter will bake just fast enough, puffing beautifully along the way. The brownies will then settle as they cool, a transformation that creates their crinkly tops and fudgey middles.
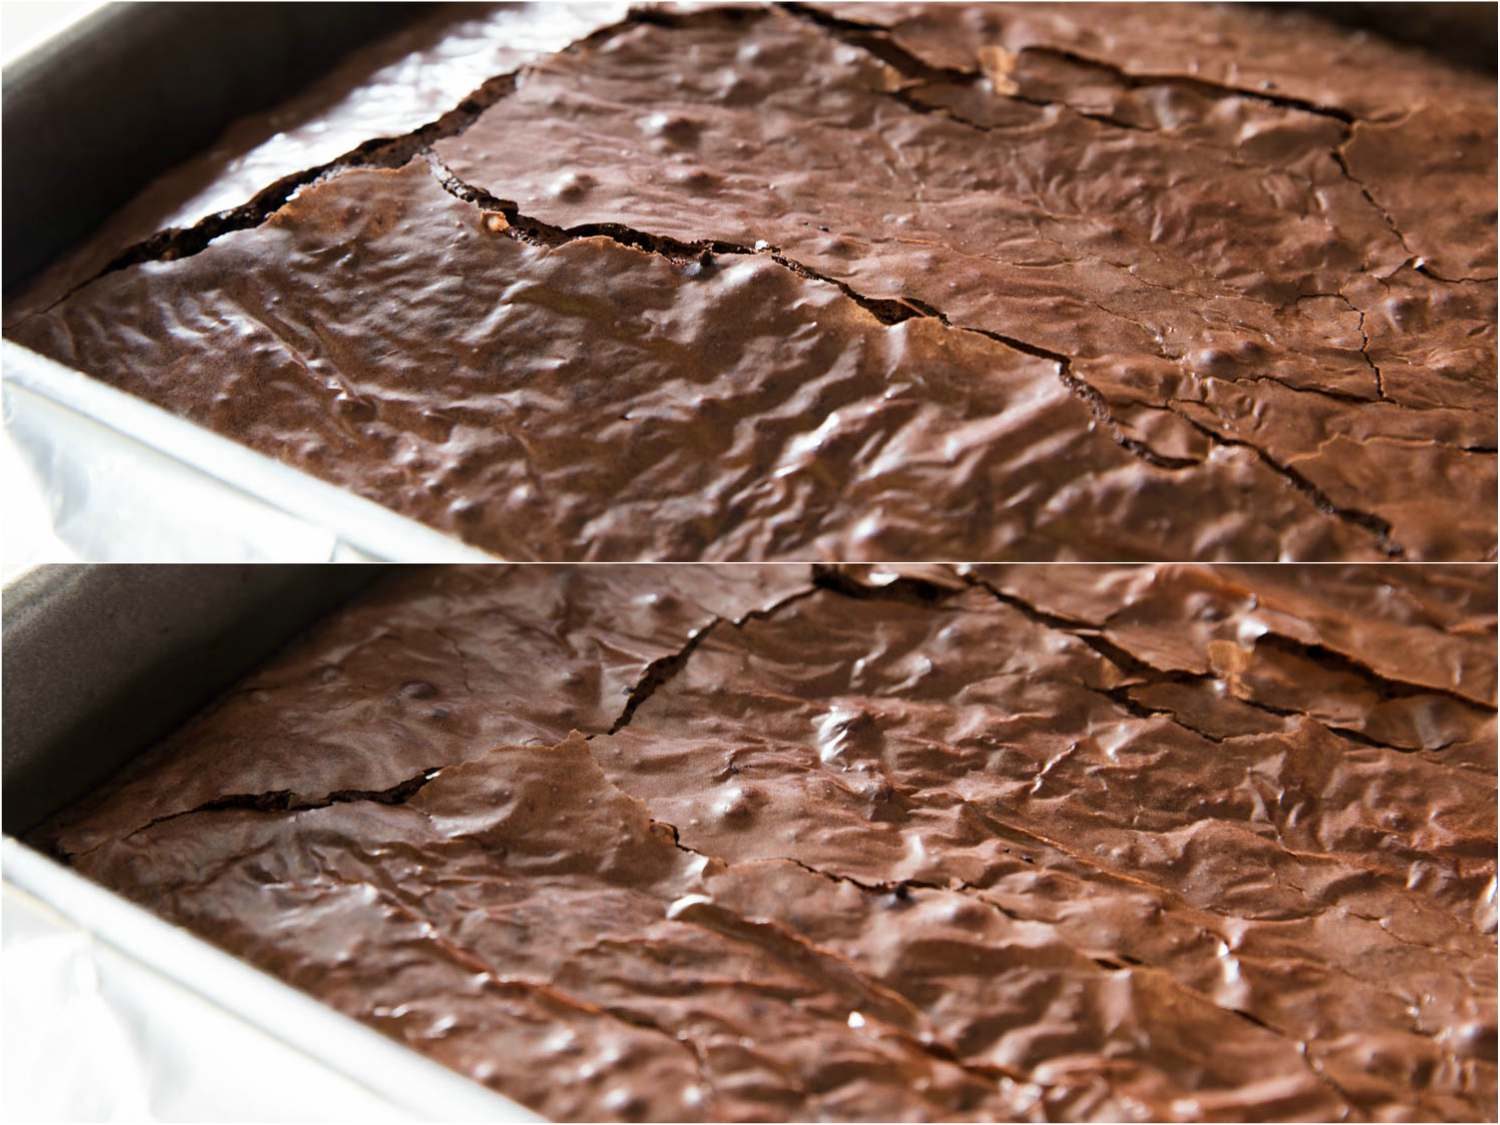
It’s a cruel wait, but do let the brownies cool at least 30 minutes before diving in. With other recipes, brownies are often best while warm because that’s when they’re fudgey and moist; over time, they may dry out or seem too dense. With my recipe, the brownies can seem oddly cakey while puffed and warm, but their fudginess will develop as they settle and cool.
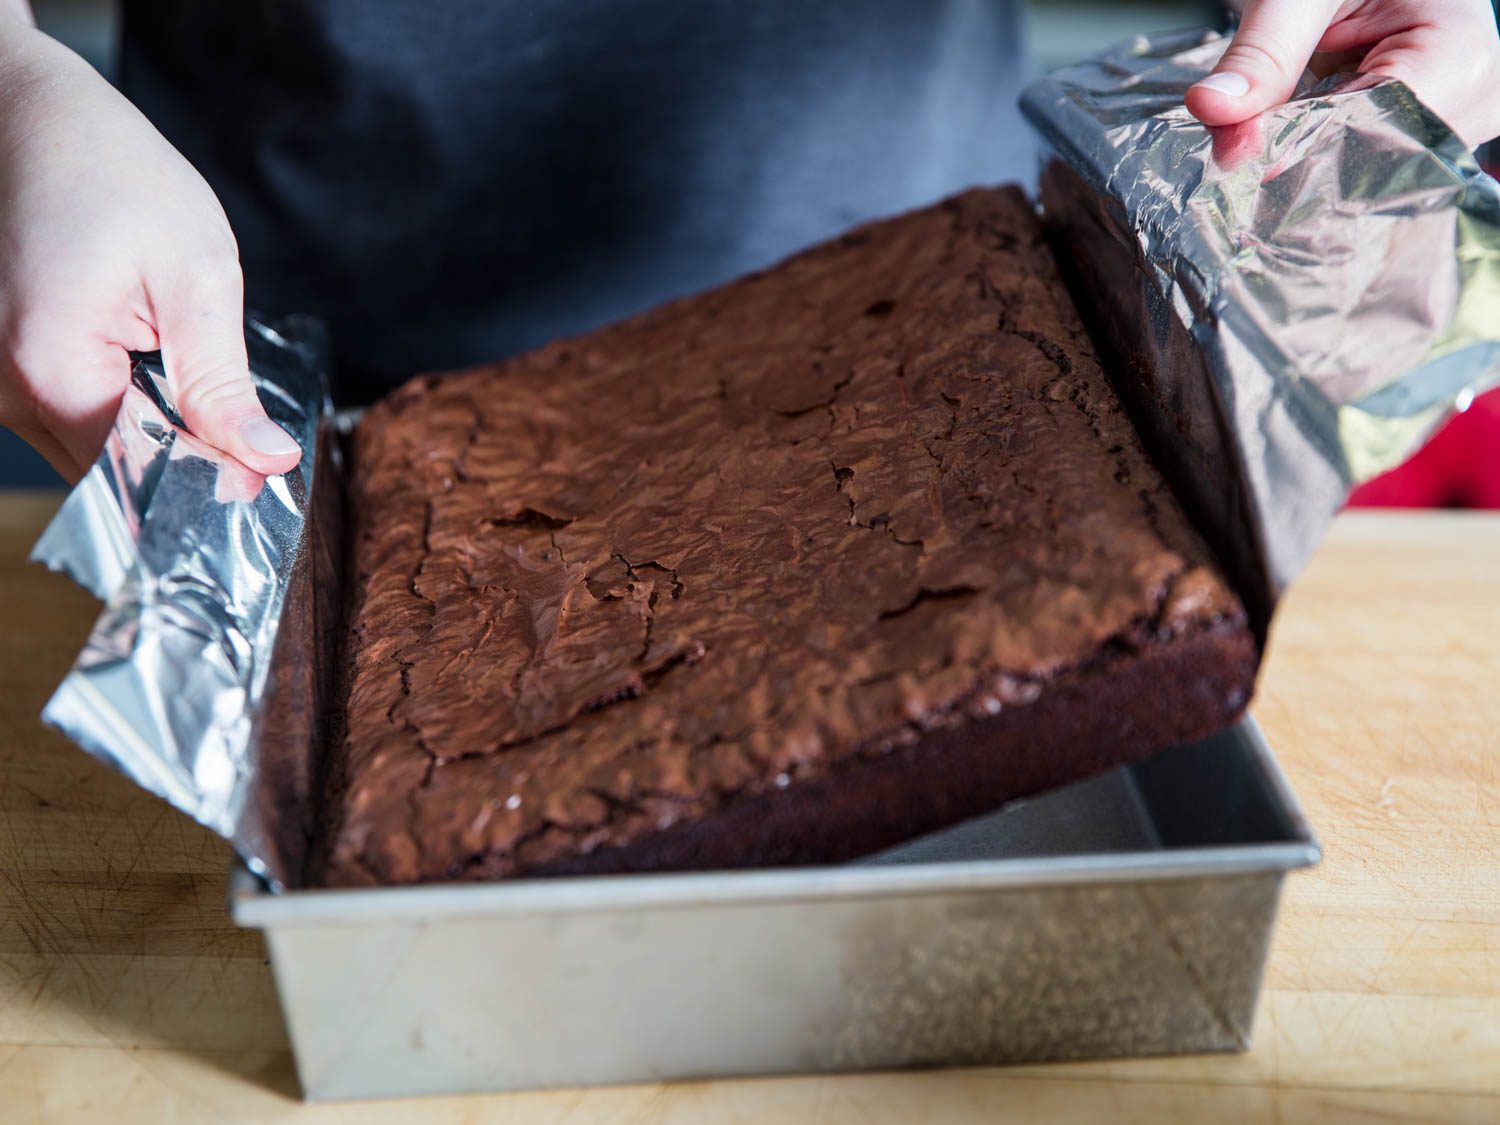
Before cutting the brownies, pop them out of the pan so you don’t scratch the bottom to pieces. For the tidiest squares, use a large chef’s knife and wipe the blade clean between each slice. (If you’ve got a hard, plastic bench scraper, it’s great for safely scraping the brownie goo off the side of the knife for snacking…)
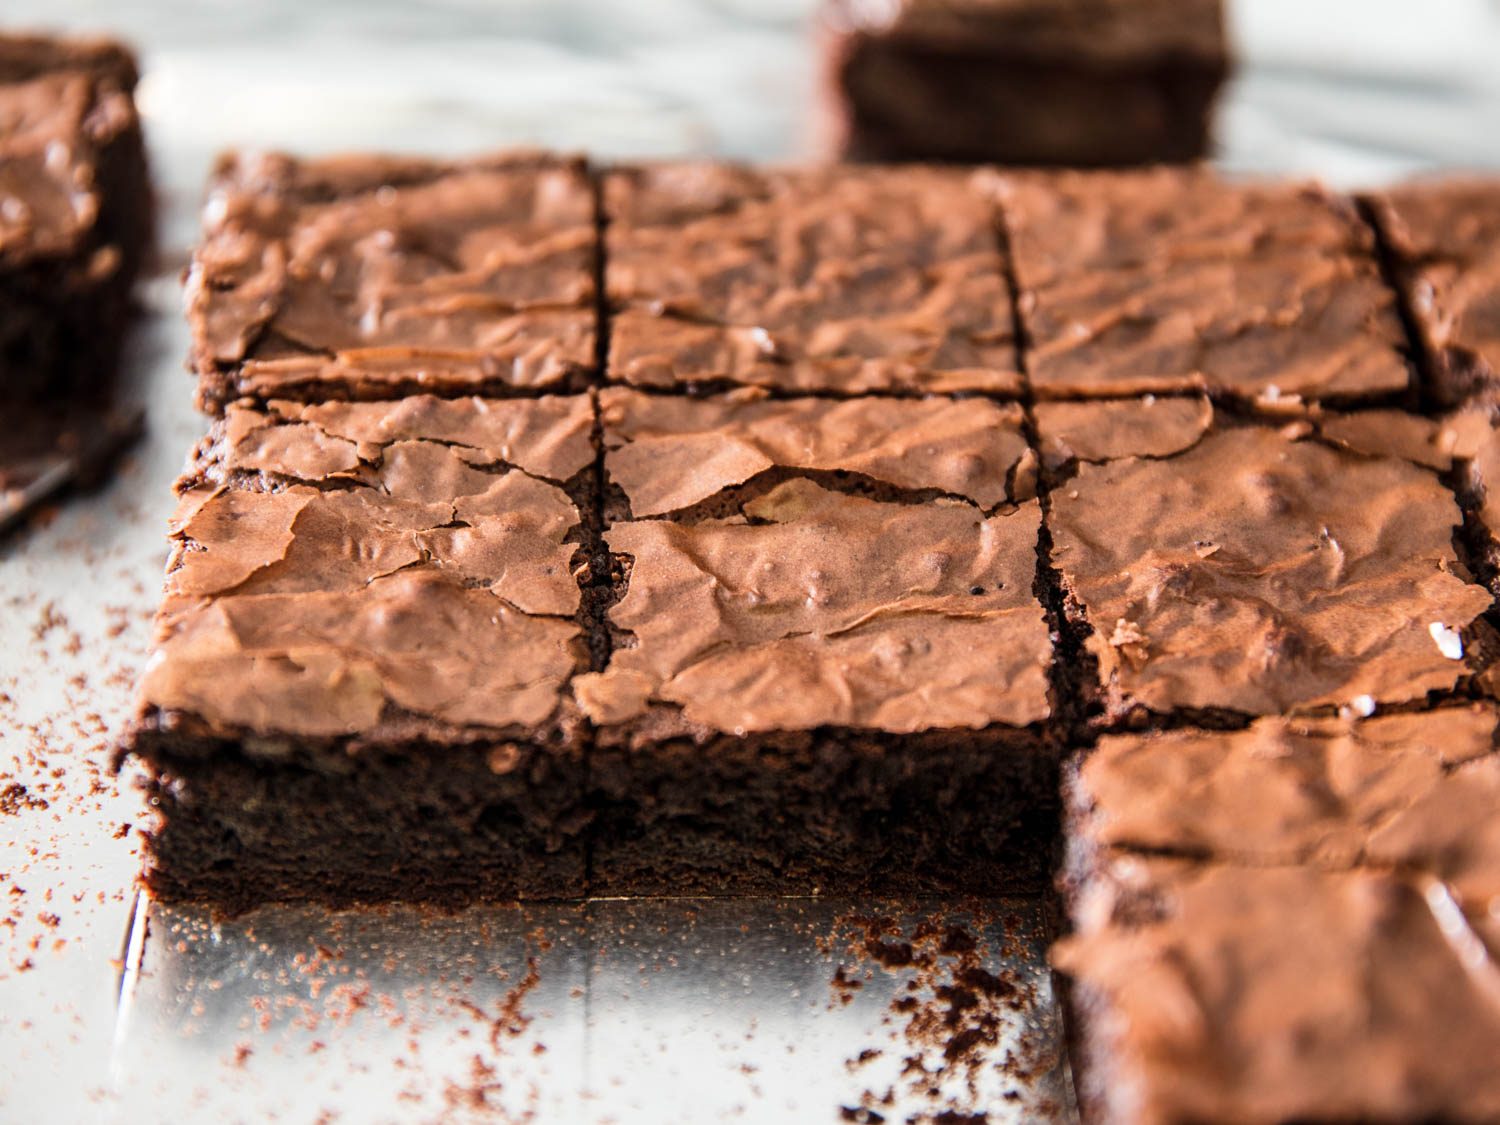
Admittedly, that’s just my inner pastry chef talking—no matter how you slice it, the brownies will be fudgey, rich, and beautifully balanced.
Source link