
[Photographs: Vicky Wasik]
In northern Thailand and Laos, sticky rice reigns supreme. It can be found simply steamed at most meals, where it doubles as both primary starch and eating utensil.
Sticky rice is both made from and commonly referred to as glutinous rice. Steamed, it’s used as a binder in savory sausages, and it also finds its way into sweet dishes like coconut sticky rice with mango. Most of these applications take advantage of the grain’s titular sticky properties, but that isn’t the case with one of the staple building-block ingredients of Northern Thai and Lao cuisines—toasted-rice powder.
Toasted-rice powder is a pantry staple in the region, lending texture and nutty, roasted flavor to larb and thickening soups and dipping sauces, like dried-chili jaew. It’s made by slowly toasting dry, raw sticky rice in a dry pan, then grinding it into a coarse powder.
You can certainly find premade toasted-rice powder in well-stocked Thai markets, but the flavor of the homemade stuff is far superior, and it couldn’t be easier to make. It also means one fewer ingredient that you’ll have to purchase, since, if you’re making a recipe that involves toasted-rice powder, odds are you’ll also be making steamed sticky rice.
All it takes to make it is a little sticky rice, some patience, and a spice grinder or mortar and pestle. Here’s how to do it.
Step 1: Toast the Rice
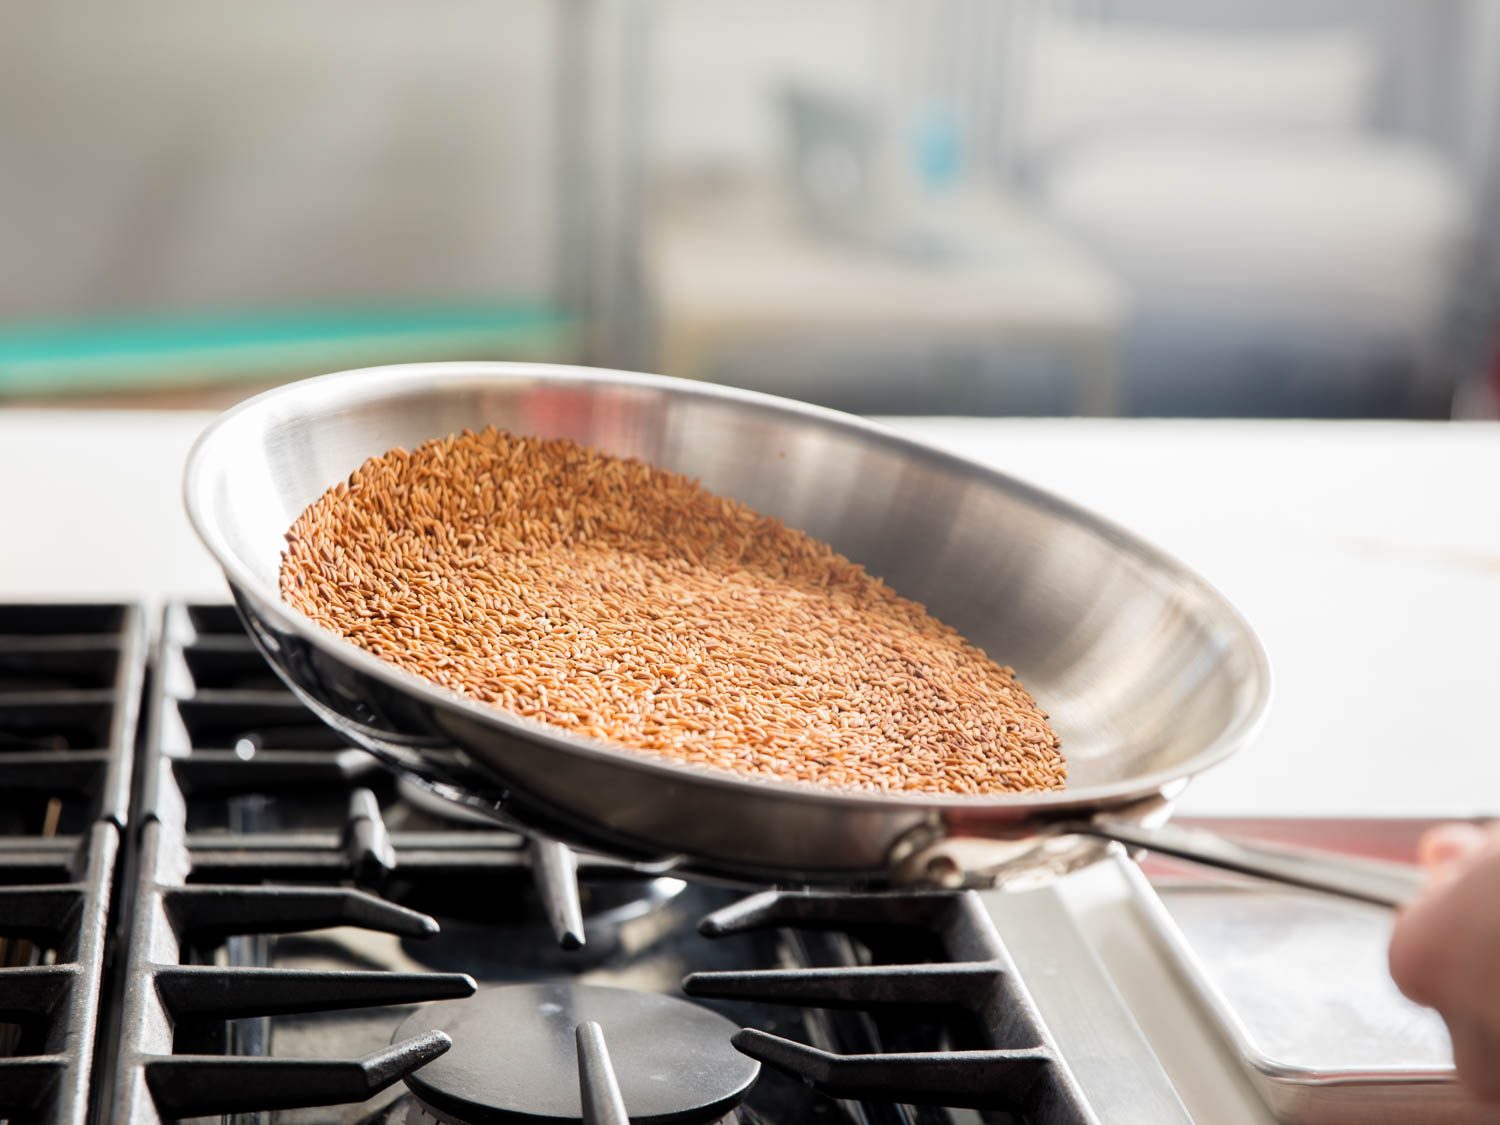
Start by grabbing a handful of dry, uncooked sticky rice and putting it in a dry skillet. Then shake the pan so that the rice settles in an even layer, and turn on your burner to medium.
“Wait, do I need to soak the rice first?” you might ask. No, you don’t. There are a number of toasted-rice powder recipes out there that call for soaking the rice in water before browning it on the stovetop, but when I toasted presoaked and dry rice side by side, I found that soaking doesn’t noticeably affect the texture or flavor of the finished product—though it does manage to slow the whole process down.
Since we’re using dry rice, though, take care: It’s important to toast the rice very slowly so that it takes on color evenly, and so that the outer layer doesn’t burn before the center’s had a chance to cook.
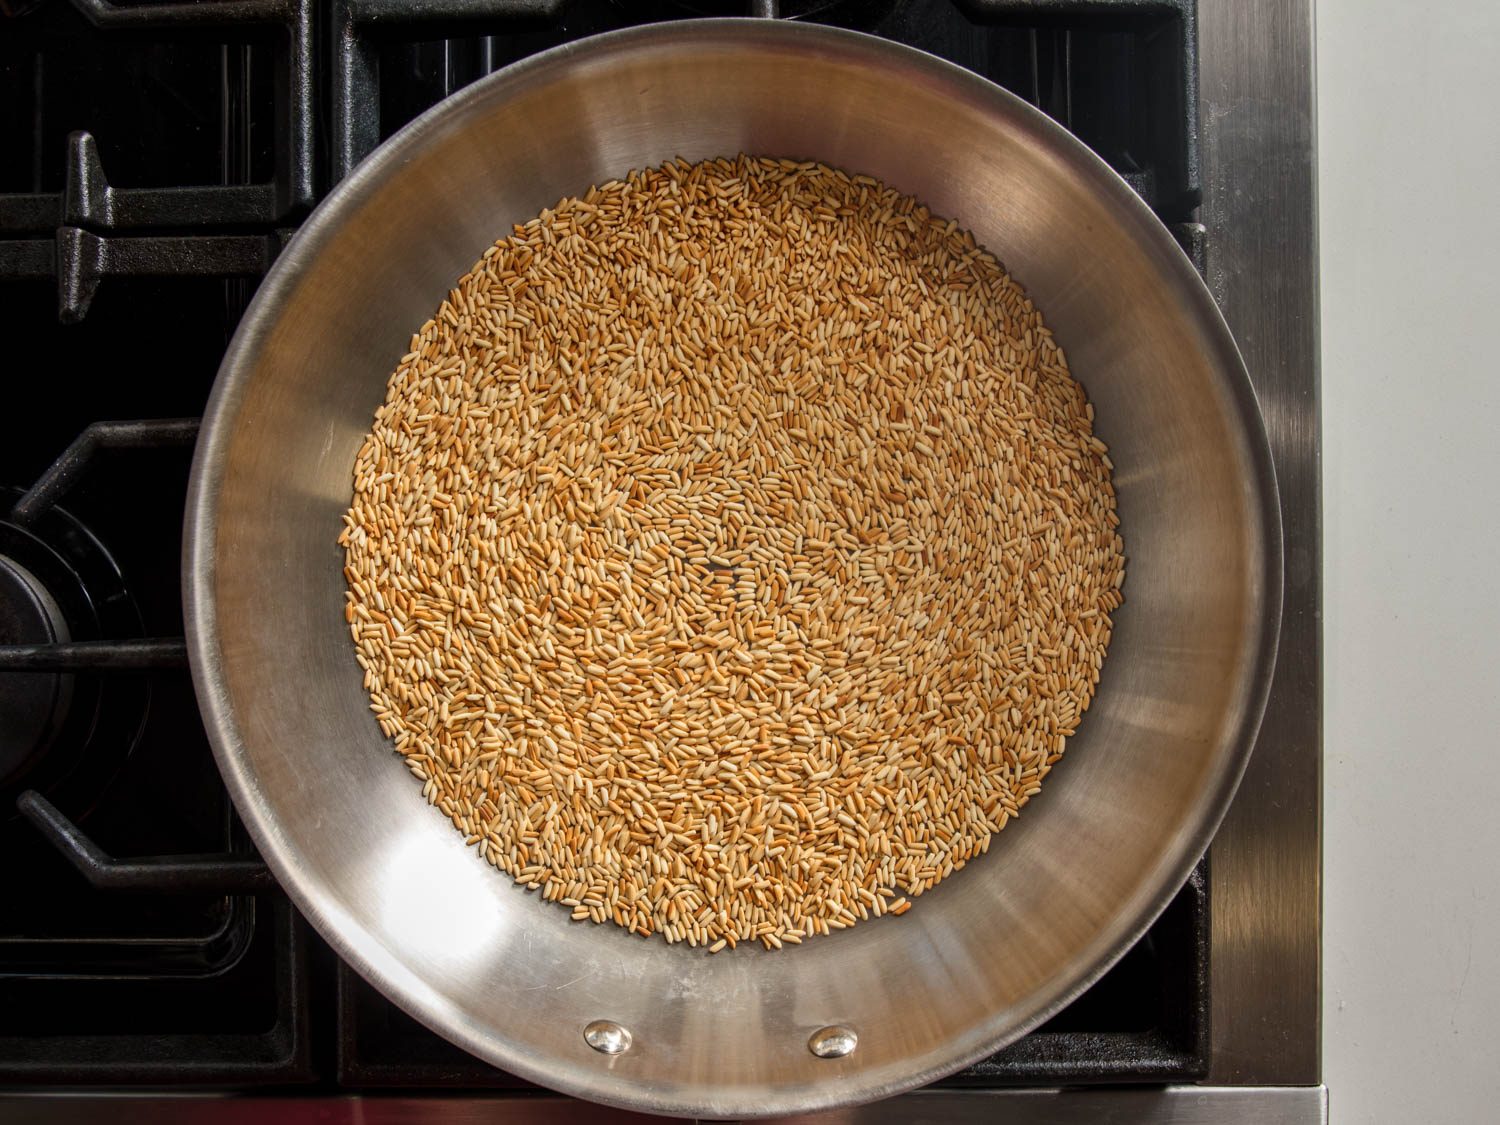
To keep the rice toasting evenly, regularly shake and toss the grains in the pan to redistribute them. If the rice starts to scorch, smolder, or do anything kooky, do the logical thing and turn the heat down a tad. After about 10 minutes, the grains should turn a pale golden brown, as in the photo above.
You’ll be tempted to call it a day and remove the pan from the heat. Don’t. In an early round of testing, I pulled the rice at this point and moved on to the grinding stage. Unsurprisingly, that batch of rice powder didn’t deliver the nutty flavor I’d been hoping for.
Step 2: Keep Toasting
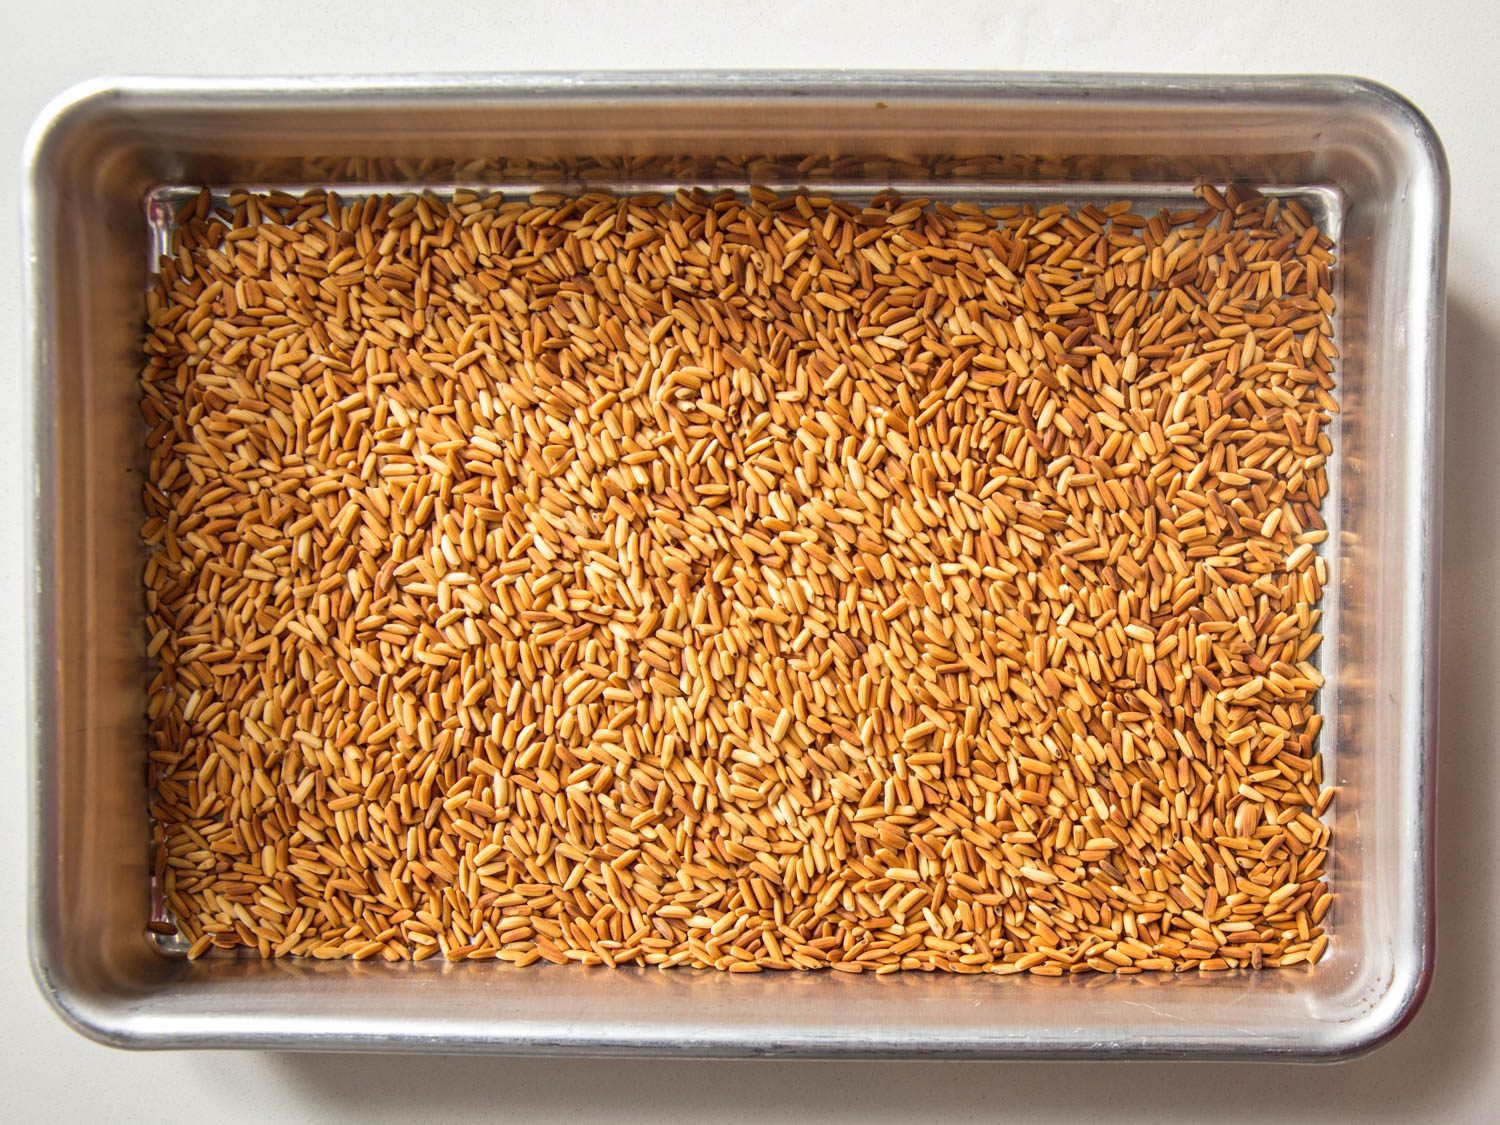
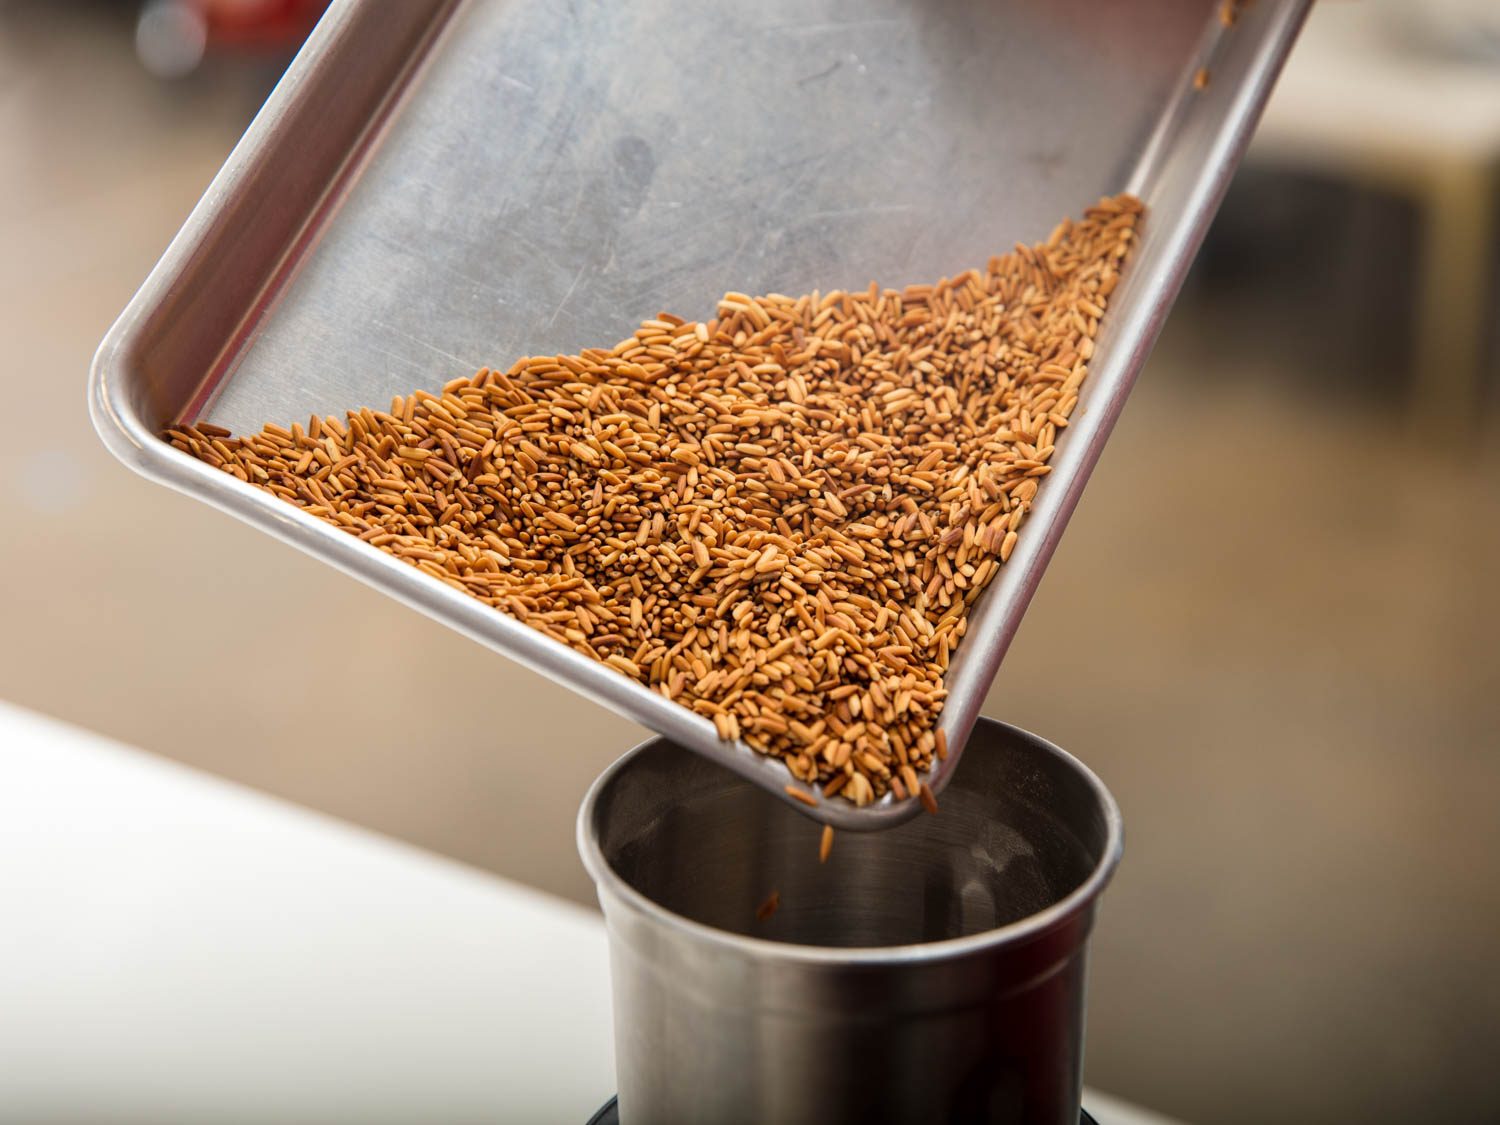
Fortunately, I had taken a photo of the too-pale rice before grinding it up, and sent it to a friend who is an authority on Thai cuisine. His response: “Cool, man, but just so you know, you need to go way darker on the rice.” So I got another batch of rice in the skillet and toasted it slowly for 25 minutes, until it reached a deep golden brown and the entire kitchen smelled of popcorn.
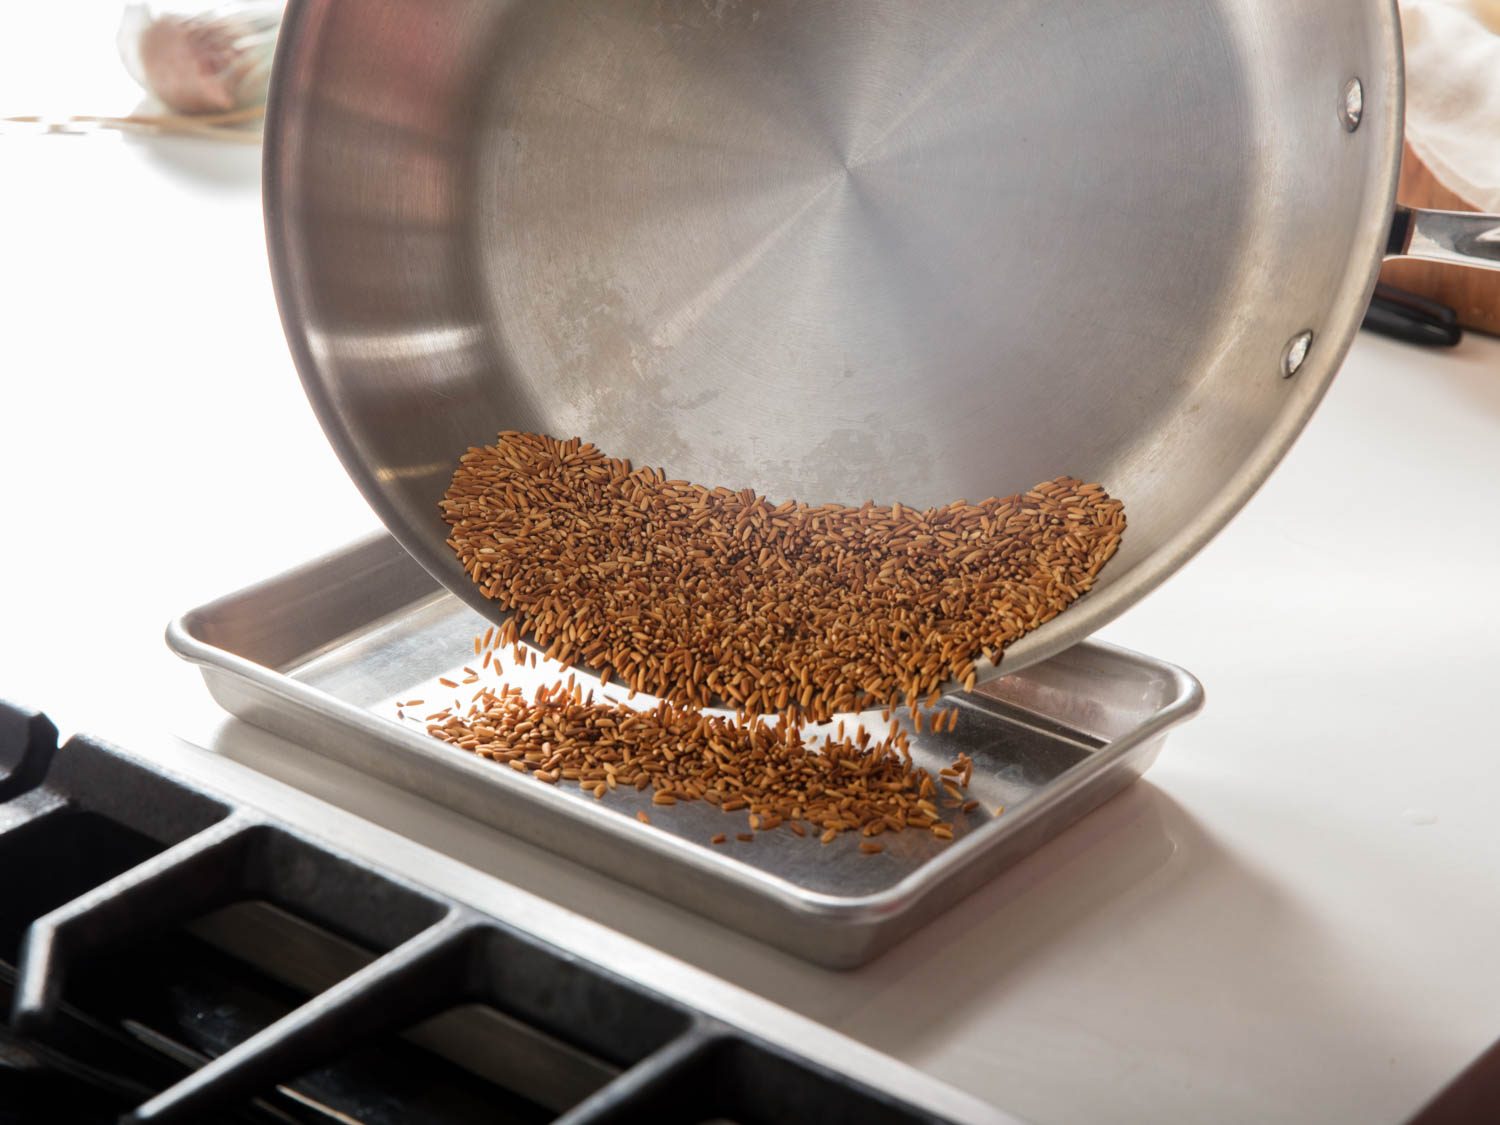
At this point, transfer the rice from the hot skillet to a rimmed baking sheet to halt the cooking process. As with toasting spices, if you try to cool down the rice in the pan you used to toast it, you run the risk of scorching it with carryover cooking. And, as with spices, you need to let the rice cool to room temperature before grinding it into a powder, or it can turn cakey.
Step 3: Rice and Grind
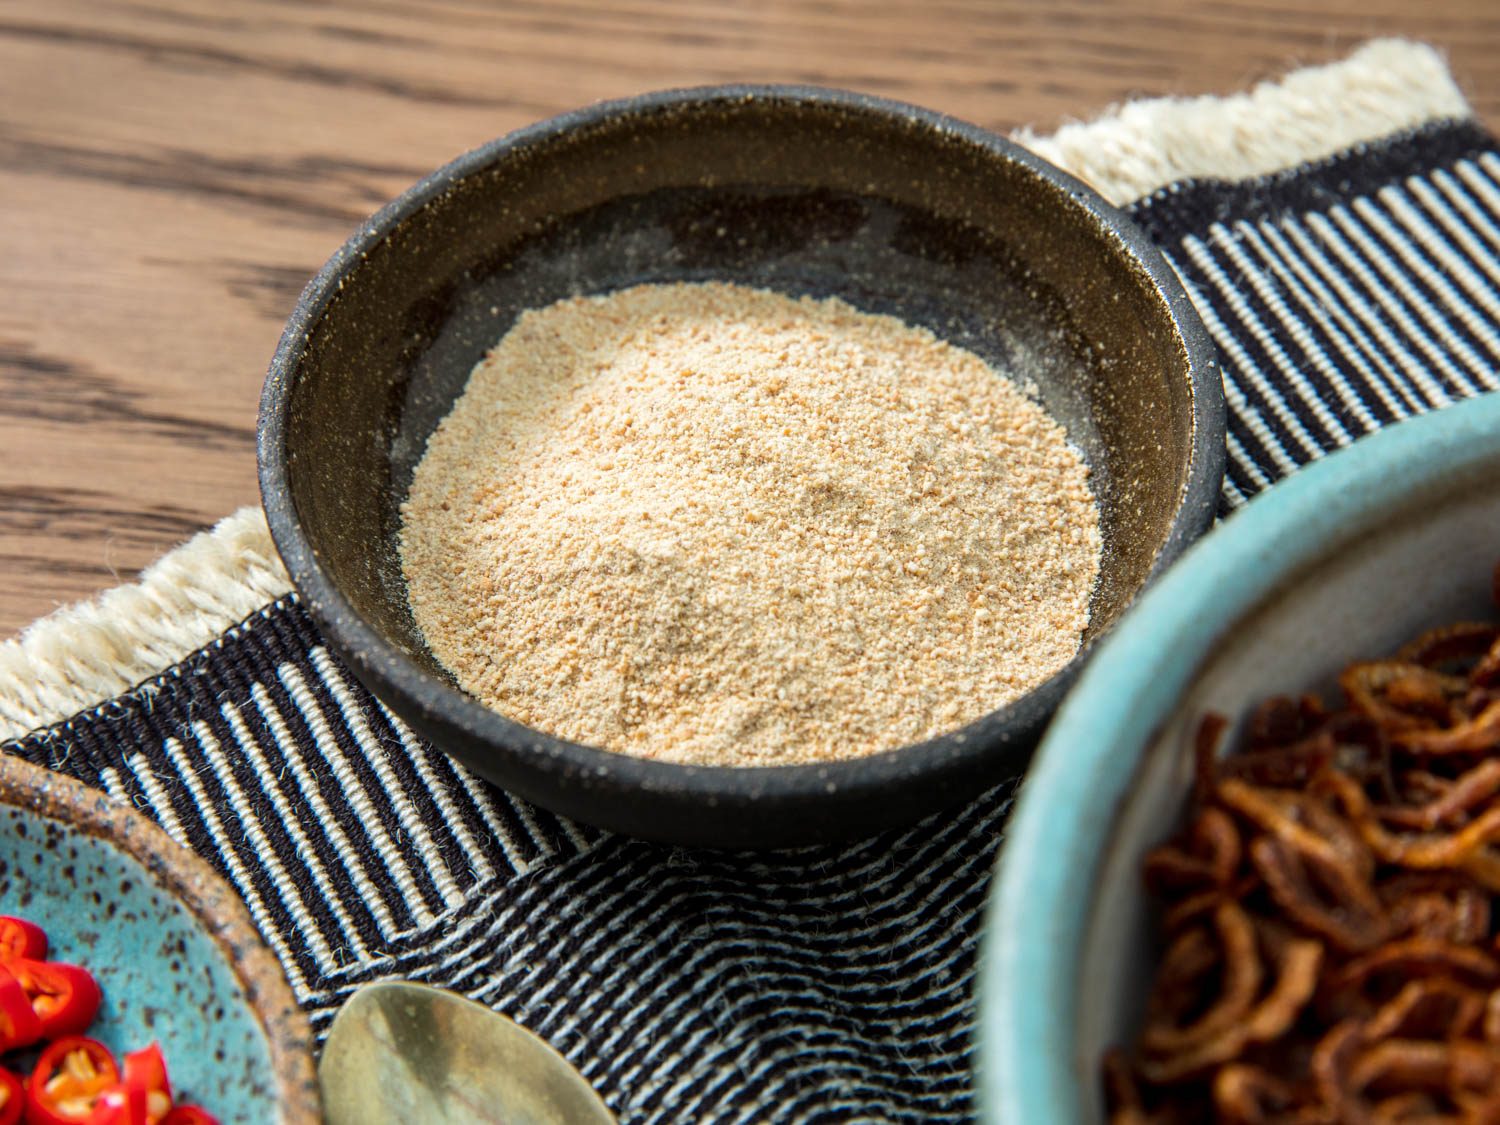
To turn the toasted rice into a powder, you can take the traditional route and grind it manually using a mortar and pestle, or you can simply buzz the rice up in a spice grinder. Both methods work just fine, and neither has a noticeable impact on flavor.
The only thing you need to avoid is grinding the rice into too fine a powder. It should be slightly coarse, like the texture of coffee ground for pourover brewing, not espresso.

If you go with the spice grinder, make sure to pulse the rice instead of just letting the grinder rip continuously. Once you have the rice powder at the proper consistency, it’s good to go. Use it right away, or transfer it to an airtight container and store it at room temperature for up to a couple of months.
Congratulations: You’ve just added another low-effort, high-flavor-reward pantry item to your cook’s toolbox.
This post may contain links to Amazon or other partners; your purchases via these links can benefit Serious Eats. Read more about our affiliate linking policy.
Source link